How to Plant Grass Seed?
A beautiful, thick lawn starts with proper grass seed planting. Many homeowners struggle with patchy, thin grass because they skip essential steps in the seeding process. This comprehensive guide walks you through every aspect of grass seed planting, from soil preparation to maintenance, ensuring your new lawn thrives for years to come.
Why Proper Grass Seed Planting Matters
Your lawn serves as the foundation of your home’s curb appeal. Poor seeding techniques often result in uneven growth, bare spots, and weak grass that struggles against weeds and weather. When you plant grass seed correctly, you create a dense, resilient lawn that requires less water, fertilizer, and ongoing maintenance.
The key to successful grass seed establishment lies in timing, preparation, and consistent care. Each step in the process builds upon the previous one, creating optimal conditions for germination and healthy root development. Skip any crucial step, and your new grass will face unnecessary challenges that could have been easily avoided.
Best Time to Plant Grass Seed
Timing plays a critical role in grass seed success. Cool-season grasses like fescue, bluegrass, and ryegrass germinate best when soil temperatures range between 50-65°F. This typically occurs during early fall (September to mid-October) and early spring (March to May).
Fall planting offers several advantages for cool-season varieties. The soil retains summer warmth while air temperatures cool down, creating ideal germination conditions. Young grass plants establish strong root systems during fall and winter, preparing them for the stress of their first summer. Spring planting works well too, but requires more vigilant watering during hot summer months.
Warm-season grasses such as Bermuda, Zoysia, and St. Augustine prefer soil temperatures between 65-70°F. Plant these varieties in late spring to early summer (May to July) when consistent warm weather promotes rapid germination and establishment.
Avoid planting during extreme weather periods. Mid-summer heat stresses young seedlings, while winter cold prevents germination entirely. Check your local frost dates and plan accordingly to give your grass seed the best chance of success.
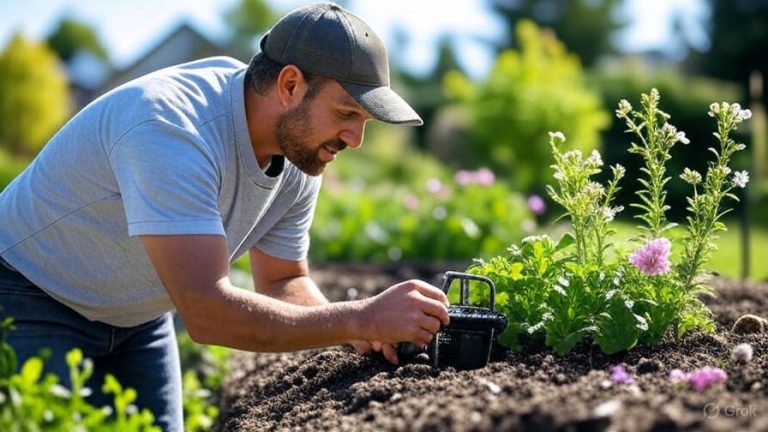
Soil Preparation: The Foundation of Success
Proper soil preparation determines whether your grass seed thrives or struggles. Start by testing your soil pH using a simple home test kit or professional soil analysis. Most grass types prefer slightly acidic to neutral soil with pH levels between 6.0-7.0.
Remove all existing vegetation from the planting area. Use a shovel or sod cutter to strip away old grass, weeds, and roots. Rake the area thoroughly to eliminate debris, rocks, and organic matter that could interfere with seed-to-soil contact.
Till the soil to a depth of 4-6 inches using a rototiller or garden fork. This process breaks up compacted earth, improves drainage, and creates loose soil that allows roots to penetrate easily. If your soil is clay-heavy, mix in 2-3 inches of compost or organic matter to improve texture and drainage.
Level the area using a landscape rake, removing high spots and filling low areas. The finished surface should slope gently away from buildings to prevent water pooling. A slight grade of 1-2% provides adequate drainage without causing erosion problems.
Firm the prepared soil by walking over it or using a light roller. The surface should be firm enough to support your weight without sinking, but loose enough for easy seed penetration. This step prevents settling that could create uneven surfaces after germination.
Grass Seed Selection Guide
Different grass types suit different climates, soil conditions, and lawn uses. Cool-season grasses tolerate cold temperatures and grow actively during spring and fall. Popular cool-season varieties include:
Kentucky Bluegrass creates dense, attractive lawns but requires consistent moisture and full sun. This variety self-repairs through underground stems and develops deep green color during optimal growing conditions.
Tall Fescue offers excellent drought tolerance and durability, making it ideal for high-traffic areas. The coarse texture and deep root system help this grass survive heat and dry periods better than other cool-season types.
Perennial Ryegrass germinates quickly and establishes rapidly, providing fast coverage for new lawns. This variety works well in sunny to partially shaded areas and blends nicely with other cool-season grasses.
Fine Fescue thrives in shaded areas where other grasses struggle. The thin, soft texture creates an attractive lawn in low-light conditions, though it doesn’t tolerate heavy foot traffic.
Warm-season grasses grow actively during hot summer months and go dormant in winter. Common warm-season options include:
Bermuda Grass spreads aggressively through stolons and rhizomes, creating thick, durable turf. This variety requires full sun and regular maintenance but provides excellent wear tolerance.
Zoysia Grass develops slowly but creates dense, carpet-like turf that crowds out weeds naturally. Once established, zoysia requires less water and fertilizer than most other grass types.
St. Augustine Grass grows well in coastal areas and tolerates salt spray and sandy soils. The broad leaf blades create attractive turf in warm, humid climates.
Consider your local climate, soil conditions, sun exposure, and intended lawn use when making your selection. Many successful lawns use seed blends that combine different varieties for improved performance and appearance.
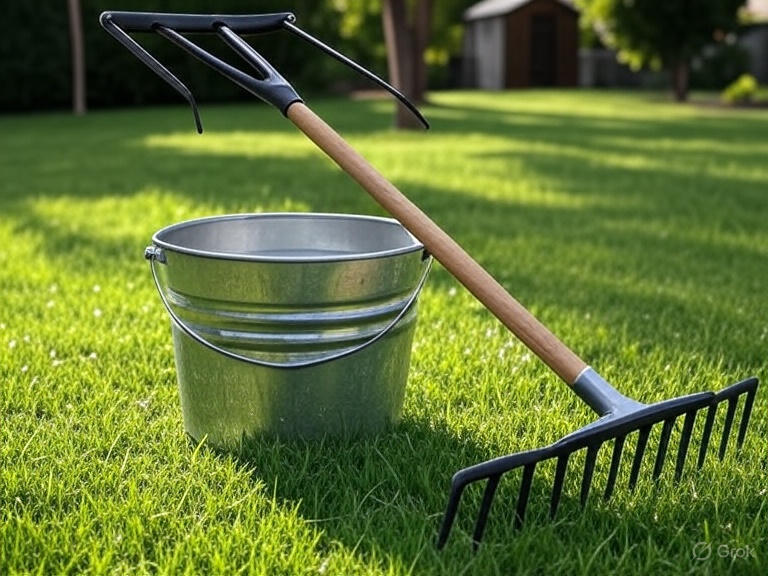
Essential Tools and Materials
Gather all necessary equipment before starting your seeding project. You’ll need:
- Grass seed (calculate 20% more than recommended coverage)
- Starter fertilizer or compost
- Straw mulch or seed blankets
- Spreader (broadcast or drop-type)
- Rake (landscape and leaf rakes)
- Shovel or spade
- Garden hose with sprinkler attachment
- Soil thermometer
- pH test kit
Quality tools make the job easier and produce better results. A good spreader ensures even seed distribution, while proper rakes help create ideal seedbed conditions. Don’t forget to check your sprinkler system or plan for adequate watering equipment.

Step-by-Step Planting Process
Calculate Seed Requirements
Measure your lawn area accurately to determine seed needs. Most grass seed packages list coverage rates, typically ranging from 2-8 pounds per 1,000 square feet depending on the variety. New lawn establishment requires higher seeding rates than overseeding existing turf.
Buy 10-20% extra seed to account for uneven application, reseeding thin spots, and future touch-ups. Store unused seed in a cool, dry place where it remains viable for several seasons.
Apply Starter Fertilizer
Spread starter fertilizer according to package directions before seeding. These specialized blends provide phosphorus for root development and quick-release nitrogen for early growth. Work the fertilizer lightly into the top inch of soil using a rake.
Organic alternatives like compost or aged manure provide slower nutrient release and improve soil structure. Apply a thin layer (1/4 to 1/2 inch) and work it into the soil surface.
Seed Distribution Techniques
Even seed distribution creates uniform lawn coverage. Set your spreader to half the recommended rate and make two passes in perpendicular directions. This technique prevents over-seeding in some areas while missing others entirely.
For small areas, hand broadcasting works well if done carefully. Divide the seed into two equal portions and spread each half in different directions to ensure complete coverage. Practice your throwing motion over a tarp first to develop consistent technique.
Walk at a steady pace when using a spreader, overlapping passes slightly to prevent striped patterns. Turn the spreader off at the end of each pass to avoid dumping excess seed in turning areas.
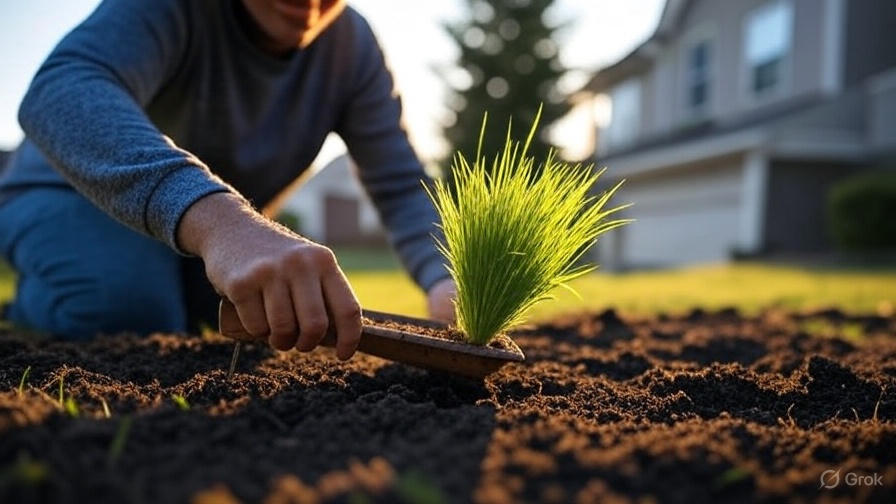
Rake and Cover
Lightly rake the seeded area to incorporate seeds into the soil surface. Use a leaf rake with gentle pressure, barely disturbing the soil while ensuring seed-to-soil contact. About 25% of the seeds should remain visible after raking.
Apply a thin layer of straw mulch over the seeded area. The mulch conserves moisture, moderates soil temperature, and protects seeds from birds and wind. Use weed-free straw and apply it thinly enough that 50% of the soil surface remains visible.
Seed blankets or erosion control fabric work well on slopes or areas prone to washout. These materials hold seeds in place while allowing water and light penetration for germination.
Watering Your New Grass Seed
Proper watering makes the difference between successful germination and failed seeding attempts. Keep the soil surface consistently moist but not waterlogged during the germination period.
Water lightly and frequently rather than deeply and infrequently. The top 1/4 inch of soil should feel damp to the touch throughout the day. This typically requires 2-3 light watering sessions daily during hot, dry weather.
Use a gentle spray setting to avoid disturbing seeds or creating puddles. Oscillating sprinklers work well for larger areas, while hand watering gives you more control in smaller spaces. Check soil moisture by gently scratching the surface with your finger.
Germination typically occurs within 7-21 days depending on grass type, soil temperature, and moisture levels. Once grass reaches 1 inch tall, gradually reduce watering frequency while increasing duration to encourage deep root development.
Protecting Your New Lawn
Young grass seedlings face numerous threats during establishment. Keep foot traffic to a minimum until grass reaches mowing height and develops strong roots. Post temporary barriers or signs to remind family members and visitors to avoid the area.
Birds often eat grass seed, especially in open areas with good visibility. Reflective tape, fake predators, or temporary netting can deter feathered thieves without harming wildlife. Remove deterrents once grass begins growing to avoid interfering with development.
Prevent soil erosion on slopes or during heavy rains. Temporary fencing, straw bales, or erosion blankets hold soil and seeds in place until roots develop enough to prevent washout.
Watch for signs of fungal problems, which appear as white, fuzzy growth on soil or grass blades. Improve air circulation, reduce watering frequency, and avoid overwatering to prevent disease issues.
First Mowing and Ongoing Care
Mow your new grass when it reaches 3-4 inches tall, cutting no more than one-third of the blade length. Sharp mower blades prevent tearing young grass plants, which could damage developing root systems.
Set your mower to its highest setting for the first several mowings. Taller grass develops stronger roots and better drought tolerance than grass cut too short. Gradually lower the cutting height over several mowings as the lawn matures.
Bag clippings during the first few mowings to prevent smothering young grass plants. Once the lawn becomes well-established, leave clippings on the surface to return nutrients to the soil.
Apply a balanced lawn fertilizer 6-8 weeks after germination when grass is actively growing. Follow package directions carefully, as over-fertilizing young grass can cause burning or excessive top growth at the expense of root development.
Troubleshooting Common Problems
Patchy germination often results from uneven seed distribution, inconsistent watering, or poor seed-to-soil contact. Overseed thin areas with the same grass variety, ensuring proper soil preparation and watering.
Slow or poor germination may indicate old seed, incorrect soil temperature, or inadequate moisture. Check seed packaging dates and test soil temperature before replanting. Fresh seed stored properly should show high germination rates.
Weeds competing with new grass can overwhelm young seedlings. Hand-pull small weeds carefully to avoid disturbing grass roots. Pre-emergent herbicides prevent weed seeds from germinating but can also stop grass seed, so timing is crucial.
Washout problems occur on slopes or during heavy rainfall. Install temporary erosion control measures and consider overseeding affected areas once conditions improve.
Long-term Lawn Maintenance
Your new lawn requires ongoing care to maintain health and appearance. Develop a regular maintenance schedule that includes proper mowing, watering, fertilizing, and weed control.
Deep, infrequent watering encourages strong root development once grass is established. Water early morning to reduce evaporation and disease problems. Most lawns need 1-2 inches of water weekly from rain and irrigation combined.
Fertilize established lawns 2-4 times per year depending on grass type and growing conditions. Cool-season grasses benefit from fall and spring applications, while warm-season varieties prefer summer feeding.
Annual overseeding helps maintain lawn density and crowds out weeds naturally. Overseed thin areas each year using the same techniques as initial planting but with reduced preparation requirements.
Regular soil testing every 2-3 years helps maintain optimal pH and nutrient levels. Adjust your maintenance program based on test results and lawn performance.
Seasonal Care Calendar
Spring Tasks:
- Test soil pH and nutrient levels
- Apply pre-emergent herbicide before soil warms
- Begin regular mowing when grass starts growing
- Overseed thin or bare spots
- Apply spring fertilizer after grass greens up
Summer Care:
- Water deeply but less frequently
- Raise mowing height during hot weather
- Watch for pest and disease problems
- Apply summer fertilizer to warm-season grasses
- Hand-pull weeds as needed
Fall Activities:
- Overseed cool-season lawns
- Apply fall fertilizer with higher potassium
- Continue regular watering until dormancy
- Rake and remove excess fallen leaves
- Apply lime if soil test indicates need
Winter Preparation:
- Final mowing at slightly lower height
- Clean and store lawn equipment
- Plan next year’s maintenance schedule
- Order seeds and supplies for spring projects
- Avoid walking on frozen grass
Conclusion
Successful grass seed planting requires attention to detail, proper timing, and consistent care throughout the establishment period. Start with quality seed suited to your climate and growing conditions. Prepare the soil thoroughly, plant at the right time, and maintain adequate moisture during germination.
Your investment in proper planting techniques pays dividends for years to come. A well-established lawn provides beauty, property value, and environmental benefits while requiring less ongoing maintenance than poorly planted grass.
Remember that lawn establishment is a process, not an instant transformation. Be patient with young grass, protect it from stress, and maintain consistent care practices. With proper planning and execution, your new lawn will provide years of enjoyment and pride in your home’s landscape.
The effort you put into correct grass seed planting creates the foundation for a beautiful, healthy lawn that enhances your property and provides a perfect outdoor space for family activities and relaxation.