How to Put Sod Lawn?
Installing a sod lawn transforms your bare yard into a lush, green carpet almost overnight. This guide walks you through every step of laying sod properly so you get professional results without hiring expensive landscapers.
Why Install Sod Instead of Seeding
Sod gives you an instant lawn. You’ll see immediate results instead of waiting weeks for grass seed to germinate and fill in. The thick grass mat prevents soil erosion and keeps weeds from taking root in bare spots.
Laying sod works better than seeding on slopes where rain would wash away seeds. You can walk on your new grass in just two weeks, while seeded lawns need months to establish. Kids and pets can enjoy the yard much sooner.
The upfront cost is higher, but you save time and effort. No daily watering schedule for fragile seedlings. No worrying about birds eating the seeds or wind blowing them away. Sod arrives with an established root system ready to grow.
Best Time to Install Sod
Spring and early fall are perfect seasons for sod installation. Temperatures stay moderate, and natural rainfall helps the grass establish roots. The grass isn’t fighting extreme heat or frozen ground.
Cool-season grasses like Kentucky bluegrass and fescue do best when installed between late summer and mid-fall. Warm-season varieties such as Bermuda grass and St. Augustine prefer late spring through early summer installation.
You can lay sod any time during the growing season if you’re willing to water more frequently. Just avoid installing during extreme heat waves or when the ground is frozen solid. The roots need soil temperatures above 50°F to take hold.
Measuring Your Lawn Area
Walk your yard with a measuring tape to calculate square footage. Break irregular shapes into rectangles and triangles, then add them together. Multiply length times width for rectangular areas.
Order 5-10% extra sod to account for cutting and waste. Curved edges, obstacles, and mistakes during installation mean you’ll need spare pieces. Running short halfway through the project creates major headaches.
Most sod comes on pallets with rolls or slabs. Each pallet typically covers 400-500 square feet. Call local sod farms to check their specific measurements and delivery minimums.
Gathering Your Tools and Materials
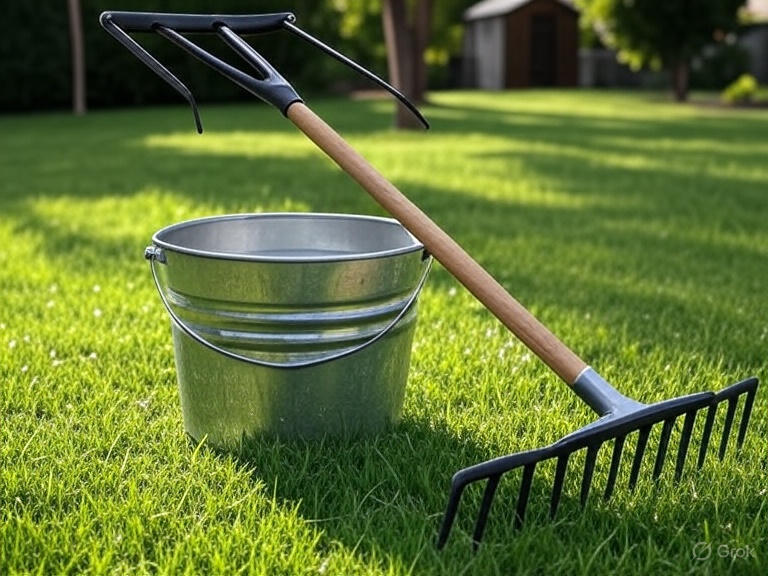
You need basic equipment to install sod properly. A flat shovel or spade removes old grass and levels the soil. A garden rake smooths out bumps and spreads amendments evenly.
Get a sharp utility knife for cutting sod around edges, trees, and sidewalks. A lawn roller compacts the sod against the soil for good root contact. You can rent one from equipment rental stores for about $30 per day.
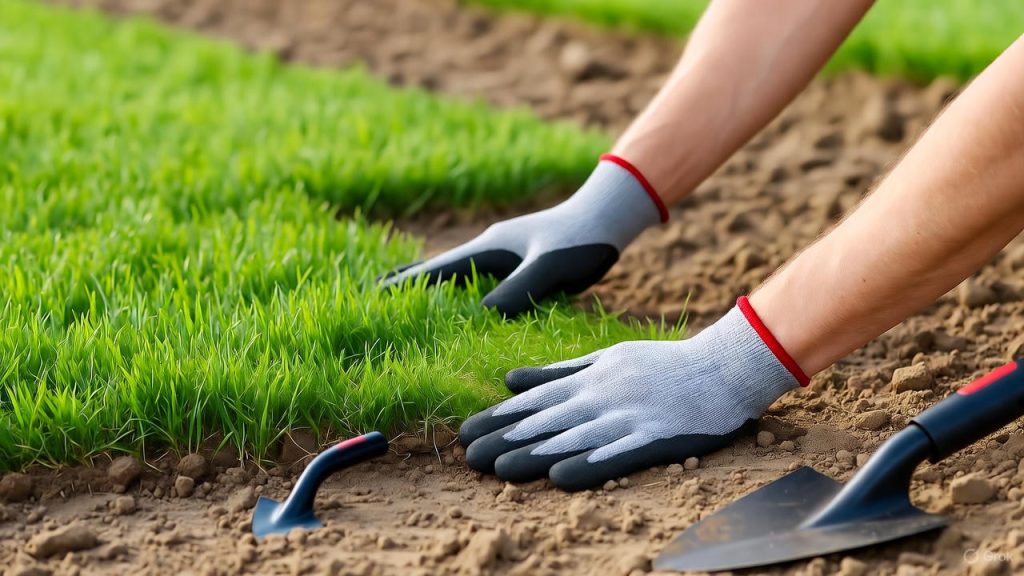
Other supplies include a wheelbarrow for moving soil, work gloves to protect your hands, and a measuring tape. You’ll also need starter fertilizer, soil amendments, and a sprinkler or hose for watering.
Removing Old Grass and Weeds
Strip away existing grass before laying new sod. A sod cutter rental makes this job faster and easier. The machine slices under the grass roots and rolls up the old turf.
You can also remove grass manually with a flat shovel. Cut the turf into manageable strips about 12 inches wide. Slide the shovel under the roots and peel back each section. This method takes more time but costs nothing beyond elbow grease.
Herbicides kill grass and weeds chemically if you have time to wait. Spray the entire area with a non-selective herbicide two weeks before installation. Dead grass comes up easier, and you ensure no living roots remain to compete with your new sod.
Preparing the Soil Foundation
Good soil preparation makes or breaks your sod installation. Till the ground 4-6 inches deep to break up compaction. Grass roots need loose soil to spread and anchor properly.
Test your soil pH with a kit from the garden center. Most grasses prefer slightly acidic soil between 6.0 and 7.0 pH. Add lime to raise pH or sulfur to lower it based on test results.
Mix in 2-4 inches of compost or topsoil if your existing soil is poor quality. Clay soil needs organic matter to improve drainage. Sandy soil benefits from compost that helps retain moisture. Work these amendments into the top 6 inches.
Grading and Leveling the Ground
Proper grading prevents water from pooling on your lawn or flooding near your foundation. The ground should slope away from buildings at a rate of 1-2 inches per 10 feet.
Use a long board or straightedge to check for high and low spots. Fill depressions with topsoil and remove bumps by scraping away excess. A smooth surface ensures the sod lies flat without air pockets underneath.
Rake the soil until it’s level and fine-textured. Remove rocks, roots, sticks, and debris that would create bumps or gaps. The final grade should sit 1 inch below sidewalks and driveways so the sod will be level with hardscapes.
Adding Starter Fertilizer
Apply starter fertilizer before laying sod to give roots an immediate nutrient boost. Look for a formula high in phosphorus, such as 18-24-12. Phosphorus stimulates root development and helps grass establish quickly.
Spread the fertilizer evenly across the prepared soil using a broadcast spreader. Follow package directions for application rates. Too much fertilizer can burn grass roots, so accurate measuring matters.
Rake the fertilizer lightly into the top inch of soil. This puts nutrients right where new roots will grow. Water the area lightly to activate the fertilizer if you won’t be installing sod the same day.
When Your Sod Delivery Arrives
Schedule delivery for the morning of installation day. Fresh sod stays healthiest when installed quickly. Grass begins deteriorating within 24 hours of harvest, especially in warm weather.
Inspect the sod when it arrives. Pieces should be moist, green, and cool to the touch. Avoid sod that looks yellow, smells sour, or feels hot from internal decomposition. Quality sod has thick roots and moist soil attached.
Keep uninstalled sod in shade if you can’t lay it all immediately. Stack rolls loosely so air circulates. Sprinkle water over them to prevent drying. Plan to finish installation within 24 hours of delivery.
Starting Your First Row
Begin installation along the longest straight edge of your yard. This creates a clean baseline to work from. Lay sod along driveways, sidewalks, or property lines first.
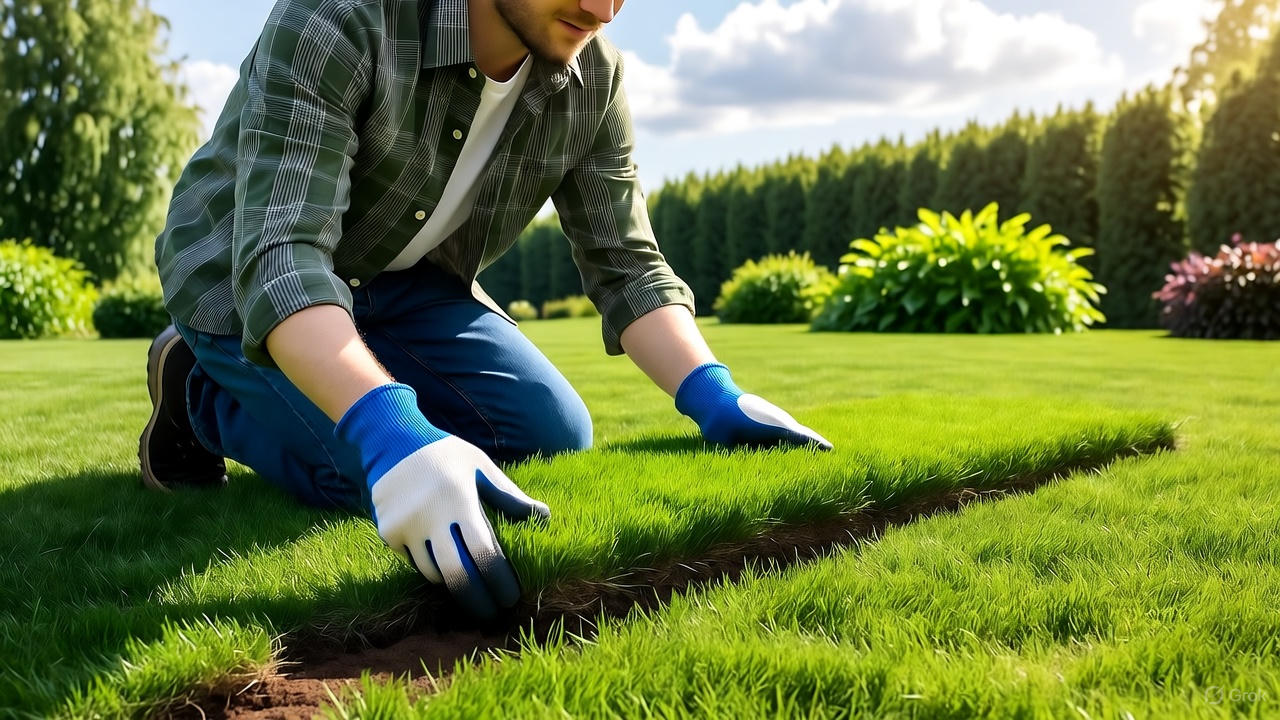
Unroll or place the first piece of sod. Press it firmly against the edge without stretching. Stretched sod shrinks as it dries, creating gaps between pieces. The soil side should make full contact with the ground.
Kneel on a board instead of kneeling directly on installed sod. Your body weight can create depressions in the fresh grass. A plywood board distributes weight evenly and protects the grass blades.
Installing Row by Row
Work across the yard in rows like laying bricks. Stagger the seams between pieces so they don’t line up. This brick pattern prevents visible lines and helps pieces knit together.
Butt edges tightly together without overlapping. Gaps will show as brown lines in your lawn. Overlaps create thick spots that look uneven when mowed. Each piece should fit snugly against the next like puzzle pieces.
Cut sod to fit around obstacles using your utility knife. Hold the knife at a 45-degree angle for clean cuts. Trim curves freehand or use a string line for straight edges. Save larger pieces for filling in main areas.
Handling Slopes and Hills
Install sod perpendicular to the slope direction. Pieces running up and down the hill can shift or slide before roots anchor them. Horizontal installation creates better stability.
Stake sod on steep slopes with biodegradable landscape pins or small wooden stakes. Push pins through the sod into the soil every 12-18 inches. These hold pieces in place until roots establish.
Pack soil firmly against the uphill edge of each piece. This prevents water from running underneath and washing out the root zone. Good soil contact on slopes is critical for establishment.
Rolling and Watering In
Roll the entire sodded area with a lawn roller filled one-third full of water. Rolling presses sod firmly against soil and eliminates air pockets. Roots need direct soil contact to absorb water and nutrients.
Push the roller in different directions to cover all areas thoroughly. Pay extra attention to seams between pieces. These edges tend to curl up if not properly compressed.
Water immediately after rolling. Soak the sod until water puddles slightly on the surface. The goal is to wet both the sod root zone and the soil underneath to a depth of 6 inches. This encourages roots to grow down into the native soil.
First Week Watering Schedule
Keep your new sod constantly moist during the first week. Water 2-4 times daily during hot weather. Early morning and late afternoon watering prevents excessive evaporation.
Check moisture by lifting a corner of the sod. The soil underneath should feel damp to the touch. If it’s dry, water more frequently or for longer periods. Drying out during establishment can kill your new lawn.
Light, frequent watering works better than deep, infrequent watering during the first week. The shallow root system can’t reach deep moisture yet. You’re keeping the grass alive while it develops new roots into your soil.
Week Two Through Four Care
Reduce watering frequency gradually as roots establish. By week two, water once daily in the morning. Deep watering encourages roots to grow down searching for moisture.
Tug gently on the sod after one week. If it resists pulling up, roots are taking hold. Once the sod doesn’t lift easily, you can walk on it lightly. Avoid heavy traffic until roots fully anchor the grass.
Apply a balanced fertilizer three to four weeks after installation. Use a 20-20-20 or similar formula to promote both root and blade growth. This second feeding helps the grass transition from establishment to active growth.
First Mowing Tips
Wait until the grass reaches 3-4 inches tall before mowing. Cutting too soon stresses the developing plants. Most sod is ready for mowing 10-14 days after installation.
Set your mower to the highest setting for the first cut. Remove only the top one-third of the grass blade height. Cutting too short shocks the grass and slows root development.
Make sure your mower blade is sharp. Dull blades tear grass instead of cutting cleanly. Torn blades look brown at the tips and increase disease risk. A clean cut heals faster and looks better.
Dealing With Common Problems
Yellow spots indicate insufficient water or poor soil contact. Peel back the sod to check for air pockets or dry soil. Add soil if needed and press the sod down firmly. Increase watering frequency for yellow areas.
Brown edges on sod pieces mean they’re drying out too quickly. The edges dry fastest because they have more exposed surface area. Water these areas specifically and ensure pieces are butted tightly together.
Fungal diseases show up as circular brown patches or fuzzy growth. These problems often result from overwatering or poor air circulation. Reduce watering frequency and improve drainage. Fungicides treat serious infections.
Long-Term Establishment
Your sod is fully established when you can’t easily pull up a piece. This typically takes 4-6 weeks. The grass roots have grown deep into your native soil and the turf acts as one continuous lawn.
Continue regular watering based on weather conditions and grass type. Established lawns need about 1 inch of water per week from rainfall or irrigation. Deep, infrequent watering builds stronger root systems than daily sprinkling.
Transition to a regular lawn care routine after six weeks. Mow weekly during active growth. Fertilize according to your grass type’s requirements. Cool-season grasses need feeding in spring and fall. Warm-season grasses prefer summer fertilization.
Cost Breakdown
Sod costs between $0.30 and $0.80 per square foot installed by professionals. DIY installation saves labor costs, leaving only materials. Expect to pay $0.15 to $0.40 per square foot for the sod itself.
A 1,000 square foot lawn requires $150-400 in sod, plus $50-100 for soil amendments, fertilizer, and delivery fees. Equipment rental adds $30-50 if you need a sod cutter or roller. Total DIY cost runs $250-550 for a medium-sized lawn.
Compare this to seeding, which costs $0.10-0.20 per square foot but takes months to establish. Sod costs more upfront but delivers instant results and guaranteed coverage. The time savings often justifies the higher price.
Soil Amendment Types
Compost improves any soil type by adding organic matter and beneficial microbes. Spread 1-2 inches over the area and till it in. Compost helps clay soil drain better and helps sandy soil hold water.
Peat moss lightens heavy clay and adds organic content. Mix it with native soil at a 1:2 ratio. Peat acidifies soil slightly, which benefits acid-loving grasses but may require lime in already acidic soils.
Topsoil provides a fresh growing medium for areas with terrible existing soil. Buy screened topsoil free of weeds and debris. Spread 2-4 inches and blend with native soil so you don’t create a sharp transition layer.
Grass Type Selection
Cool-season grasses stay green year-round in northern climates. Kentucky bluegrass creates a dense, attractive lawn but needs regular watering. Fescues tolerate shade and drought better but have a coarser texture.
Warm-season varieties go dormant and brown in winter but thrive in southern heat. Bermuda grass spreads aggressively and handles heavy traffic. St. Augustine grass loves humidity and shade but can’t survive cold winters.
Match your grass type to your climate zone and sun exposure. A shady yard needs shade-tolerant varieties. High-traffic areas require durable grasses. Local sod farms grow varieties that perform well in your specific region.
Irrigation System Considerations
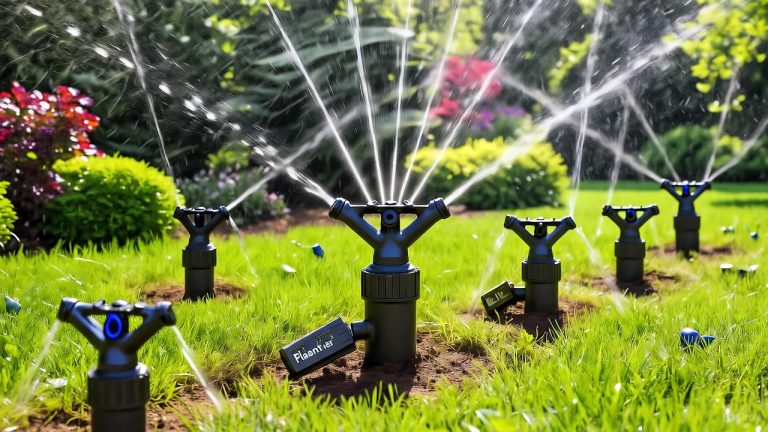
Install sprinkler systems before laying sod if you’re adding irrigation. Trenching through new sod damages the grass and creates uneven spots. Plan and bury all pipes and sprinkler heads first.
Adjust sprinkler heads after installation to ensure even coverage. Check that each zone waters uniformly without dry spots or overwatered areas. Run the system and place empty cans around the yard to measure output.
Automatic timers make consistent watering easier during the establishment period. Program multiple short cycles daily for the first week. Adjust to less frequent, deeper watering as roots develop. Smart controllers adjust for weather conditions automatically.
Seasonal Maintenance
Spring maintenance includes raking away dead grass, aerating compacted areas, and applying pre-emergent weed control. Cool-season lawns benefit from overseeding thin spots as they break dormancy.
Summer demands regular watering and higher mowing heights. Raise your mower deck to leave grass 3-4 inches tall. Taller grass shades soil, reduces evaporation, and develops deeper roots that handle drought better.
Fall is the best time for major lawn improvements. Aerate, overseed, and fertilize cool-season grasses. They grow actively in cool weather and use nutrients efficiently. Warm-season grasses should be left alone as they prepare for dormancy.
Winter care is minimal for established lawns. Stay off frozen grass to prevent damage. Avoid piling snow on the lawn when shoveling. Keep equipment off the turf to prevent soil compaction and crown damage.
Final Thoughts on Sod Installation
Installing sod creates an instant lawn that transforms your property. The process requires physical work but doesn’t demand special skills. Following proper techniques ensures your investment thrives for years.
Preparation matters more than the actual installation. Spend extra time on soil grading, amendments, and fertilizer application. These steps create the foundation that supports healthy grass growth.
Consistent watering during establishment determines success or failure. New sod can’t survive even brief drought periods. Set reminders on your phone or use timers to ensure regular watering until roots anchor deeply.
Your reward for doing it right is a thick, green lawn you can enjoy throughout the growing season. The grass establishes quickly, prevents erosion, and increases your property value. A well-installed sod lawn beats waiting for seeds to grow and looks professionally done at a fraction of the cost.

