How to Adjust Sprinkler Heads?
Your lawn looks patchy. Water pools near the driveway while the far corner stays bone dry. The sidewalk gets soaked every time the irrigation system runs. Sound familiar? These problems happen when sprinkler heads need adjustment, and you can fix them yourself in less than an hour.
Most homeowners waste hundreds of gallons of water each month because their spray heads point in the wrong direction or cover too much area. The good news is that adjusting sprinkler heads ranks as one of the easiest lawn maintenance tasks you’ll ever tackle. You don’t need special skills or expensive tools.
Why Your Sprinkler Heads Need Regular Adjustment
Lawn sprinkler systems shift over time. Frost heaves push sprinkler heads out of alignment during winter months. Kids playing in the yard accidentally kick them. Lawn mowers bump into them. Even normal soil settling changes how water sprays across your grass.
Your irrigation system worked perfectly when installers first set it up. But that was months or years ago. Grass grows taller. Shrubs expand. New flowerbeds appear. These landscape changes mean you need to redirect water flow to match your current yard layout.
Poorly adjusted sprinkler heads waste water and money. They spray water onto concrete, driveways, house siding, and other areas that don’t need irrigation. This excess runoff increases your water bill while leaving parts of your lawn thirsty.
Tools You Need for Sprinkler Head Adjustment
Start by gathering basic tools. Most adjustment jobs require only a few simple items you probably already own. Pop-up sprinklers and rotary heads need different tools, but the basic toolkit covers most situations.
You’ll need a flathead screwdriver or a specialized sprinkler adjustment tool. These inexpensive tools come with notches designed to fit adjustment screws on spray nozzles. A pair of pliers helps when you need to grip stuck parts. Keep a bucket or towel handy to catch water that sprays out during testing.
For rotor heads, grab an Allen wrench or hex key set. Some rotor models use small screws that require these specialized wrenches. Check your sprinkler head brand first because manufacturers often include a proprietary adjustment key with new heads.
Wear old clothes that can get wet. You’ll need to run the system several times while making adjustments. Expect to get splashed.
Know Your Sprinkler Head Types
Different sprinkler heads work in different ways. You need to identify what type you have before starting any adjustment work.
Spray heads pop up and spray water in a fixed pattern. These small heads work best for tight spaces, flower beds, and small lawn areas. They typically spray water 4 to 15 feet in a circular or rectangular pattern. Most spray heads have adjustable arcs that let you control the spray angle from a narrow 45 degrees up to a full 360-degree circle.
Rotary nozzles attach to spray head bodies but rotate as they spray. They distribute water more slowly and evenly than standard spray heads. These nozzles work well for slopes and areas with different soil types.
Rotor heads rotate back and forth to cover large areas. These larger heads shoot water streams 15 to 50 feet. Golf courses and commercial properties use them, but they also work great for big residential lawns. Rotors have adjustable rotation arcs and throw distances.
Stream rotors combine features from both spray heads and rotors. They produce multiple rotating streams instead of a fine mist. This design reduces water waste from wind drift and evaporation.
How to Adjust Spray Head Arc and Distance
Let’s start with the most common type: pop-up spray heads. These heads have an arc adjustment screw on top of the nozzle. This screw controls how far the head rotates and where it stops spraying.
Turn on your irrigation system so the head pops up fully. The water pressure keeps the head extended while you work. Find the arc adjustment screw on top of the nozzle. It usually sits in the center or on the right side.
Insert your flathead screwdriver or adjustment tool into the screw slot. Turn the screw clockwise to decrease the spray arc. Each complete rotation typically changes the arc by about 90 degrees. Turn counterclockwise to increase the arc and cover more area.
Most spray heads have a fixed left edge. This means the adjustment screw only controls the right side of the spray pattern. The left edge stays locked in place. Some newer models have 360-degree rotation, but most residential heads work this way.
Test the spray pattern after each adjustment. Let the water run for 30 seconds so you can see where it lands. Make small changes and test again. This trial-and-error approach prevents overshooting your target coverage area.
Spray distance depends on the nozzle type, not the adjustment screw. You’ll need to replace the entire nozzle if you want to change how far water travels. Nozzles come in different patterns like quarter circle, half circle, and full circle with varying throw distances marked on the packaging.
Step-by-Step Rotor Head Adjustment
Rotor heads need different adjustment techniques. These larger heads have more parts and more adjustment options. You can change both the rotation arc and the spray radius.
Start by locating the arc adjustment screw. On most rotors, this screw sits on top of the head. Some models hide it under a cap that you need to remove first. Check your owner’s manual if you can’t find it.
Run the irrigation zone so the rotor pops up and starts rotating. Watch where the rotation starts and stops. This tells you which direction needs adjustment.
To adjust the arc, turn the screw on top using a screwdriver or the provided key. Turning clockwise reduces the arc. Turning counterclockwise increases it. Many rotors click with each adjustment, making it easy to count your changes.
Spray radius adjustment requires a different screw, usually located on the side of the rotor head. Some models use a hex key for this adjustment. Turn the radius screw clockwise to reduce how far water sprays. Turn it counterclockwise to increase the distance.
The left and right stops on rotor heads work differently than spray heads. You can adjust both the starting point and ending point of the rotation. This gives you more control over coverage patterns.
Find the rotation stops while the head rotates. Grab the turret (the top rotating part) and turn it to the right stop position. You’ll feel resistance when it reaches the limit. Some rotors have a special slot or mark indicating this position. Use your adjustment tool to fine-tune where this stop occurs.
Fixing Common Sprinkler Head Problems
Sprinkler heads don’t always spray evenly. Sometimes they mist, dribble, or shoot water in unexpected directions. These issues usually come from clogged nozzles or damaged parts rather than adjustment problems.
When water mists instead of spraying in a solid pattern, the head has too much water pressure. Installing a pressure regulator fixes this issue. These small devices screw onto the bottom of the sprinkler head and reduce water pressure to the optimal level.
Dribbling water indicates a clogged nozzle filter or damaged seal. Unscrew the top of the spray head and remove the nozzle. Look for a small screen filter inside. Rinse this filter under running water to remove dirt and debris. Grass clippings and sand frequently clog these filters, especially right after lawn mowing.
If the sprinkler head doesn’t pop up fully, dirt has probably built up around the riser. Dig around the head carefully and remove excess soil. The top of the head should sit flush with ground level. Heads buried too deep won’t pop up correctly, and heads sitting too high get damaged by mowers.
Some heads pop up but don’t spray at all. This usually means the nozzle is completely blocked or the seal has failed. Remove the nozzle and check for obstructions. Replace worn seals with new ones from the hardware store.
Leaking around the base of a sprinkler head wastes water and creates muddy spots. Tighten the head by turning it clockwise. If it still leaks, you’ll need to dig up the head and replace the seal or the entire fitting.
Adjusting for Landscape Changes
Your yard changes over time. New plants grow taller. You add garden beds. Kids create new play areas. These changes mean you need to redirect water away from areas that no longer need irrigation.
When you plant new trees or install raised garden beds, adjust nearby sprinkler heads to avoid overwatering these areas. Trees need different water amounts than grass. Hitting tree trunks with direct spray can cause bark damage and encourage disease.
Patios, decks, and walkways don’t need water. Adjust heads near these hardscapes so spray stops just before reaching them. A good rule of thumb is to leave a six-inch buffer zone. This prevents water waste while still covering nearby grass.
New construction or renovations might require moving sprinkler heads entirely. This job goes beyond simple adjustment. You’ll need to cap off old lines and install new risers in better locations. Call a professional irrigation company if this work exceeds your comfort level.
Seasonal plant growth affects spray patterns. Perennials that die back in winter don’t block sprinkler spray. But come summer, these same plants might grow two feet tall and completely block water from reaching grass behind them. Check your system twice a year and make seasonal adjustments.
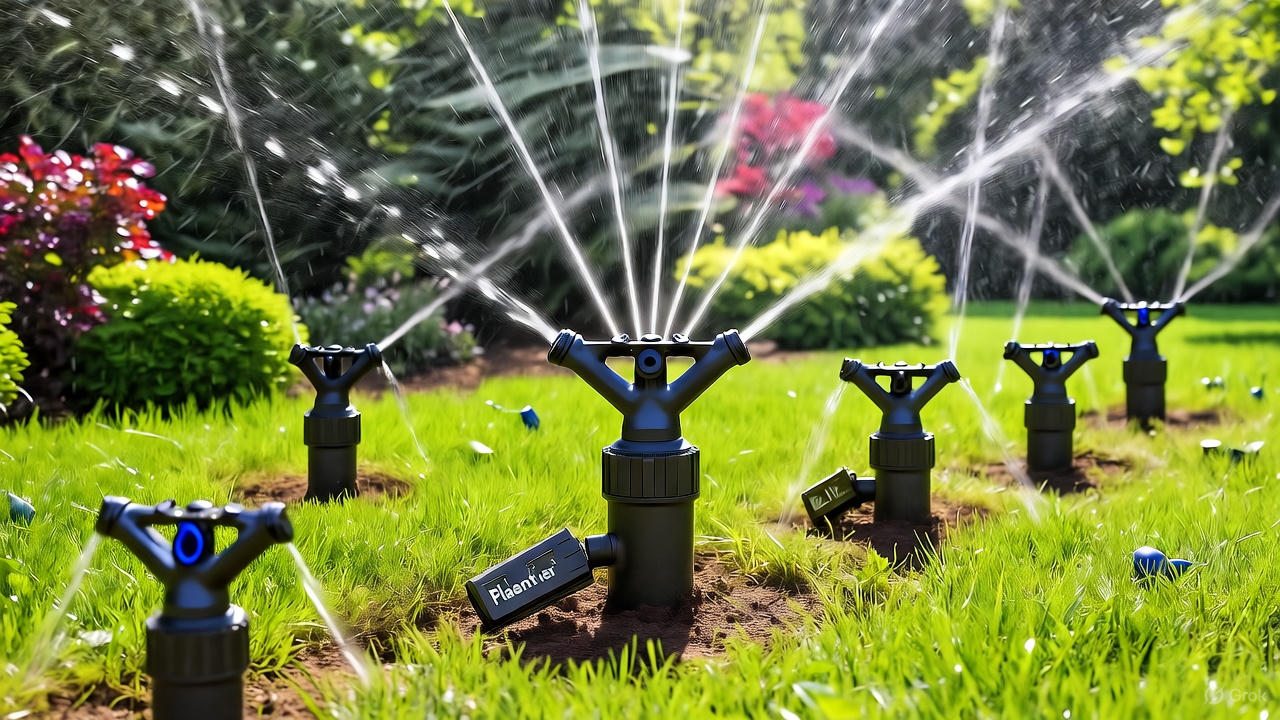
Optimizing Water Distribution for Healthy Lawns
Even coverage matters more than you might think. Dry spots develop when some areas get too little water. Fungal diseases thrive where water pools. The goal is to create head-to-head coverage across your entire lawn.
Head-to-head coverage means each sprinkler head sprays far enough to reach the next closest head. When installers set up this pattern correctly, every square foot of lawn gets water from at least two heads. This overlap compensates for uneven spray patterns and wind drift.
Test your coverage by placing straight-sided containers (like tuna cans) across the lawn. Run the system for 15 minutes. Measure the water depth in each can. Ideally, all containers should hold roughly the same amount. Big differences indicate adjustment needs.
Wind affects spray patterns dramatically. Strong wind pushes water sideways, leaving gaps in coverage. You can’t adjust sprinkler heads to fix wind problems, but you can run your system during calm morning hours instead of windy afternoons.
Slopes require special attention. Water runs downhill naturally, so areas at the bottom of slopes get more moisture than spots at the top. Reduce the arc or spray time for heads at the bottom. Increase runtime for heads at the top. This balances moisture levels across the slope.
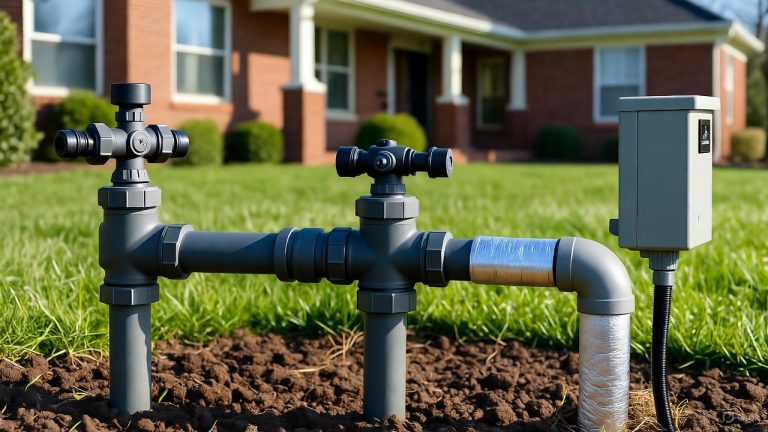
Maintaining Proper Water Pressure
Water pressure affects how sprinkler heads perform. Too much pressure causes misting and wastes water. Too little pressure creates weak streams that don’t reach their target areas.
Most residential spray heads work best at 30 PSI (pounds per square inch). Rotor heads need 40 to 65 PSI depending on the model. Check your system’s pressure with a gauge attached to a hose bib.
High pressure causes multiple problems. Spray heads mist and create fog instead of throwing distinct droplets. This mist evaporates before reaching the ground, especially on hot days. Rotors spin too fast and skip over sections instead of rotating smoothly.
Install pressure regulators on individual heads or on zone valves. Head-mounted regulators screw between the riser and the sprinkler head. Zone regulators control pressure for all heads on one circuit. Both types reduce pressure to optimal levels automatically.
Low pressure makes rotors stop rotating. Spray heads dribble instead of spray. This happens when too many heads run on one zone or when the main water line can’t supply enough volume. You might need to split zones or upgrade your main line to fix pressure problems.
Best Practices for Seasonal Adjustments
Your sprinkler system needs different settings as seasons change. Spring brings new growth. Summer heat increases water needs. Fall preparation protects your system from winter damage.
Spring adjustments start with a full system inspection. Turn on each zone and walk through your yard. Look for broken heads, tilted sprinklers, and areas where landscape changes require new spray patterns. Clean all filters and remove debris from around heads.
Check spray patterns after the last frost but before grass starts growing actively. This timing lets you spot problems before your lawn suffers from improper watering. Adjust heads that settled during winter freeze-thaw cycles.
Summer heat means you’ll run your system more often. But don’t just increase runtime without checking coverage. Long watering cycles on maladjusted heads waste more water than short cycles on properly aimed heads. Fine-tune your patterns before extending run times.
Fall adjustments prepare your system for winter shutdown. Reduce arc angles slightly to compensate for falling leaves that might block spray. Clear debris from around all heads so they retract fully. A head stuck in the up position can crack during the first freeze.
Winterization protects your investment. Blow out all water lines using compressed air. This prevents pipe bursts from frozen water. Adjust all heads to their smallest arc setting before blowing out lines. This position puts less stress on internal parts during winter storage.
Testing and Fine-Tuning Your System
Professional irrigation companies use catch cup tests to measure distribution uniformity. You can do this same test at home with simple household items.
Place identical containers across your lawn in a grid pattern. Tuna cans, plastic cups, or rain gauges all work well. Space them about four feet apart within one irrigation zone. Run that zone for exactly 15 minutes.
Measure the water depth in each container. Write down the amounts and calculate the average. Your system has good uniformity if most containers hold within 25% of the average amount. Large variations mean you need to adjust heads or fix hardware problems.
The driest container tells you where problems exist. Walk to that spot and look for blocked spray paths, misaimed heads, or missing coverage from nearby sprinklers. Adjust the closest heads to improve coverage in that area.
Run multiple tests throughout the growing season. Early spring results differ from mid-summer measurements because grass grows taller and plants fill in. Regular testing catches problems before they damage your lawn.
Time your system runtime based on catch cup results. Measure how long it takes to collect one inch of water in the containers. Most grass types need one inch of water per week during the growing season. Divide this among two or three watering sessions.
Troubleshooting Persistent Issues
Some problems persist despite repeated adjustments. These situations indicate hardware failures rather than simple alignment issues.
Stripped adjustment screws happen when people force frozen parts. The screw spins but nothing changes. You’ll need to replace the entire nozzle or top assembly. Most spray head nozzles cost less than five dollars and take minutes to swap out.
Cracked bodies allow water to leak from places other than the nozzle. This happens when lawn mowers hit heads or when freezing water expands inside the plastic housing. Replace cracked sprinkler heads immediately because they waste water and lose pressure that other heads need.
Sunken heads create low spots that collect water. Grass grows tall around them, blocking spray patterns. Dig around the head and add soil underneath until the top sits flush with ground level. Tamp the soil firmly so it doesn’t settle again.
Tilted heads spray at wrong angles even when the arc adjustment is correct. Someone probably hit the head with equipment. Dig down to the elbow fitting and straighten it. You might need to replace the swing joint if it broke during impact.
Mismatched heads on the same zone cause uneven coverage that can’t be fixed through adjustment. All heads on one zone should have similar precipitation rates. Mixing spray heads with rotors creates wet and dry spots because these heads apply water at different rates.
When to Call a Professional
Some irrigation problems require professional help. Know when to stop adjusting and call for expert assistance.
Zone valve problems affect all heads on one circuit. If every head on a zone sprays weakly or won’t turn on, the valve needs repair or replacement. This work requires knowledge of irrigation controller wiring and valve operation.
Broken pipes leak underground, creating wet spots even when the system isn’t running. Finding and fixing buried leaks requires specialized tools and experience. Professionals use pipe locators and pressure tests to pinpoint problems without digging up your entire yard.
Controller malfunctions prevent zones from running on schedule. While you might troubleshoot basic programming issues, electrical problems inside the controller box require professional diagnosis. Don’t open the controller housing if you’re not comfortable working with electrical systems.
Complete system redesigns exceed DIY capabilities. If your yard has grown substantially or you’ve added major landscape features, your original system might not provide adequate coverage anymore. Professionals can calculate water needs, design new zones, and install additional lines where needed.
Conclusion
Learning how to adjust sprinkler heads saves money and creates a healthier lawn. This simple maintenance task takes less than an hour but prevents hundreds of dollars in wasted water each season. You’ve now got the knowledge to tackle spray heads, rotors, and common problems that affect irrigation systems.
Start with one zone at a time. Turn on the water, observe spray patterns, and make small adjustments. Test after each change instead of trying to fix everything at once. This methodical approach prevents overcorrection and helps you understand how your specific system responds.
Regular maintenance keeps your irrigation system running efficiently for years. Check spray patterns every few months. Clean filters when you notice weak spray. Replace worn parts before they fail completely. These small efforts add up to significant water savings and a lawn that stays green all summer long.
Your sprinkler system works hard to keep your landscape healthy. Return the favor by giving it the attention it deserves. Properly adjusted heads mean every drop of water goes exactly where your lawn needs it most.