How to Blow Out Sprinkler System?
Winter hits hard in many parts of the country. Frozen pipes burst and turn your lawn into a costly nightmare. You prevent that mess when you blow out sprinkler system before the first freeze. This task saves you thousands in repairs. Homeowners tackle it every fall with basic tools and a little know-how. Follow this guide. You protect your investment and keep water flowing smooth next spring.
People search terms like winterize sprinkler system, sprinkler blowout DIY, and drain irrigation lines all season long. This post covers every angle. You learn exact steps, tools, safety tips, and common pitfalls. Grab a coffee. Dive in. Your yard thanks you later.
Why You Must Blow Out Your Sprinkler System Every Year
Water expands when it freezes. That expansion cracks pipes, valves, and fittings in seconds. A single overnight freeze ruins an entire setup. Professionals charge $100 to $300 per blowout. You do it yourself for under $50 in rentals and supplies.
Home insurance rarely covers preventable damage from poor winter prep. Skip this step and you pay out of pocket. Blow out irrigation system removes every drop of water. Air replaces it. No ice forms. No bursts happen.
Zones vary by yard size. Small lawns need 10 minutes per zone. Large properties take an hour total. Plan ahead. Frost arrives fast in October or November depending on your region.
Gather Tools Before You Start the Sprinkler Blowout Process
Rent equipment from local hardware stores. Buy what you need for repeat use. Here’s the full list:
- Air compressor (5-10 CFM at 50 PSI minimum)
- Quick-connect hose adapter
- Safety goggles
- Hearing protection
- Work gloves
- Towels for spills
- Screwdriver set
- Pipe insulation tape (for backup)
Test the compressor at the store. Weak units fail mid-job. Sprinkler system winterization demands steady pressure. Never exceed 80 PSI on PVC lines or 50 PSI on poly pipes. Check manufacturer labels on your system.
Locate Every Component in Your Irrigation Setup
Walk your property. Find the main shut-off valve—usually in the basement or crawl space. Spot all backflow preventers. Mark controller boxes. Count sprinkler heads per zone.
Draw a quick sketch. Label zones 1 through 8 or however many you have. This map speeds the process. Drain sprinkler lines starts with full system knowledge.
Turn off the water supply to the irrigation line. Open the main valve slowly. Let residual water drain. Close test cocks on the backflow device. Prepare for air.
Step 1: Shut Down the Controller and Drain Initial Water
Power off the sprinkler timer. Unplug it or switch to “off” mode. This prevents accidental cycles during blowout.
Open the drain valve at the lowest point. Water gushes out. Catch it with buckets if indoors. Let gravity empty standing water first. Winterize lawn irrigation combines draining and blowing for best results.
Step 2: Hook Up the Air Compressor Correctly
Attach the compressor hose to the blowout port. Most systems have a dedicated fitting after the backflow preventer. Use thread seal tape on connections. Tighten snug but not stripped.
Set pressure to 40 PSI to start. Increase only if needed. Blow out lawn sprinklers works best at controlled levels.
Step 3: Blow Out One Zone at a Time
Start with zone farthest from the compressor. Activate the zone manually at the valve or use the controller’s test function.
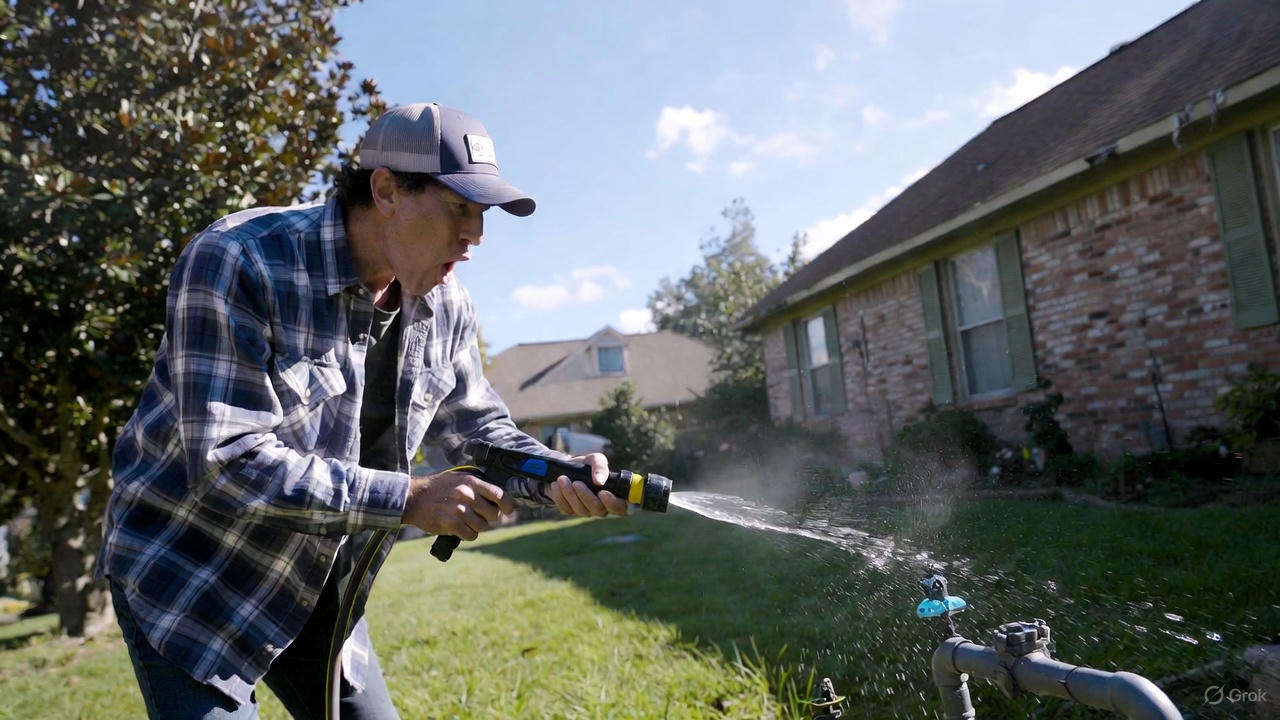
Air rushes through. Watch heads pop up. White mist signals water exit. Keep blowing until only air streams out—usually 1-2 minutes per zone.
Move to the next zone. Repeat. Sprinkler line blowout demands patience per section.
Step 4: Cycle Through All Zones Twice
First pass removes bulk water. Second pass clears hidden pockets. Double runs prevent freeze damage in elbows and risers.
Count heads as they activate. Miss one and that pipe stays vulnerable. Irrigation system blowout covers every inch.
Step 5: Drain the Backflow Preventer Completely
Open all four test cocks. Tilt the device. Tap gently with a screwdriver handle. Residual water hides inside brass bodies.
Close cocks after draining. Wrap with insulation if outdoors. Winter sprinkler maintenance includes this critical piece.
Step 6: Shut Everything Down and Store Tools
Disconnect the compressor. Coil hoses. Store in a dry garage. Leave valves cracked open 1/4 turn to relieve pressure.
Tape a note on the controller: “System Winterized – [Date].” DIY sprinkler blowout stays organized year to year.
Safety Rules You Never Skip During Sprinkler Blowout
Wear goggles. Air blasts debris. Protect ears from compressor noise. Stand clear of heads—they shoot water and pebbles.
Keep kids and pets inside. Never point air at people. Safe sprinkler winterization avoids ER visits.
Common Mistakes That Ruin Systems
Rushing zones leaves water behind. Over-pressurizing cracks fittings. Forgetting the backflow invites bursts at the source.
Skipping the second cycle traps moisture in low spots. Proper sprinkler blowout takes time—do it right.
When to Call a Professional Instead
Steep hills create tricky drainage. Complex manifolds confuse beginners. Old systems with leaks need expert eyes.
Rentals unavailable? Pros bring truck-mounted compressors. Professional sprinkler blowout service costs more but guarantees results.
Regional Timing for Blowing Out Sprinklers
Northern states start in September. Mountain regions watch early frosts. Southern zones wait until November.
Check local frost dates online. Act one week before the first predicted freeze. Irrigation blowout schedule varies by climate.
Tools Comparison: Rent vs Buy Air Compressor
| Feature | Rental ($35/day) | Purchase ($200+) |
|---|---|---|
| CFM Output | 5-8 | 4-20 |
| Portability | Heavy | Varies |
| Long-Term Cost | Adds up yearly | Pays off in 5 yrs |
Choose based on frequency. Air compressor for sprinkler blowout matters for pressure stability.
Step-by-Step Checklist (Print This!)
- [ ] Turn off water supply
- [ ] Power down controller
- [ ] Drain low-point valve
- [ ] Connect compressor
- [ ] Blow zone 1 (2 min)
- [ ] Repeat for all zones
- [ ] Second full cycle
- [ ] Drain backflow
- [ ] Insulate exposed pipes
- [ ] Store tools
Tape inside garage door. Sprinkler blowout checklist keeps you on track.
Alternative Methods If Compressor Unavailable
Manual draining works for small systems. Open every valve and head. Tilt lines downhill. Not foolproof—pockets remain.
Use a shop vac in reverse. Limited reach and power. Compressor blowout sprinkler system remains gold standard.
How Temperature Affects Blowout Timing
Soil holds heat longer than air. Grass insulates shallow lines. Deep freezes penetrate slowly.
Monitor overnight lows. Three consecutive nights below 32°F signal action time. Frost dates for sprinkler blowout guide decisions.
Protect Above-Ground Components
Wrap backflow in foam sleeves. Cover controller with plastic. Remove hoses from bibs.
Store removable heads indoors. Winter irrigation protection extends hardware life.
Spring Startup After Proper Blowout
Turn water on slowly. Check for leaks. Run zones manually. Adjust heads.
Fertilize early. Post-winter sprinkler check reveals any missed spots.
Cost Breakdown: DIY vs Pro
| Item | DIY Cost | Pro Cost |
|---|---|---|
| Compressor Rental | $35 | Included |
| Gas | $10 | Included |
| Misc Supplies | $15 | Included |
| Labor | 0 | $100+ |
| Total | $60 | $150+ |
Savings add up fast. Budget sprinkler winterization favors hands-on owners.
Eco-Friendly Blowout Practices
Use electric compressors when possible. Recycle old antifreeze if used elsewhere. Capture runoff for garden beds.
Minimize air waste. Green irrigation winterization respects resources.
Troubleshooting During Blowout
Head won’t pop? Clear debris. Low pressure? Check hose kinks. Water keeps coming? Extend blow time.
Note issues for spring repairs. Sprinkler blowout problems surface weak points.
Long-Term System Upgrades
Install auto-drain valves. Switch to frost-proof backflow. Map underground lines with flags.
Invest once, relax yearly. Upgrade irrigation for easier blowout pays dividends.
Myths About Sprinkler Winterization
“My system is underground—safe!” Depth varies. “Antifreeze is better!” Toxic and messy. “One quick blow works!” Double cycle essential.
Stick to facts. Debunk sprinkler blowout myths saves headaches.
Video Resources (Embed or Link)
Search “sprinkler blowout demo” on YouTube. Watch pros in action. Visual learners benefit.
Pause and mimic steps. Visual sprinkler blowout guide reinforces text.
Community Tips from Homeowner Forums
Use a leaf blower for small zones. Attach via shop vac adapter. Works in emergencies.
Share your map online. Homeowner sprinkler blowout hacks crowdsource wisdom.
Maintenance Schedule Year-Round
Spring: Startup check
Summer: Mid-season audit
Fall: Blowout
Winter: Visual inspection
Consistency prevents surprises. Yearly irrigation maintenance calendar structures care.
Final Thoughts: Take Action Today
Your sprinkler system cost thousands. Protect it with one afternoon of work. Follow these steps. Sleep easy through blizzards.
Start now. Frost waits for no one. Complete sprinkler system blowout secures your landscape investment.

