How To Plant Jicama?
Jicama, also known as yam bean or Mexican turnip, offers a delightful, crisp, and slightly sweet flavor that enhances various culinary creations. Growing your own jicama allows you to enjoy this unique vegetable fresh from your garden. This comprehensive guide walks you through every step of planting jicama, ensuring a successful and rewarding harvest. From understanding jicama’s needs to troubleshooting potential problems, you will gain the knowledge and confidence to cultivate this fascinating root vegetable.
Understanding Jicama: A Tropical Treasure
Before diving into the planting process, it’s helpful to understand jicama’s characteristics and growing requirements. Jicama (Pachyrhizus erosus) thrives in warm climates with a long growing season. It’s a legume, but unlike other legumes where the pods are eaten, jicama is cultivated for its large, edible root. The above-ground parts of the plant, including the leaves, stems, and pods, contain rotenone and are toxic, so it’s important to handle them with care.
Jicama’s Climate and Growing Season
Jicama loves warmth! It requires a frost-free environment and a growing season of at least 150 days to produce a sizable root. Gardeners in cooler climates can still grow jicama, but starting seeds indoors and using season extension techniques are essential.
Soil Preferences for Jicama
Well-drained soil is crucial for jicama. The roots rot easily in soggy conditions. Aim for a sandy loam soil that’s rich in organic matter. A slightly acidic to neutral pH (6.0 to 7.0) is ideal. Preparing your soil properly sets the stage for healthy jicama growth.
Getting Started: Planting Jicama
Now, let’s explore the step-by-step process of planting jicama. Whether you’re starting from seed or transplanting seedlings, these guidelines will help you get started.
Starting Jicama from Seed
Growing jicama from seed requires patience, particularly in cooler climates. Here’s how to do it:
- Soaking the Seeds: Soak jicama seeds in warm water for 24 hours before planting. This helps to soften the hard seed coat and encourages germination.
- Sowing Indoors: Start seeds indoors 8-10 weeks before the last expected frost. Use peat pots or biodegradable containers to minimize root disturbance during transplanting.
- Planting Depth and Spacing: Sow seeds about ½ inch deep in a well-draining seed-starting mix. Keep the soil consistently moist but not waterlogged.
- Providing Warmth: Jicama seeds germinate best in warm conditions (70-80°F). Use a heat mat to maintain consistent soil temperature.
- Light Requirements: Once seedlings emerge, provide them with plenty of light. A sunny windowsill or grow lights work well.
- Hardening Off: Before transplanting outdoors, gradually acclimate the seedlings to outdoor conditions over a period of 7-10 days. This process, called hardening off, reduces transplant shock.
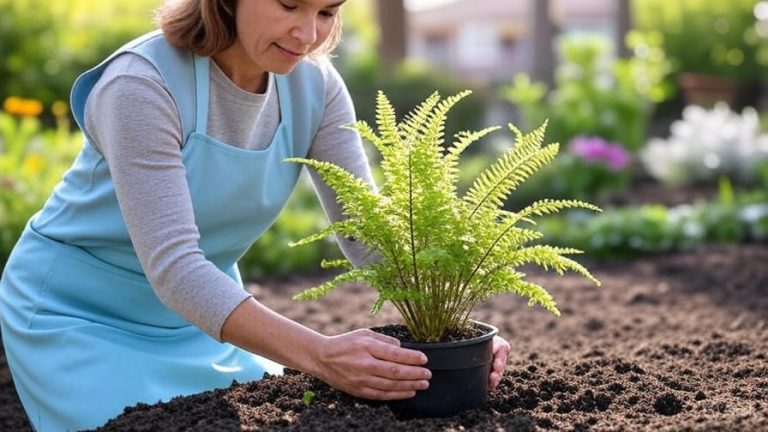
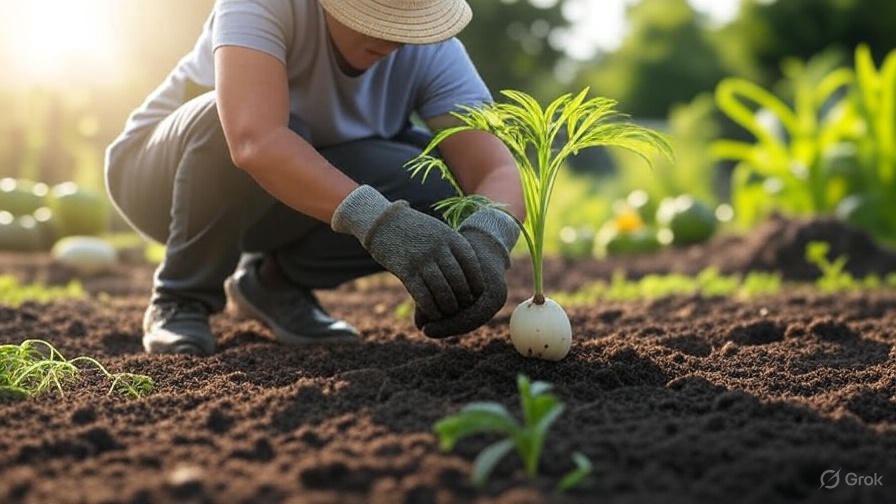
Transplanting Jicama Seedlings
Once the danger of frost has passed and the soil has warmed up, it’s time to transplant your jicama seedlings into the garden.
- Preparing the Garden Bed: Choose a sunny location with well-drained soil. Amend the soil with compost or other organic matter to improve fertility and drainage.
- Spacing: Space jicama plants 12-18 inches apart in rows that are 3-4 feet apart. This allows ample room for the vines to spread.
- Planting Depth: Plant the seedlings at the same depth they were growing in their containers. Gently remove the seedlings from their pots, being careful not to damage the roots.
- Watering: Water the transplants thoroughly after planting. This helps to settle the soil around the roots and reduces transplant shock.
- Mulching: Apply a layer of mulch around the plants to help retain moisture, suppress weeds, and regulate soil temperature. Organic mulches like straw or shredded leaves work well.
Direct Sowing Jicama Seeds
In regions with long, warm growing seasons, you can direct sow jicama seeds into the garden. Wait until the soil temperature reaches at least 65°F before planting.
- Preparing the Soil: Prepare the garden bed as described above, ensuring the soil is well-drained and amended with organic matter.
- Sowing Seeds: Sow seeds about ½ inch deep and 12-18 inches apart.
- Watering: Keep the soil consistently moist until the seeds germinate.
- Thinning: Once the seedlings emerge, thin them to one plant per spacing to allow for optimal growth.
Caring for Your Jicama Plants
After planting, proper care is essential for healthy jicama growth and a bountiful harvest. Consistent watering, fertilization, and pest control are all important aspects of jicama care.
Watering Jicama
Jicama needs consistent moisture, especially during hot, dry periods. Water deeply and regularly, ensuring the soil remains evenly moist. Avoid overwatering, as this can lead to root rot. Using a soaker hose or drip irrigation can help deliver water directly to the roots, minimizing water loss and reducing the risk of fungal diseases.
Fertilizing Jicama
Jicama benefits from regular fertilization. Apply a balanced fertilizer (e.g., 10-10-10) every 4-6 weeks during the growing season. Alternatively, you can use organic fertilizers like compost tea or fish emulsion. Avoid over-fertilizing with nitrogen, as this can promote excessive vine growth at the expense of root development.
Controlling Pests and Diseases
Jicama is relatively pest-resistant, but some common garden pests can cause problems. Aphids, spider mites, and bean beetles may attack the foliage. Regularly inspect your plants and take action promptly if you notice any signs of infestation.
- Aphids: Spray aphids with a strong stream of water or use insecticidal soap.
- Spider Mites: Increase humidity around the plants and use miticides if necessary.
- Bean Beetles: Handpick beetles and larvae or use an appropriate insecticide.
Root rot is the most common disease affecting jicama. To prevent root rot, ensure the soil is well-drained and avoid overwatering. If you notice any signs of root rot, such as yellowing leaves or stunted growth, remove the affected plants immediately to prevent the disease from spreading.
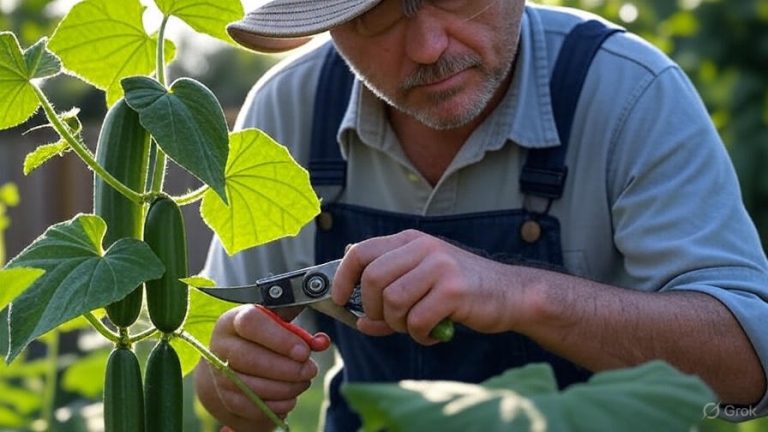
Training and Pruning Jicama Vines
Jicama vines can grow quite long and sprawling. Providing support, such as a trellis or fence, can help keep the vines off the ground and improve air circulation. Pruning the vines can also encourage root development. Remove any flowers that appear, as flowering diverts energy away from root growth. Pinching off the tips of the vines can also promote bushier growth and larger roots.
Harvesting Jicama
Harvesting jicama is an exciting culmination of your efforts. Knowing when and how to harvest ensures you get the best flavor and texture from your homegrown jicama.
When to Harvest
Jicama is typically ready to harvest 4-6 months after planting, or when the roots reach 4-6 inches in diameter. The exact harvest time depends on the variety, growing conditions, and your personal preferences. A good indication that jicama is ready to harvest is when the leaves start to turn yellow and die back. You can also gently dig around the base of the plant to check the size of the root.
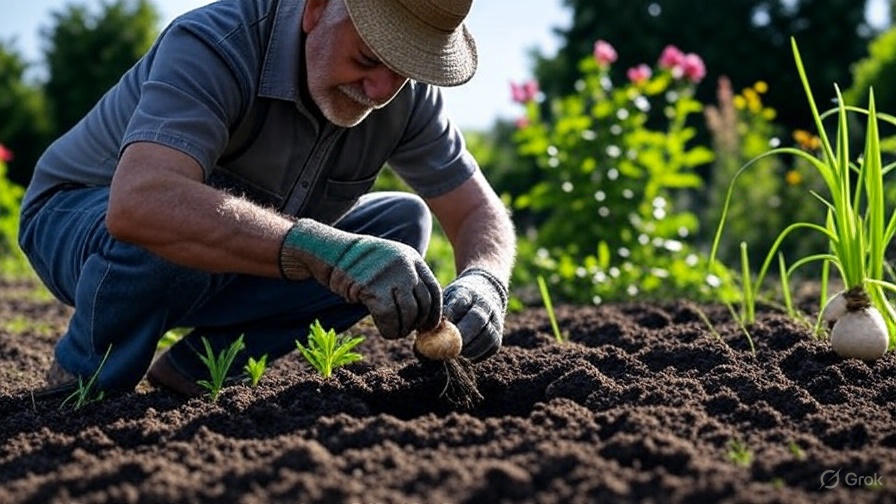
How to Harvest
Harvesting jicama is relatively straightforward:
- Loosening the Soil: Use a garden fork or shovel to loosen the soil around the base of the plant.
- Pulling the Root: Gently pull the jicama root out of the ground, being careful not to damage it.
- Cleaning: Brush off any excess soil from the root.
- Cutting the Vines: Cut off the vines a few inches above the root.
Storing Jicama
Jicama can be stored for several weeks in a cool, dry place. The ideal storage temperature is between 55-60°F. Avoid storing jicama in the refrigerator, as this can cause it to become mushy. To prevent drying out, you can wrap the jicama root in plastic wrap or store it in a plastic bag with a few small holes for ventilation.
Enjoying Your Homegrown Jicama
Now that you’ve harvested your jicama, it’s time to enjoy the fruits (or rather, roots) of your labor! Jicama is a versatile vegetable that can be enjoyed in a variety of ways.
Culinary Uses for Jicama
Jicama has a crisp, slightly sweet flavor that makes it a delicious addition to salads, slaws, and stir-fries. It can also be eaten raw as a snack, either on its own or with dips. Some popular culinary uses for jicama include:
- Salads: Add julienned jicama to salads for a refreshing crunch.
- Slaws: Use jicama as a base for slaws, combining it with shredded cabbage, carrots, and a creamy dressing.
- Stir-fries: Add diced jicama to stir-fries for a slightly sweet and crunchy texture.
- Snacks: Cut jicama into sticks and serve with dips like hummus or guacamole.
- Jicama Fries: Bake or fry jicama sticks for a healthy alternative to potato fries.
Nutritional Benefits of Jicama
Jicama is not only delicious but also packed with nutrients. It’s a good source of fiber, vitamin C, and potassium. It’s also low in calories and carbohydrates, making it a healthy choice for those watching their weight or blood sugar levels. Eating jicama can contribute to improved digestion, immune function, and overall health.
Troubleshooting Common Jicama Growing Problems
Even with the best care, you may encounter some challenges when growing jicama. Here are some common problems and how to address them:
- Poor Germination: If your jicama seeds aren’t germinating, ensure the soil is warm enough and consistently moist. Soaking the seeds before planting can also improve germination rates.
- Slow Growth: Slow growth can be caused by a variety of factors, including poor soil, lack of sunlight, and insufficient water. Amend the soil with compost, ensure the plants receive at least 6 hours of sunlight per day, and water regularly.
- Root Rot: Root rot is caused by overwatering and poorly drained soil. Improve drainage by adding sand or perlite to the soil and avoid overwatering.
- Pest Infestations: Regularly inspect your plants for pests and take action promptly if you notice any signs of infestation. Use organic pest control methods whenever possible.
Advanced Jicama Growing Techniques
For experienced gardeners looking to maximize their jicama yields, here are some advanced techniques to consider:
- Grafting: Grafting jicama onto other vigorous rootstocks can improve disease resistance and increase yields.
- Hydroponics: Growing jicama hydroponically allows for precise control over nutrients and growing conditions, potentially leading to faster growth and larger roots.
- Succession Planting: Planting jicama seeds or seedlings every few weeks can extend the harvest season.
Jicama Varieties to Explore
While most jicama sold commercially is of a similar type, exploring different varieties can add diversity to your garden and culinary experiences. Some varieties may offer slightly different flavors, textures, or growing characteristics.
- Early Season Varieties: Look for varieties that mature more quickly if you have a shorter growing season.
- Larger Root Varieties: Some varieties are known for producing exceptionally large roots.
- Heirloom Varieties: Explore heirloom varieties for unique flavors and characteristics.
Conclusion
Growing jicama can be a rewarding experience. From starting seeds indoors to harvesting the crisp, sweet roots, each step offers a chance to connect with nature and enjoy the bounty of your garden. By following this comprehensive guide, you’ll be well-equipped to cultivate healthy jicama plants and enjoy this versatile vegetable in a variety of culinary creations. So, get your hands dirty, embrace the process, and savor the deliciousness of homegrown jicama!