How To Add Acid To Soil
Gardening success often depends on the chemistry hidden beneath the surface of the ground. Many popular plants require specific conditions to pull nutrients from the earth effectively. Learning how to add acid to soil is a key skill for gardeners who want to grow healthy, vibrant vegetation. This article explains the process of lowering pH levels in a clear and simple way. It covers why acidity matters, how to test the ground, and which materials are safest for different garden needs. By following these steps, gardeners can create the right environment for their favorite plants.
In this article
Key Takeaways
- Soil pH measures the acidity or alkalinity of the ground, which dictates how well plants absorb nutrients.
- Always test the soil before adding any amendments to ensure you do not over-correct the balance.
- Elemental sulfur is a common choice for long-term pH adjustment, while aluminum sulfate acts much faster.
- Adding acid is a gradual process that requires patience to avoid damaging sensitive plant roots.
Why Soil pH Matters for Your Plants
Soil pH is a scale used to measure how acidic or alkaline the ground is. The scale runs from 0 to 14, with 7 being neutral. Most garden plants prefer a slightly acidic range between 6.0 and 7.0, but some specific plants like blueberries or azaleas need much lower numbers.
How pH Levels Affect Nutrient Absorption
When soil pH is too high, it becomes alkaline. In alkaline conditions, many essential nutrients like iron and manganese become trapped in the soil. Even if these nutrients are present, plants cannot absorb them through their roots. As a result, plants may show signs of stress even when they receive regular fertilizer. They might develop yellow leaves with green veins, a condition known as chlorosis. Correcting the pH makes these nutrients soluble again so the plant can feed properly.
Signs Your Soil Needs More Acidity
Plants provide subtle clues when they struggle with high pH levels. If a plant that loves acid starts to look stunted or develops pale foliage, the ground might be too alkaline. Poor flower production is another sign that the plant lacks the necessary fuel to thrive. Some gardeners notice that certain weeds grow better in their garden than their ornamental plants. These weeds often thrive in alkaline conditions that inhibit the growth of more sensitive species. Observing the overall health of your garden is the first step toward better soil management.
Testing Your Soil Before You Start
Never add materials to your garden without knowing the current pH level. Guessing can lead to an environment that is too acidic, which is just as harmful as one that is too alkaline. A proper test provides the baseline data needed for safe adjustments.
Using a Simple Home Test Kit
Home test kits are available at most garden centers and provide a quick overview of your soil. These kits usually involve mixing a small soil sample with a specific solution provided in the package. The mixture changes color, which you then compare to a printed chart. Digital meters are another common tool for testing. You simply insert the probe into moist soil to get a reading on a screen. Both methods are effective for hobby gardeners who need general information rather than precise laboratory data.
Interpreting Your pH Results
Read the instructions on your kit carefully to understand the results. Most results will tell you the exact pH number. If your soil is only slightly above your target, you might not need to do much at all. If the number is significantly higher than your target, you have a clear goal for improvement. Keep a record of your results to track how the soil changes over time. Consistency in testing helps you avoid drastic swings in chemistry.
Common Materials to Lower Soil pH
There are several ways to increase the acidity of the garden. Each material works at a different speed and carries unique benefits for the soil structure. Knowing the differences helps you pick the right tool for the job.
Elemental Sulfur for Long-Term Results
Elemental sulfur is the most popular choice for lowering pH. Soil bacteria must process the sulfur before it lowers the acidity, which makes it a slow-acting amendment. This slow release is beneficial because it prevents sudden, harsh changes in the soil chemistry. Most gardeners apply sulfur during the growing season to allow it time to work. Because it takes time to see a full effect, it is not the right choice for an immediate emergency fix. However, it is very effective for sustained, long-term soil health.
Sphagnum Peat Moss and Organic Matter
Peat moss is a natural way to introduce acidity while improving soil structure. It holds water well and adds organic material that beneficial microbes enjoy. This is a great choice if your soil is also sandy or lacks nutrients. The effect of peat moss is milder than chemical sulfur. It is best used when planting new shrubs or flowers that require an acidic home. Mix it thoroughly into the existing soil to ensure even distribution around the root zone.
Aluminum Sulfate for Rapid Changes
Aluminum sulfate works much faster than elemental sulfur. It reacts with the soil almost immediately to drop the pH level. This speed is helpful if you need to fix a severe deficiency, but it requires careful handling. Because it works so quickly, there is a higher risk of burning plant roots. Always follow the package instructions for dosage rates very strictly. Use this material only when you need a quick adjustment for specific, established plants.
Step-by-Step Guide to Adding Acid to Soil
Applying soil amendments requires a methodical approach. Start by clearing the area of debris and weeds to ensure the material reaches the soil surface. Preparation is the foundation of a successful amendment process.
Calculating the Correct Amount
Read the label on your chosen amendment to determine how much to use per square foot. The amount depends on your current pH and your target pH. Never assume that more is better, as an overdose can harm beneficial soil life. If your soil is heavy clay, it may require more material to change the pH than light, sandy soil. Check the manufacturer’s chart for soil type adjustments. Use a small scale or measuring cup to ensure you apply exactly the right amount.
Applying the Material Safely
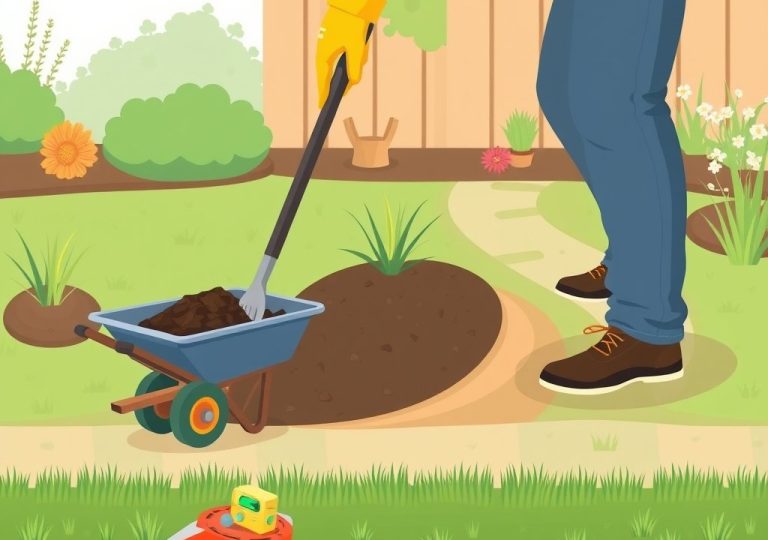
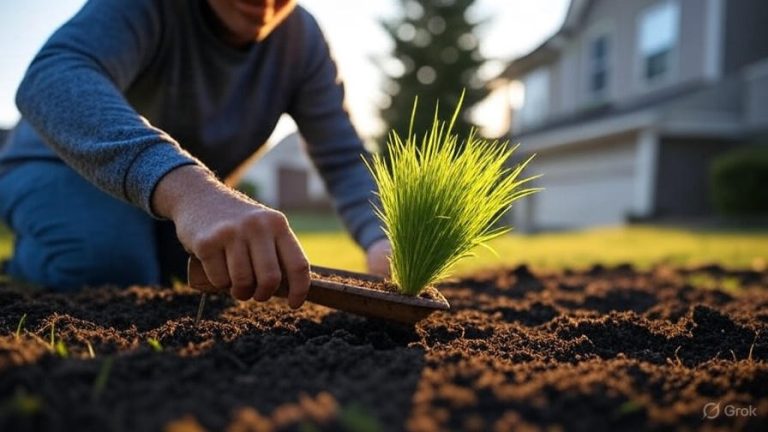
Spread the amendment evenly over the surface of the soil. Use a rake or a trowel to work the material into the top few inches of the ground. Avoid digging too deeply, as you do not want to disturb the existing root systems of nearby plants. Wear gloves and long sleeves during the application process. Some amendments can irritate the skin or eyes if they are handled improperly. Always work on a calm day to prevent dust from blowing into your face.
Mixing and Watering for Best Results
Watering is a critical step after applying any amendment. Water helps the material move into the soil profile where the roots can access it. Use a gentle spray to avoid washing the particles away from the treatment area. Allow the soil to settle for a few weeks before testing again. Do not rush to re-apply if the pH does not change overnight. Patience is essential when working with the natural chemistry of the earth.
Important Safety Tips and Precautions
Always store your soil amendments in their original containers. Keep them in a cool, dry place away from the reach of children and pets. Proper storage ensures the material remains effective and safe to use. If you are treating a large area, divide it into smaller sections. This makes it easier to track your progress and avoid over-treating any single spot. If you spill excess material, sweep it up rather than hosing it into the storm drain. Finally, wash your hands thoroughly after working in the garden. Even organic amendments can contain dust or minerals that should not be ingested. Taking these small precautions keeps your gardening experience safe and productive.
Frequently Asked Questions
Can I use vinegar to lower soil pH?
Vinegar is not recommended for long-term soil adjustment. While it is acidic, its effects are temporary and it can kill beneficial soil bacteria. It is better to use dedicated soil amendments designed for garden safety.
How often should I test my soil pH?
Test your soil periodically to monitor changes. If you are actively trying to lower the pH, test it again after a few weeks to track progress. Consistent testing prevents you from over-correcting the environment.
Will adding acid hurt my established plants?
It can harm them if you apply too much at once or if you get the material directly on the leaves. Always apply amendments to the soil surface and mix them in gently. If you are unsure, start with a smaller amount than the label suggests.
Does coffee ground help make soil acidic?
Used coffee grounds are slightly acidic, but they do not significantly lower soil pH on their own. They are better used as a source of organic matter and nitrogen for compost. Do not rely on them as your primary method for changing pH levels.
How long does it take for pH levels to change?
Elemental sulfur can take several weeks or longer to show a significant change in pH. Aluminum sulfate acts much faster, often within a few weeks. Always wait at least a month before testing the soil again to allow the amendment to stabilize.
Conclusion
Changing the acidity of your soil is a rewarding task that helps your garden reach its full potential. By testing your ground and using the right materials, you create an environment where plants can thrive. Start with small, measured steps to ensure the health of your soil. Remember that patience is the most important tool in your gardening kit. Soil chemistry does not change instantly, and gradual adjustments are always safer for your plants. With a bit of practice and observation, you can master the balance of your garden soil.
Hi, I’m Mary, the founder of GardenCure.com. I’m passionate about creating healthy, beautiful gardens and well-kept lawns. I share practical experience and trusted advice on garden and lawn gear that truly works. With the support of my dedicated research team, our writers produce honest, in-depth reviews using reliable, authentic sources—helping you choose the right tools with confidence for your outdoor space.