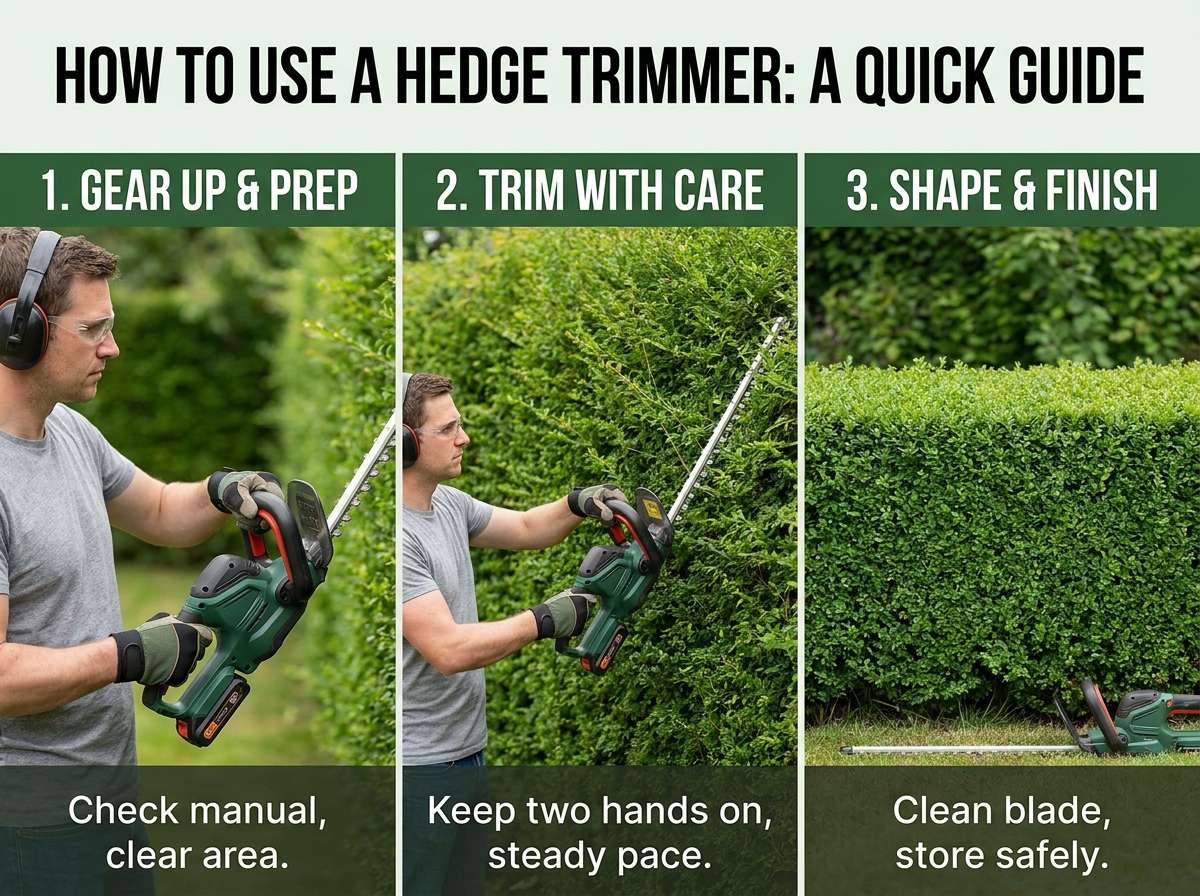
How to Use a Hedge Trimmer?
Trimming a hedge sounds like a small job, but it can turn a messy yard into a neat, tidy space in just a few hours. A lot of people feel nervous the first time they pick up a hedge trimmer. That’s normal. The tool looks a bit scary with its long blade and buzzing sound, but once you know the basic steps, it’s actually pretty easy to use.
In this article
This guide walks you through everything you need to know, from picking the right trimmer to cutting clean lines and taking care of your tool after the job is done. By the end, you’ll feel ready to shape your hedges like someone who’s been doing it for years.
Why Hedge Trimming Matters
Hedges do more than mark the edge of your yard. They give your home a clean look, they act as a natural fence, and they can even help block wind and noise. But if you skip trimming, a hedge grows wild fast. Branches stick out in odd directions, leaves pile up in thick clumps, and the whole thing starts to look messy instead of neat.
Regular trimming keeps your hedge healthy too. Cutting off the outer layer pushes the plant to grow thicker and fuller instead of tall and thin. So a well-trimmed hedge isn’t just about looks. It’s also about keeping the plant strong for the long run.
Types of Hedge Trimmers You Can Use
Before you start cutting, it helps to know the main kinds of trimmers out there. Each one works a little differently, and the best pick depends on your yard size, budget, and how much power you need.
Corded Electric Trimmers
These plug straight into a power outlet. They’re light, easy to start, and usually cheaper than other options. The downside is the cord itself. You have to work near an outlet and drag the cord around the yard, which can get annoying if your hedge is large or far from the house.
Cordless Battery Trimmers
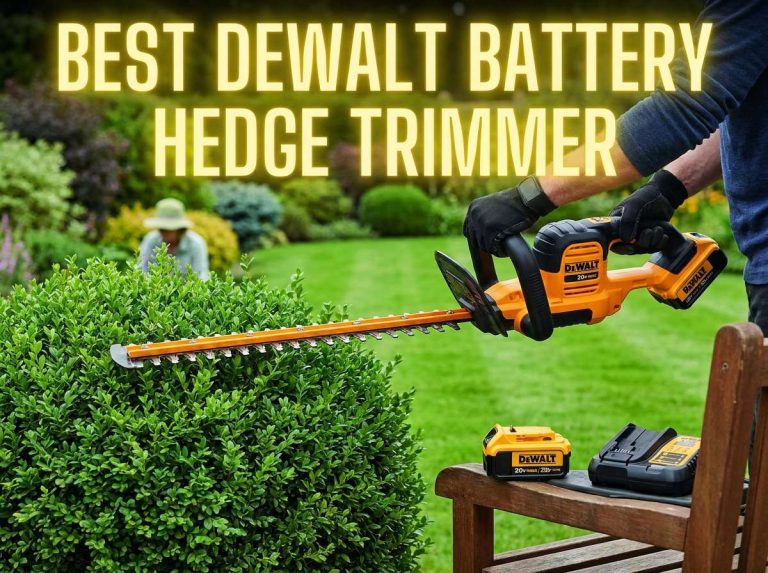
Battery-powered trimmers give you freedom to move without a cord getting in the way. They’re quieter than gas models and easier on the arms since they’re often lighter. The only catch is battery life. For a big hedge, you might need to stop and recharge partway through.
Gas-Powered Trimmers
Gas trimmers pack the most power and can chew through thick, tough branches with ease. They’re a solid pick for large properties or hedges that haven’t been cut in a while. On the flip side, they’re heavier, louder, and need fuel and regular engine care to keep running well.
Manual Hedge Shears
Old-school hand shears still have a place, especially for small hedges or fine detail work. They don’t need power at all, and they’re the quietest option by far. The trade-off is time and effort. Cutting a big hedge by hand takes a lot longer and can tire your arms out fast.
If your hedge is small and neat, a corded or battery trimmer usually does the job just fine. Larger, thicker hedges often call for a gas model or at least a strong battery trimmer with a long blade.
Safety Gear You Need Before You Start
A hedge trimmer has a sharp, moving blade, so safety comes first, no matter which type you use. Here’s what to put on before you touch the tool:
- Gloves – Thick garden gloves protect your hands from cuts and give you a better grip on the handle.
- Safety glasses or goggles – Twigs and small bits of leaf can fly up while you cut, so eye protection is a must.
- Long sleeves and pants – These keep scratches and flying debris off your skin.
- Sturdy shoes – Closed-toe shoes with good grip keep your footing steady on grass or soil.
- Ear protection – Gas trimmers can be loud, so earplugs or earmuffs help protect your hearing during longer jobs.
It also helps to check the area around the hedge before you start. Move toys, hoses, rocks, or anything else that could get in the way or get thrown by the blade.
Getting the Hedge Ready
A little prep work makes the actual trimming much smoother. Start by looking at your hedge from a few steps back. Notice the shape it already has, any spots that stick out too far, and any dead or brown branches that need to go.
Next, set up a guide if you want straight, even lines. Many people stretch a piece of string between two stakes at the height they want the top of the hedge to sit. This string acts as a simple line to follow, so you don’t end up with a wavy top.
Check the branches for anything hidden inside, like bird nests, bugs, or thick woody stems that a trimmer might struggle to cut. Thick, old wood is often better handled with hand pruners or loppers instead of the trimmer blade.
Last, look at the weather. A dry day is best. Wet leaves and branches are heavier, slippery, and harder to cut cleanly, plus they can make the trimmer’s grip feel less steady in your hands.
How to Hold and Start the Trimmer
Once you’re geared up and the area is ready, it’s time to get comfortable with the tool itself.
- Check the blade first. Look it over for loose screws, bent teeth, or any damage before turning it on.
- Hold it with both hands. Most trimmers have a front handle and a back handle built for a two-hand grip. This gives you better control and balance.
- Keep your feet apart and stable. A wide stance helps you stay steady, especially if the hedge is tall and you need to reach up.
- Start the trimmer away from your body. Point the blade away from yourself and anyone nearby before you switch it on.
- Get a feel for the weight. Move the trimmer slowly through the air a few times before touching the hedge, just so your arms adjust to the balance and vibration.
If you’re using a gas model, follow the starter steps in the manual, since these often need a choke and a pull cord to get going. Battery and corded models are simpler. Just flip the switch and you’re set.
Basic Trimming Technique
Now for the part everyone’s waiting for: actually cutting the hedge. Here’s how to do it step by step.
Start With the Top
Work on the top of the hedge first. Move the trimmer in a smooth, sweeping motion, side to side, like you’re using a large pair of scissors. Keep the blade level and follow the string guide if you set one up earlier. Try not to press down too hard. Let the blade do the work instead of forcing it through thick branches.
Move to the Sides
After the top is even, shift to the sides. A good trick here is to angle the hedge slightly, so the bottom is a bit wider than the top. This shape is called tapering, and it lets sunlight reach the lower branches, which keeps the whole hedge green and full instead of bare at the base.
Cut in upward strokes on the sides, moving from the bottom to the top. This tends to give a cleaner finish than cutting straight across, since it follows the natural direction the branches grow.
Take Small Passes
Don’t try to remove a huge chunk in one go. Small, steady passes give you more control and a cleaner result. If the hedge has grown a lot, it’s better to trim it down gradually over a couple of sessions rather than hacking off too much at once, which can shock the plant and leave bare patches.
Step Back Often
Stop every few minutes and step back to check your progress. It’s easy to lose track of the overall shape when you’re close up and focused on one small section. A quick look from a distance helps you catch uneven spots before they turn into a bigger problem.
Clean Up the Edges
Once the main shape looks good, go back over the edges and corners for a sharp, tidy finish. This is also a good time to trim any stray branches that stick out past the main line of the hedge.
Best Time to Trim a Hedge
Timing matters more than people think. Trim too early in the growing season and the hedge might grow back messy right away. Trim too late and you could cut off flower buds or disturb birds that are nesting inside.
As a general rule, early growing season, once new shoots have hardened a bit, is a solid window for a light shape-up. A second trim later in the warm season keeps things neat through the rest of the year. For flowering hedges, it’s smart to wait until after the blooms fade before giving them a full cut, so you don’t lose the flowers you were hoping to see.
Cold seasons are usually not a good time to trim, since plants grow slowly then and fresh cuts can be more likely to suffer frost damage.
Common Mistakes to Avoid
Even simple jobs like hedge trimming come with a few common slip-ups. Here’s what to watch out for.
Cutting too much at once. Removing a huge amount of growth in a single session stresses the plant and can leave it looking patchy for a long time.
Ignoring the shape. Skipping the tapering trick and cutting the sides straight up and down often leads to bare, dead patches near the bottom, since sunlight can’t reach the lower leaves.
Rushing the job. Moving the trimmer too fast leads to uneven cuts and missed spots. Slow, steady movement gives a much cleaner result.
Skipping blade care. A dull or dirty blade tears branches instead of cutting them cleanly, which leaves the hedge looking rough and can also slow healing on the plant.
Forgetting safety gear. Even a quick five-minute trim deserves gloves and eye protection. Accidents tend to happen when people think a job is too small to bother with safety steps.
Trimming in wet weather. As mentioned earlier, wet branches are harder to cut and more likely to cause slips or an uneven finish.
Taking Care of Your Trimmer After Use
A hedge trimmer lasts much longer if you give it a little attention after each use. This part often gets skipped, but it really pays off over time.
Clean the Blade
Sap, leaves, and small bits of branch tend to stick to the blade after a session. Wipe it down with a cloth or brush right after you finish, before the debris has a chance to dry and harden.
Check for Damage
Look over the blade for any nicks, bent teeth, or loose bolts. Catching small issues early stops them from turning into bigger repairs down the road.
Oil the Blade
A light coat of blade oil helps stop rust and keeps the cutting edges moving smoothly. Most hardware stores sell oil made just for trimmer blades, though a general machine oil works in a pinch.
Charge or Refuel
For battery models, put the pack on the charger so it’s ready for next time. For gas trimmers, either top off the fuel or drain the tank if you’re storing it for a long stretch, since old fuel can gunk up the engine.
Store It Properly
Keep the trimmer in a dry spot, away from rain and direct sun. A lot of models come with a blade cover or sheath. Use it. This protects the blade edge and keeps it from catching on anything in storage.
Quick Recap
Trimming a hedge doesn’t need to feel like a big, scary task. Once you break it down, the whole process is really just a handful of simple steps: gear up, prep the area, hold the tool the right way, cut in smooth, steady passes, and clean everything up when you’re done. Give the plant a slightly wider base than the top, take your time with small cuts, and step back often to check your progress.
With a bit of practice, trimming will start to feel almost relaxing instead of stressful. Your hedges will look sharp, your yard will feel more put together, and you’ll have a skill you can use again and again, season after season.
Frequently Asked Questions
How often should I trim my hedge? Most hedges do well with a light trim once during the early growing season and a second one later on. Fast-growing types might need a bit more attention throughout the year.
Can I use a hedge trimmer on thick, woody branches? Most trimmers are built for green growth, not thick old wood. For branches thicker than a pencil, hand pruners or loppers usually work better and put less strain on the trimmer’s motor.
Is a cordless trimmer strong enough for a big hedge? It depends on the battery and motor power. Many newer battery models handle medium to large hedges just fine, though you might need a spare battery on hand for a really big job.
What’s the best angle to hold the trimmer at? Keep the blade close to flat against the hedge surface, with just a slight tilt in the direction you’re cutting. This gives a clean, even line without gouging into the plant.
Do I need to sharpen the blade myself? Some people sharpen their own blades with a file, while others take the trimmer to a shop for a professional sharpen. Either way, a sharp blade makes a huge difference in how clean your cuts turn out.

Hi, I’m Mary, the founder of GardenCure.com. I’m passionate about creating healthy, beautiful gardens and well-kept lawns. I share practical experience and trusted advice on garden and lawn gear that truly works. With the support of my dedicated research team, our writers produce honest, in-depth reviews using reliable, authentic sources—helping you choose the right tools with confidence for your outdoor space.