How to Use Herbicide?
Weeds are annoying. They pop up in your lawn, your flower beds, and even between your patio bricks, and they seem to grow faster than anything you actually planted on purpose. If you have ever stood in the garden aisle staring at rows of herbicide bottles feeling totally lost, you are not alone. This guide breaks down everything you need to know about using herbicide the right way, so you can clear out weeds without hurting your grass, your plants, or yourself.
In this article
We will walk through what herbicide actually is, the different types you can buy, how to pick the right one for your yard, and the exact steps to apply it safely. By the end, you will feel confident enough to grab a bottle and get to work.
What Is Herbicide, Exactly?
Herbicide is simply a chemical product made to kill or slow down unwanted plants. Most people call it “weed killer,” and that name pretty much sums up the job it does. Some herbicides target one specific type of plant, while others wipe out anything green they touch.
Farmers, landscapers, and home gardeners all use herbicide because pulling weeds by hand takes forever and the roots often grow back within days. A good herbicide gets down to the root system and stops the weed from coming back, which saves you hours of backbreaking work.
The Main Types of Herbicide
Before you buy a bottle, it helps to know the basic categories. Each one works a little differently, and the wrong choice can waste your money or damage the plants you wanted to keep.
Selective Herbicide
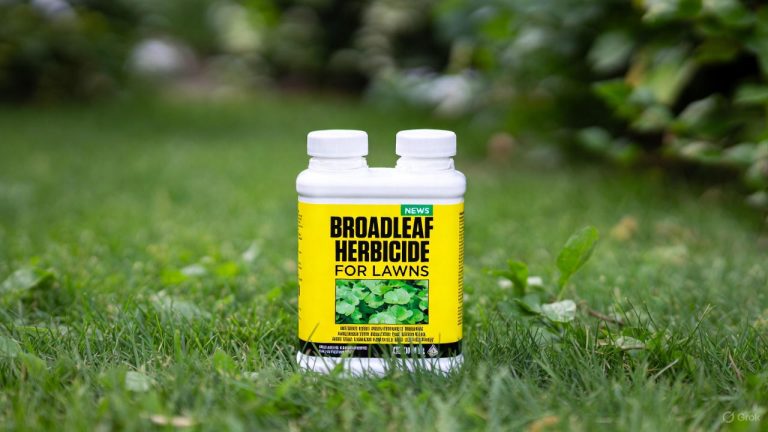
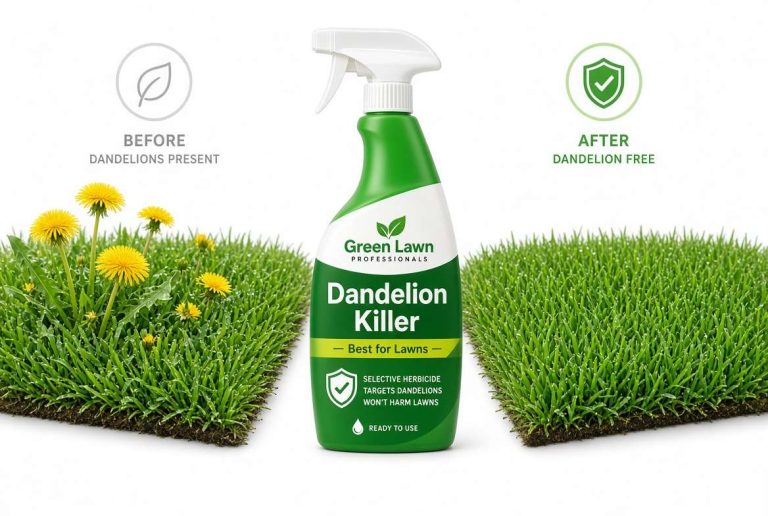
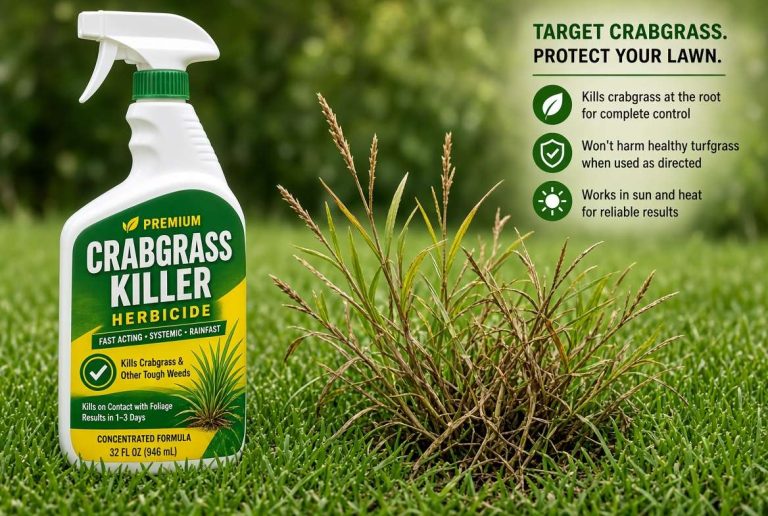
Selective herbicide only kills certain kinds of plants, like broadleaf weeds, and leaves your grass alone. This is the type most homeowners reach for when they want a clean lawn without bald patches. Dandelions, clover, and crabgrass are common targets for this kind of product.
Non-Selective Herbicide
Non-selective herbicide kills almost any plant it touches, grass included. It works great on driveways, gravel paths, or areas where you want nothing growing at all. You need to be extra careful with the spray nozzle here, since one gust of wind can send it drifting onto your flower bed.
Pre-Emergent Herbicide
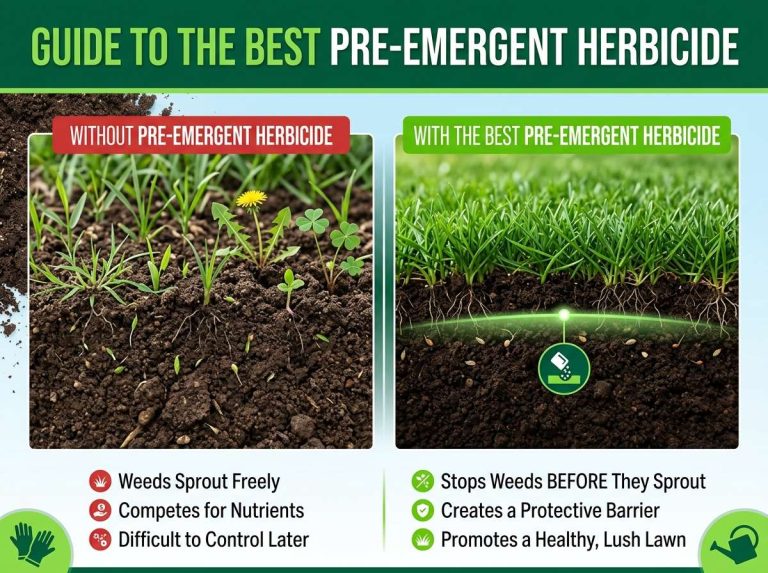
Pre-emergent herbicide stops weed seeds from sprouting in the first place. You put it down before the weeds even show up, almost like laying a barrier under the soil. It works best on lawns that deal with the same weed problem every season.
Post-Emergent Herbicide
Post-emergent herbicide goes after weeds that have already popped up and are visibly growing. Most of the bottles you see at the store fall into this group, since it is the easiest type to use once you spot a problem.
Systemic Herbicide
Systemic herbicide gets absorbed into the plant and travels down to the roots, killing the whole thing from the inside out. It takes a bit longer to see results, but it does a thorough job on stubborn perennial weeds.
Contact Herbicide
Contact herbicide only kills the parts of the plant it physically touches, like the leaves and stems. It acts fast, often within hours, but the roots can survive and send up new growth later. This type works best on young weeds or annual plants that die off easily.
How to Pick the Right Herbicide for Your Yard
With so many bottles on the shelf, narrowing down your options can feel overwhelming. Here are a few easy questions to ask yourself before you buy anything.
What kind of weeds are you dealing with? Broadleaf weeds like dandelions need a different formula than grassy weeds like crabgrass. Check the label for a list of weeds it targets, and match it against what is actually growing in your yard.
Where are you spraying? A lawn full of grass calls for a selective herbicide. A gravel driveway or a crack in the sidewalk can handle the stronger non-selective type since there is no grass to protect.
Do you want to prevent weeds or kill existing ones? If your yard fights the same weeds every year, a pre-emergent product applied early can save you a ton of hassle later. If weeds are already up and growing, grab a post-emergent formula instead.
Are kids or pets running around your yard? Some herbicides need a longer wait time before it is safe for people and animals to walk on the treated area. Always check the label for this detail, since it varies quite a bit between products.
Do you prefer liquid or granular? Liquid herbicide usually comes in a spray bottle or gets mixed with water in a pump sprayer, and it works fast on visible weeds. Granular herbicide gets scattered over the soil like fertilizer and tends to work better for larger areas or prevention.
What You Need Before You Start
Gathering your supplies ahead of time makes the whole job smoother. Here is a simple checklist:
- The herbicide product itself, matched to your weed problem
- A pump sprayer or spray bottle, if using a liquid formula
- Rubber gloves to protect your hands
- Safety goggles to keep spray out of your eyes
- Long sleeves and pants, even on a warm day
- A mask, especially if you are sensitive to strong smells
- A measuring cup, if the product needs to be diluted
- A calm, dry day with little wind in the forecast
Herbicide chemicals can irritate skin and eyes, so skipping the protective gear is never worth the risk. It only takes a few minutes to gear up, and it keeps you safe the entire time you are working.
Step-by-Step: How to Apply Herbicide
Now let’s get into the actual process. Follow these steps in order, and you will get solid results without wasting product or damaging nearby plants.
Step 1: Read the Label Carefully
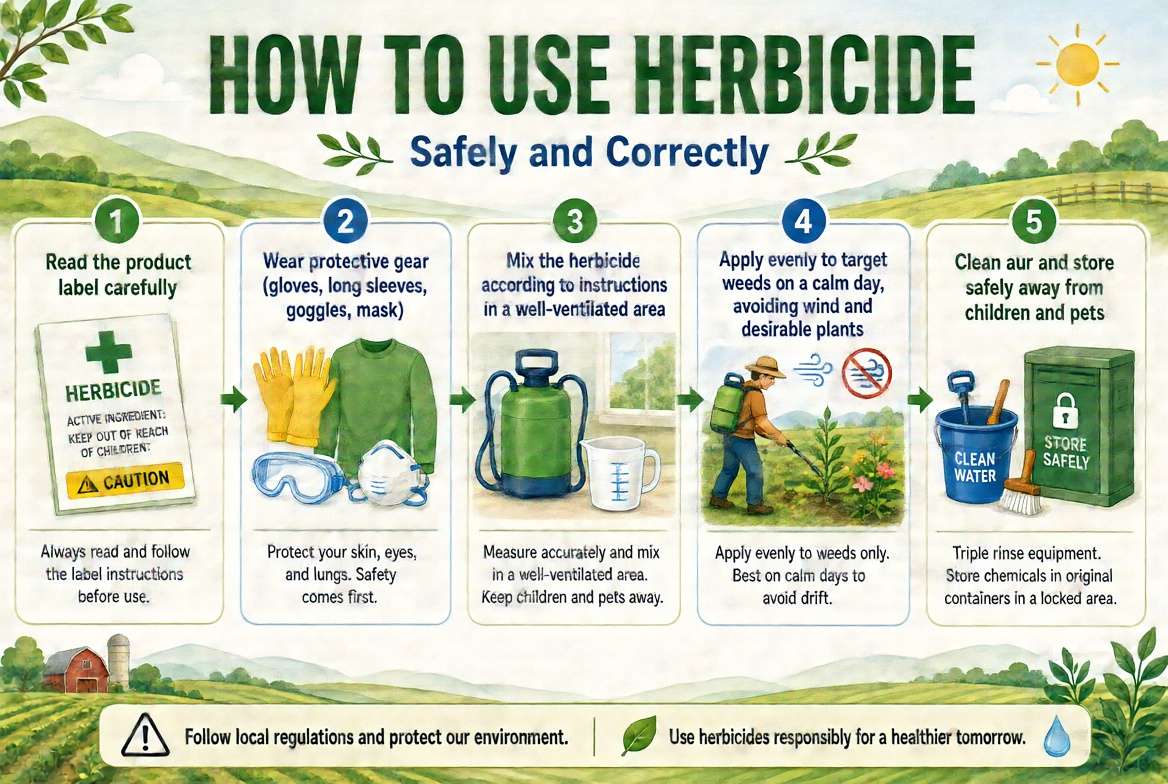
This step sounds boring, but it matters more than any other tip on this list. Every herbicide comes with instructions about mixing ratios, application timing, coverage area, and safety warnings. Labels differ from product to product, so do not assume one bottle works the same way as another you have used before.
Step 2: Check the Weather
Pick a day with little to no wind, since a breeze can carry spray onto plants you want to protect or even onto your neighbor’s yard. Rain in the next few hours can wash the herbicide away before it has a chance to work, so check the forecast first. Most products work best in mild temperatures, not during a blazing hot afternoon or a frosty morning.
Step 3: Prepare the Area
Clear away any toys, furniture, or hoses from the space you plan to treat. If you are using a selective herbicide near garden beds, cover nearby plants with a tarp or cardboard to shield them from drift. Mow the lawn a day or two before spraying, but avoid cutting the grass right after treatment since the leaves need time to absorb the chemical.
Step 4: Mix the Herbicide, If Needed
Some products come ready to use straight out of the bottle, while others need diluting with water. Follow the exact ratio listed on the label, since using too much can burn your grass and using too little might not kill the weeds at all. Pour the mixture into your pump sprayer and give it a gentle shake to combine everything evenly.
Step 5: Put On Your Protective Gear
Slip on your gloves, goggles, and mask before you touch the sprayer. Long sleeves and pants add another layer of protection, especially if you are working with a stronger non-selective formula.
Step 6: Apply the Herbicide
Walk slowly and spray in even, steady strokes, covering the weeds without soaking the ground excessively. Keep the nozzle close to the target plant rather than spraying from a distance, which helps cut down on drift. For granular products, use a spreader to scatter the pellets evenly across the lawn, following the coverage rate printed on the bag.
Try to spray directly onto the leaves of the weed, since that is where most absorption happens. Avoid spraying right before or after mowing, and give the herbicide a few hours of dry weather to soak in properly.
Step 7: Keep People and Pets Away
After spraying, keep kids and pets off the treated area for the amount of time listed on the label. This can range from a few hours to a full day or two, depending on the strength of the product. A small flag or sign in the yard works great as a reminder for everyone in the house.
Step 8: Clean Up Your Tools
Rinse out your sprayer, measuring cup, and any other tools with plain water once you finish. Leftover herbicide residue can damage other plants the next time you use the same equipment for something like fertilizer or insecticide. Store any unused product in its original container, sealed tightly, in a cool spot away from direct sunlight.
Step 9: Watch for Results
Post-emergent herbicides usually show visible wilting or yellowing within a few days, while systemic types can take a couple of weeks to fully kill the roots. If weeds are still thriving after the expected timeframe, you may need a second application, but always wait the recommended interval between treatments listed on the label.
Common Mistakes to Avoid
Even a simple task like spraying weed killer can go wrong if you rush through it. Here are a few slip-ups worth watching out for.
Spraying on a windy day. Drift can ruin nearby flowers, vegetables, or even a neighbor’s lawn in seconds. Always double-check the wind before you start.
Using the wrong type for the job. A non-selective herbicide sprayed across your whole lawn will kill the grass right along with the weeds, leaving you with brown patches everywhere.
Overdoing the dosage. More product does not mean faster results. It usually just wastes money and can damage the soil or surrounding plants.
Skipping protective gear. Bare hands and no goggles might feel fine for the first few minutes, but skin and eye irritation can show up later and linger for days.
Mowing too soon after treatment. Cutting the grass right after spraying removes the leaf surface the herbicide needs to work its way down to the roots.
Ignoring the reapplication schedule. Spraying too often can harm your lawn, while spraying too rarely leaves weeds a chance to bounce back stronger than before.
Natural and Low-Chemical Options
If you would rather avoid strong chemicals, a few gentler options exist. Vinegar-based sprays, often mixed with a bit of dish soap, can kill small weeds on contact, though they work slower and may need repeat treatments. Boiling water poured directly onto weeds growing in cracks or gravel can also do the trick without any chemicals at all. Corn gluten meal acts as a natural pre-emergent, stopping weed seeds from sprouting when spread early in the growing season.
These natural methods tend to work best on small patches rather than an entire yard full of stubborn weeds, but they are a solid starting point for anyone who wants to limit chemical use around kids, pets, or vegetable gardens.
Tips for Long-Term Weed Control
Herbicide handles the weeds you have right now, but a few habits can keep new ones from showing up as often.
Water your lawn deeply but less frequently, since this encourages grass roots to grow deep and crowd out shallow-rooted weeds. Mow at the proper height for your grass type, since cutting too short lets sunlight reach weed seeds sitting in the soil. Fertilize on a regular schedule so your grass stays thick and healthy enough to outcompete invasive plants on its own. Pull small weeds by hand as soon as you spot them, since catching the problem early always beats fighting a full-blown infestation later.
A thick, well-fed lawn naturally resists weeds better than one that is patchy or stressed, so healthy lawn care habits do a lot of the heavy lifting alongside your herbicide routine.
Final Thoughts
Using herbicide does not need to feel complicated once you understand the basics. Pick the right type for your specific weed problem, read the label from top to bottom, gear up with proper protection, and apply the product on a calm, dry day. Follow up with good lawn care habits, and your yard will stay weed-free for a lot longer than a single spray session could manage on its own.
Weeds might seem relentless, but with the right approach, you can take back control of your lawn and garden one treatment at a time.

Hi, I’m Mary, the founder of GardenCure.com. I’m passionate about creating healthy, beautiful gardens and well-kept lawns. I share practical experience and trusted advice on garden and lawn gear that truly works. With the support of my dedicated research team, our writers produce honest, in-depth reviews using reliable, authentic sources—helping you choose the right tools with confidence for your outdoor space.