How to Restring a Weed Eater?
If your weed eater keeps spitting out short bits of line or the trimmer head looks empty, it’s time to restring it. This job sounds tricky at first, but once you get the hang of it, you can do it in under ten minutes. In this guide, we walk through the whole process step by step, using plain words so anyone can follow along, even if you have never touched a trimmer head before.
In this article
A weed eater, also called a string trimmer or grass trimmer, uses a spool of nylon line to cut grass and weeds along edges, fences, and spots your lawn mower can’t reach. Over time, that line wears down, snaps, or runs out. Learning how to restring it yourself saves you a trip to the repair shop and keeps your yard work moving without delays.
Let’s get into it.
Why Restringing Your Weed Eater Matters
Before we jump into the steps, it helps to know why this small task makes a big difference. A trimmer with fresh line cuts cleaner, works faster, and puts less strain on the motor. Old, worn-out line can break mid-job, leave your lawn looking patchy, or even cause the motor to work harder than it needs to.
Keeping the trimmer head loaded with the right amount of line also stops the head from wobbling. A wobbling head throws off your aim and makes trimming edges a lot harder than it should be. So restringing isn’t just about adding line, it’s about keeping your whole tool running smoothly.
Tools and Supplies You’ll Need
You don’t need a big toolbox for this job. Here’s what to gather before you start:
- The correct size and type of trimmer line for your model
- Needle-nose pliers (handy but not always required)
- A pair of work gloves
- A flat surface or workbench
- Your trimmer’s manual, if you still have it
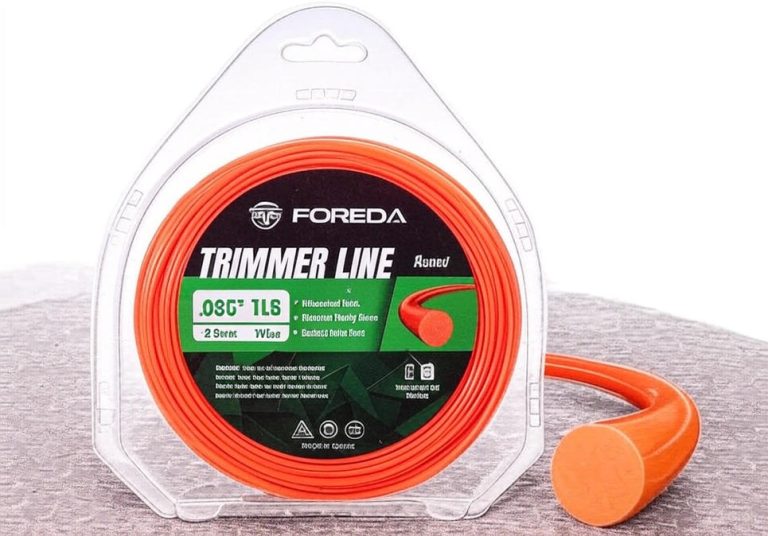
Trimmer line comes in different shapes, such as round, twisted, and square-edged, and in different thicknesses measured in millimeters or inches. Using the wrong size line can jam the head or wear out the motor faster, so always check your owner’s manual or the sticker on the trimmer head for the correct spec. If you can’t find that info, a hardware store worker can usually match it up based on your trimmer’s brand and model.
Step 1: Turn Off and Unplug the Trimmer
Safety comes first. If you have a gas-powered trimmer, turn off the engine and let it cool down. If you’re working with an electric or battery-powered model, unplug it or take out the battery pack completely. This step keeps you safe from any accidental start-up while your hands are near the spinning parts.
Once the trimmer is powered down, set it on a flat surface, like a workbench or even a clean patch of concrete. Having a stable surface makes the whole restringing process a lot easier to manage.
Step 2: Remove the Trimmer Head
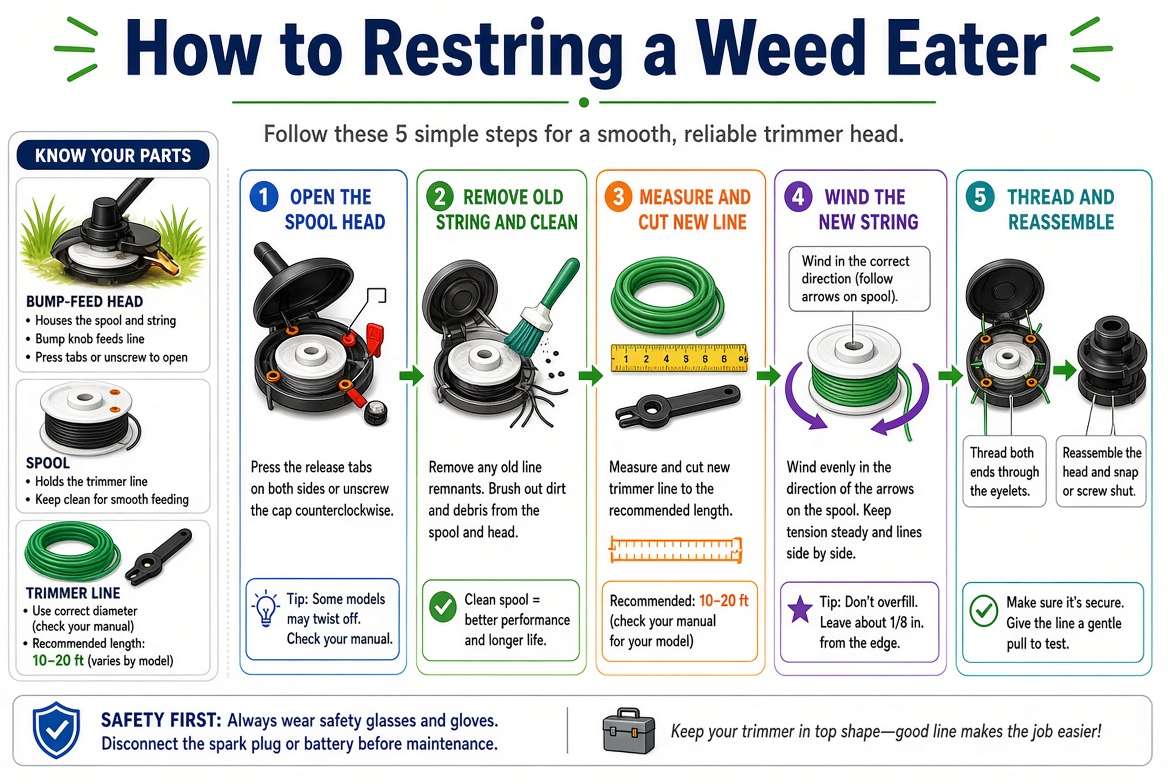
Every trimmer head is a little different, but most come off using one of these two common methods:
Push-button release: Look for small tabs or buttons on the sides of the head. Press them in while pulling the cap off. This is the most common design on newer models.
Twist-lock release: Some heads twist counterclockwise to unlock. Give it a firm turn and pull.
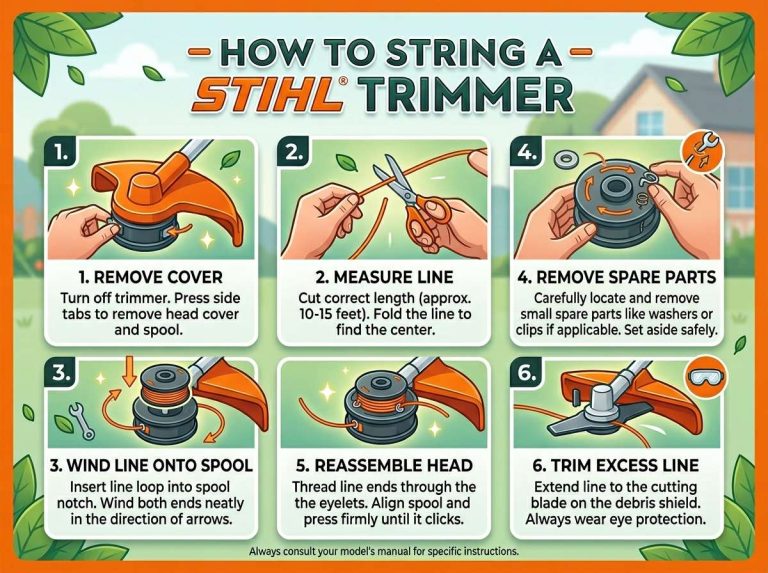
Once the cap is off, take out the inner spool. This is the round piece that holds the line. Set the cap and any small springs aside somewhere you won’t lose them. These tiny parts are easy to misplace, so a small bowl or tray nearby can save you a headache later.
Step 3: Take Out the Old Line
Pull out whatever line remains on the spool. If it’s tangled or knotted, don’t fight with it too much, just cut it off with scissors or a utility knife close to the spool. Toss the old line in the trash. There’s no need to save short scraps since they’re too worn to reuse.
While the spool is empty, take a quick look at it. Check for cracks, warped edges, or a stripped center hole. A damaged spool won’t hold new line properly and might need replacing before you continue.
Step 4: Measure and Cut Your New Line
Most trimmer spools need somewhere between 10 and 25 feet of line, depending on the model. Check your manual for the exact length, or just fill the spool until it looks about three-quarters full without going right up to the edge.
Cut a single length of line to match that measurement. Some trimmers use one long piece folded in half, while others use two separate pieces loaded into two sides of the spool. Look at the spool itself, if you see two separate line channels or holes, it likely takes two lines instead of one.
Step 5: Load the Line Onto the Spool
This is the part that trips people up the most, so let’s slow down here.
For a single-line, dual-side spool:
- Find the small hole or notch in the center of the spool, this is where the line locks in place.
- Fold your line in half so you have two even ends.
- Push the folded point into the notch until it clicks or holds snug.
- Wind both ends around the spool in the direction shown by the arrow printed on the spool itself. This arrow usually points the way the line should wrap, and it matters because it affects how smoothly the line feeds out later.
- Keep winding evenly, without letting the two strands cross over each other.
- Leave about six inches of line loose at the end and hook it into one of the notches on the outer edge of the spool to hold it in place while you finish.
For a two-line spool:
- Each side of the spool usually has its own hole for a separate piece of line.
- Insert one end into the hole on one side and wind it in the correct direction.
- Do the same for the second piece on the other side.
- Leave a short tail hanging out of each side and tuck it into the holding notch.
Take your time here. Wrapping the line neatly and in the right direction makes a real difference in how well the trimmer feeds line during use. Loose, sloppy winding often leads to tangles or jams down the road.
Step 6: Thread the Line Through the Eyelets
Once your spool is wound, grab those loose ends and feed them through the small eyelets on the outer housing of the trimmer head. These eyelets are the little holes the line pokes out of when the trimmer is spinning.
Pull each end through gently, keeping steady tension so the line doesn’t unwind from the spool while you thread it. If it slips out, don’t worry, just rewind that section and try again.
Step 7: Reassemble the Trimmer Head
With the line threaded through the eyelets, place the spool back into the housing. Make sure any springs sit in their original spots and that the spool drops in smoothly without forcing it.
Line up the cap with the tabs or twist-lock grooves and press or twist it back into place until you hear or feel it click shut. Give the cap a light tug to confirm it’s locked in securely before moving on.
Step 8: Trim the Line to Length
Most trimmer heads have a small blade built into the safety guard. Once everything is back together, pull each line end until it’s an even length, then let the built-in blade trim off any extra length automatically when you start the trimmer.
If your model doesn’t have that feature, just trim the ends by hand with scissors, leaving roughly four to five inches sticking out on each side.
Step 9: Test It Out
Power the trimmer back on, whether that means starting the gas engine, plugging it in, or reinserting the battery. Give it a quick test run in an open area away from people, pets, and windows. Listen for smooth operation and watch to see that both line ends spin evenly without wobbling.
If the line feeds out too fast or gets stuck, turn the trimmer off again and double check that the spool was wound in the correct direction and that the tension felt right during loading.
Common Mistakes to Avoid
Even simple jobs like this one come with a few common slip-ups. Here are the ones to watch for:
- Using the wrong line thickness. Too thick, and it won’t fit through the eyelets. Too thin, and it snaps easily under pressure.
- Winding the line backward. This causes the line to feed out oddly or not release at all when you tap the trimmer head on the ground.
- Overfilling the spool. Cramming too much line in makes it hard to snap the cap back on and can cause tangling once you start the motor.
- Skipping the manual. Every trimmer brand has small design differences. A quick glance at the manual, or a search for your model online, saves guesswork.
- Forgetting safety gear. Gloves and eye protection matter, especially when trimming the line ends or handling a spool with sharp edges.
How Often Should You Restring a Weed Eater?
There’s no fixed schedule since it depends on how often you use the trimmer and how thick the vegetation is that you’re cutting. Heavy weeds and thick brush wear line down faster than light grass trimming. As a rule of thumb, check your spool every few uses. If it looks less than a quarter full, it’s a good time to reload before you head out for a bigger job.
Keeping a spare pre-wound spool on hand is a smart move too. Instead of restringing on the spot mid-job, you can just swap in a full spool and keep working, then restring the empty one later at your own pace.
Tips to Make Line Last Longer
A few small habits can stretch the life of your trimmer line and cut down how often you need to restring:
- Avoid hitting hard surfaces like concrete, rocks, or metal edging, since these wear down line fast and can cause it to snap.
- Store your trimmer and spare line indoors, away from direct sun and extreme heat, since UV rays make line brittle over time.
- Soak spare line in water for a few minutes before loading it. This small trick makes the line more flexible and less likely to crack or snap during use.
- Don’t overload the spool past the manufacturer’s fill line, since a tightly packed spool puts extra pressure on the line and the motor.
Final Thoughts
Restringing a weed eater is one of those small tasks that seems complicated until you actually try it. Once you’ve done it once, the whole process becomes second nature, and you’ll likely be able to do it in just a few minutes going forward. Keep spare line on hand, follow the winding direction printed on your spool, and take your time threading the eyelets, and you’ll have a trimmer that’s ready to tackle any yard job.
A little routine maintenance like this keeps your equipment running well and saves you money on repairs or replacements down the line. So next time your trimmer starts sputtering out short line or running dry, you’ll know exactly what to do.

Hi, I’m Mary, the founder of GardenCure.com. I’m passionate about creating healthy, beautiful gardens and well-kept lawns. I share practical experience and trusted advice on garden and lawn gear that truly works. With the support of my dedicated research team, our writers produce honest, in-depth reviews using reliable, authentic sources—helping you choose the right tools with confidence for your outdoor space.