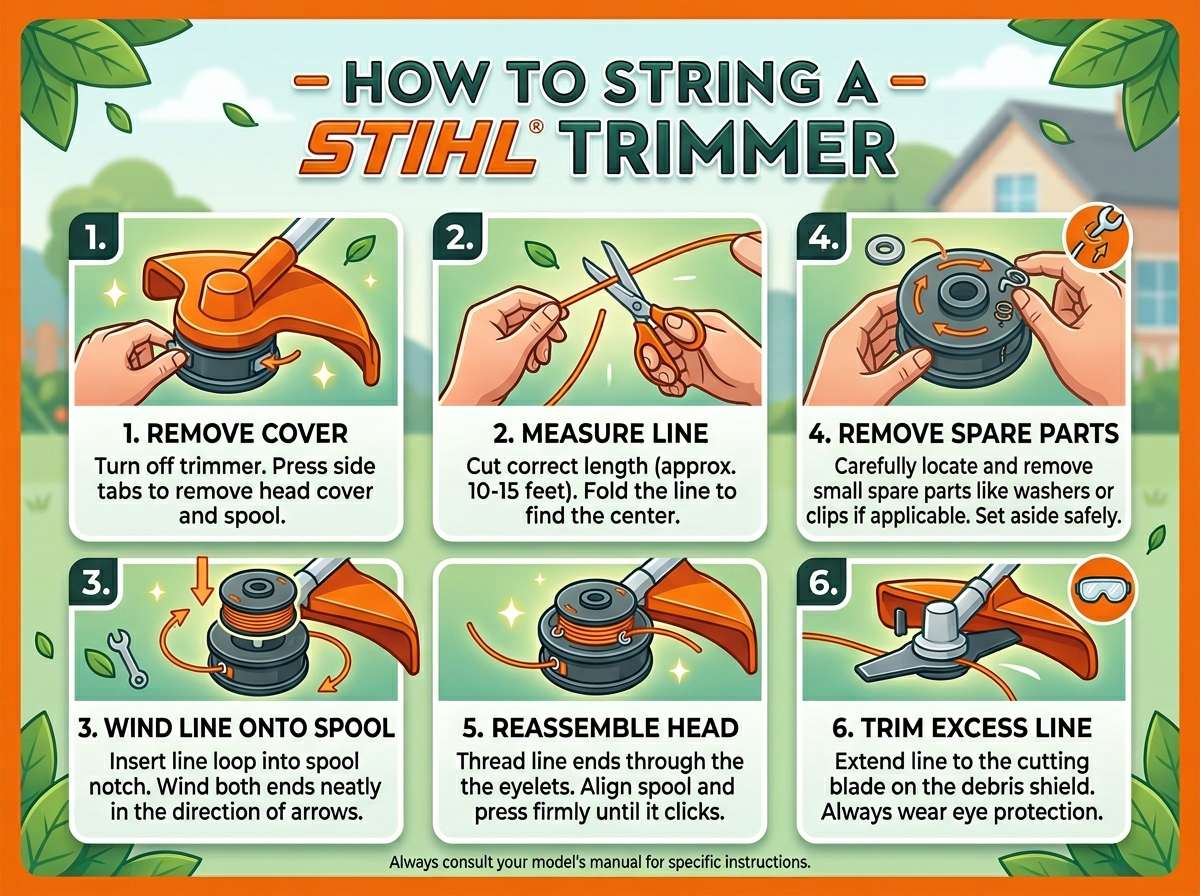
How to String a STIHL Trimmer?
If you own a STIHL string trimmer, you know how great they are for keeping your yard looking sharp and neat. But one thing that every trimmer owner has to deal with is replacing the trimmer line. Whether you’re a new owner or you’ve just been putting it off, learning how to string a STIHL trimmer is easier than you think.
In this article
The good news? You don’t need any special skills or fancy tools. You just need a bit of patience and the right information. Once you know how to do it, you can save money by doing it yourself instead of taking it to a repair shop. Let’s walk through the whole process step by step so you can get back to trimming with confidence.
Why You Need to Replace Your Trimmer String
Your STIHL trimmer line is made of plastic and it wears out over time. Every time you use your trimmer, the spinning line hits rocks, concrete, and grass. All that contact breaks down the material, and eventually, the line gets shorter and shorter.
When your line gets too short, it can’t cut as well. You might notice that the grass isn’t coming off as clean, or you have to make more passes over the same area. That’s a sign that you need to put in fresh line. Some people wait until the line is almost gone, but replacing it when you notice the problem will make your job easier and faster.
Replacing the trimmer string is routine maintenance. Just like you change the oil in a car or swap out a lawn mower blade, you’ll need to refresh your trimmer line every few months during cutting season. The good news is that trimmer line costs just a few dollars and takes only a few minutes to install.
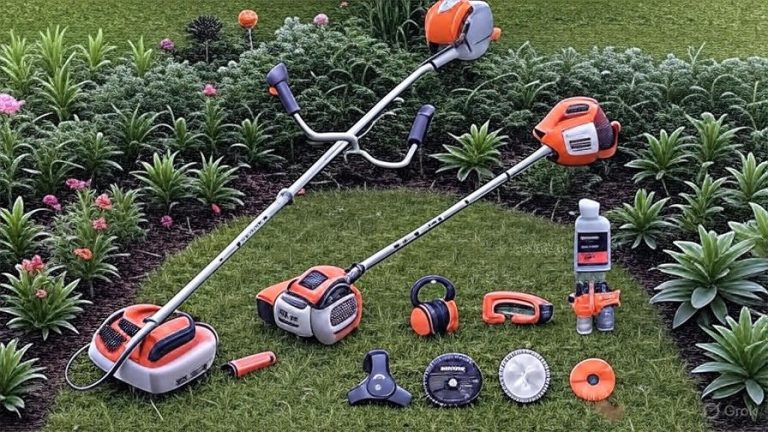
What You’ll Need Before You Start
Before you grab your trimmer and jump into the job, gather a few things. You won’t need much, which makes this a quick and easy task.
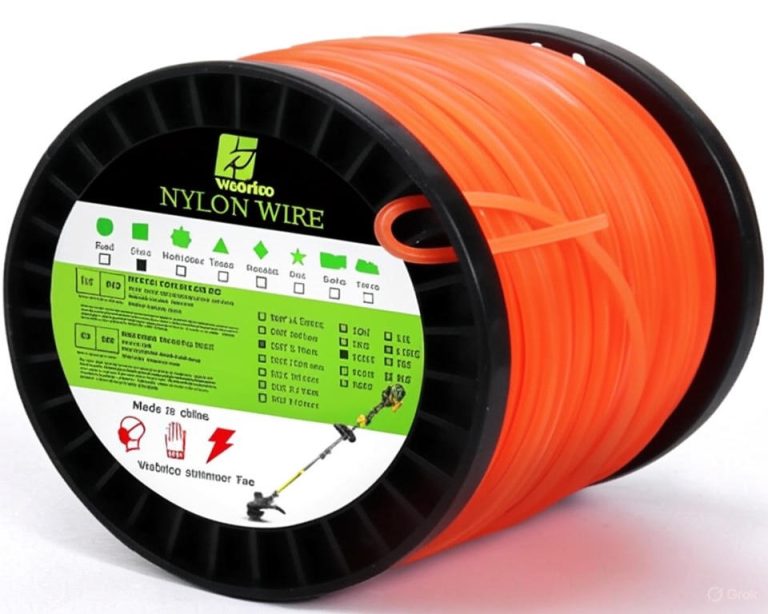
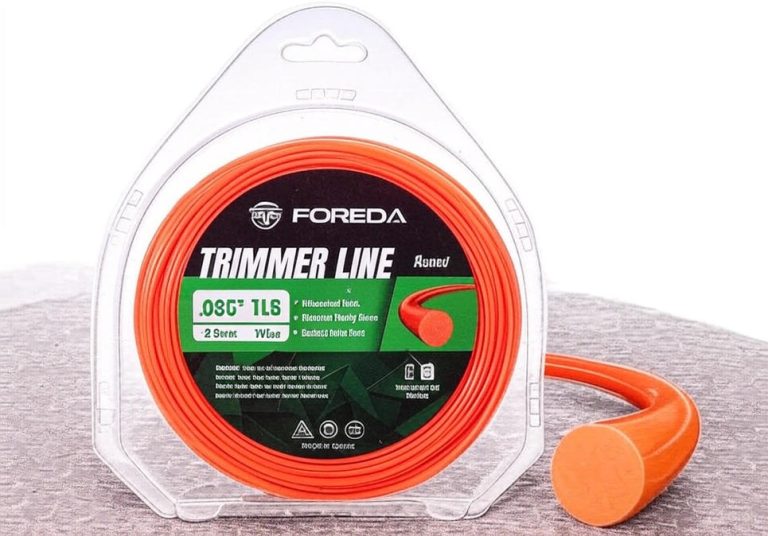
First, you need new trimmer line. STIHL makes their own trimmer string that works great with their machines. Check your trimmer’s manual or look at the tag on your trimmer head to find out what size line your machine uses. Common sizes are 1.6mm, 2.0mm, 2.4mm, and 2.7mm. Get the right size for your specific model. You can buy STIHL line at hardware stores, online retailers, or at STIHL dealers.
You should also have a pair of scissors or a utility knife handy. This helps you cut the line to the right length when you’re loading it into the head. A clean work surface like a table or workbench makes the job cleaner and easier. Some people like to lay out a towel or newspaper so they don’t lose any small parts.
Your manual is helpful too. Keep it nearby so you can check the exact steps for your specific trimmer model. Different STIHL trimmer heads work a bit differently, so the manual shows you the right way to do it.
Understanding Trimmer Head Types
STIHL makes a few different kinds of trimmer heads, and the way you string them can be a little different depending on which one you have. The two main types are the fixed line head and the bump feed head.
The fixed line head is the most common. This type has two lines that you load into slots or channels. Once you put the line in, it stays fixed there. You don’t bump the head on the ground to release more line. This type is popular because it’s simple and reliable.
The bump feed head is another option. With this style, the trimmer line stays in a spool that’s inside the head. When you need more line during cutting, you just bump the head on the ground and it releases a little bit more line automatically. This is handy because you don’t have to stop and reload the line as often.
Both types work well. The fixed line head is easier for beginners because there’s nothing automatic about it. You just load the line and you’re done. The bump feed head saves you time during use, but it takes a bit more effort to load the line the first time.
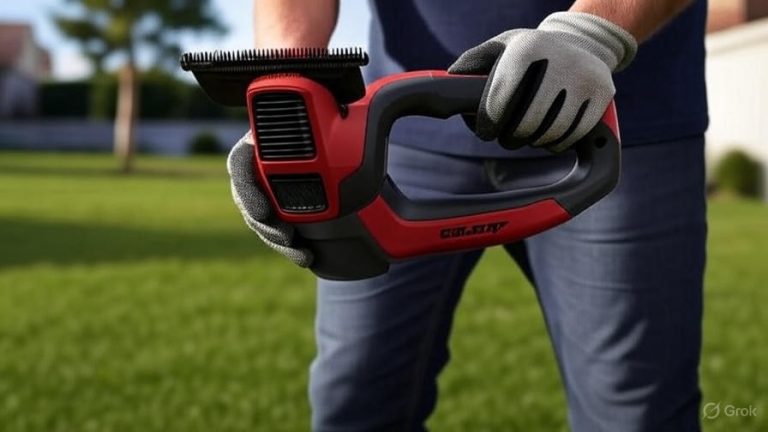
Removing Your Old Trimmer Head
Before you can put new line in, you need to get the old trimmer head off the trimmer shaft. This is a straightforward step that takes just a minute or two.
Start by making sure your trimmer is off and cool. Safety first. Unplug the power cord if you have an electric trimmer, or make sure the engine is completely off if you have a gas model. Let the head sit for a few minutes if you’ve been using it so it can cool down.
Look at the trimmer head where it connects to the shaft. You’ll see a bolt or nut holding it on. Turn your trimmer so the bolt is easy to reach. Use a wrench that fits the bolt. Turn the wrench to loosen the bolt. Most STIHL trimmer heads use a bolt that you turn clockwise to loosen, but check your manual if you’re not sure about the direction.
Once the bolt is loose, you can unscrew it by hand. Set the bolt somewhere safe so you don’t lose it. You’ll need to put it back later. Now you can pull the trimmer head straight off the shaft. Some heads come off easily, and some are a bit stuck. If yours is stuck, try rocking it gently side to side as you pull.
Loading Line Into a Fixed Head Trimmer
If you have a fixed head, this is the type where you thread the line into channels or slots. Let’s walk through the process.
Look at your trimmer head. You’ll see two slots or channels that run around the head. These are where the line goes. Take your new trimmer line and look at one end. Cut a piece about three feet long to start. You might need to adjust this length depending on your head size, but three feet is a good starting point for most models.
Find where the line feeds into the first slot. This is usually marked on the head, sometimes with an arrow or a label. Thread the line into the first slot and start pulling it through. The line should go all the way around the head through the slot. You’re basically running the line in a loop through the channel.
Keep feeding the line until you’ve gone all the way around and come back to where you started. The end of the line should stick out a bit so you can see it. Now, take another three-foot section of line and do the same thing with the second slot. You want both slots filled with line that can cut.
After you’ve loaded both sides, check that the line is sitting tight in the channels and not twisted. You want the line to lay flat and smooth. If it looks twisted, gently untwist it and lay it back in the channel.
Now for the important part: you need to trim the line to the right length. Look at the edge of your trimmer head. Usually, there’s a cutting blade or guide on the head that shows you how long the line should be. Some heads have a little plastic blade that you can use as a guide. Line the end of your trimmer string up with this blade and cut it straight across.
Do this for both sides of the head. When you cut both sides to the right length, your trimmer is loaded and ready to go.
Loading Line Into a Bump Feed Trimmer
Bump feed trimmers work a little differently. The line comes out of a spool that sits inside the head, and you wind it up before you put it back on the trimmer.
First, take your new trimmer line and unwind a section. Cut two pieces that are each about fifteen feet long. This gives you plenty of line to work with. Lay both pieces out straight on your work surface so they don’t get tangled.
Look at your trimmer head and find the spool inside. On the spool, you’ll see two small holes or slots. These are where the line attaches. Take one of your pieces of line and feed it into one of the holes until about one inch of line sticks out the other side. You might need to guide it through carefully. Once it’s through, you can tie a small knot in the end so it holds tight in the hole.
Do the same thing with the second piece of line in the second hole. Now you have both lines attached to the spool. Take the longer sections of line and begin winding them around the spool. Wind them in the direction marked on the spool. Most spools have an arrow showing you which way to wind.
Keep winding until most of the line is wrapped around the spool. You want to wind it neat and tight so that all the line fits. The line should lay in a flat spiral pattern as you wind. If it bunches up or crosses over itself, unwind it back to where the problem started and redo that section.
When you’re done winding, you should have two lines sticking out from the holes. Check your manual to see how long these should be. Usually, they’re about six to eight inches long. If your lines are too long, pull them out a bit and trim them with your scissors.
Now you’re ready to put the head back on your trimmer.
Putting the Head Back On Your Trimmer
Now that your head is loaded with fresh line, you can put it back on the trimmer shaft.
Take your trimmer head and align it with the shaft. Line up the bolt hole on the head with the hole on the shaft. Slide the head onto the shaft. It should go on smoothly. If it’s hard to slide on, don’t force it. Make sure you’re lined up straight and try again.
Once the head is sitting on the shaft, you can put the bolt back in. Thread it by hand first so you don’t cross the threads. Once it’s hand-tight, use your wrench to tighten it more. Turn the wrench in the direction that tightens it. Check your manual if you’re not sure. You don’t want the bolt so tight that you can’t ever loosen it again, but it should be tight enough that it won’t come loose during use.
Gently pull on the trimmer head to test that it’s secure. If it feels loose, tighten the bolt a bit more.
Trimming Your Line to Length
When your head is back on the trimmer, you need to trim the line to the final cutting length. The line you have hanging out from the head right now is way too long.
Look at your trimmer head again. Most heads have a cutting blade or guide that shows you the right line length. This is usually a small metal or plastic piece on the side or front of the head. It’s there to help you get the line to exactly the right length for clean cuts.
Start your trimmer. Let it run so the line spins. Gently bring the spinning line toward the cutting blade on the head. The line will spin right into the blade and cut itself to the right length. The first cut might look rough, so do it a few times until the line looks clean and even.
You’re making the line the exact length needed for your cutting area. Too long and it wastes line and makes rough cuts. Too short and you lose cutting ability. The guide blade gets you to just the right spot.
Once both lines are cut to length and look even, your trimmer is ready to use.
Maintenance Tips for Your Trimmer Line
Now that you know how to string your trimmer, let’s talk about keeping it in good shape so your trimmer works great.
Keep your trimmer line clean and dry when you’re not using it. Wet line can get stiff and brittle, which makes it snap more easily. Store your trimmer in a dry place like a garage or shed. If you’re storing it for the off-season, keeping the trimmer dry helps the line last longer.
Check your line before every use. Look for cracks, fraying, or pieces that have broken off. If the line looks damaged, replace it. Using damaged line won’t cut well and can break during use.
Don’t wrap your trimmer line too tight when you wind it on the spool. Line that’s wound too tight can become deformed and won’t cut as well. Wrap it neat but not super tight.
Keep the trimmer head clean. After you use your trimmer, dirt and grass can build up on the head. Wipe it down with a dry cloth or brush. This keeps the head working smoothly and helps you see the line better.
If you’re trimming in rocky or sandy areas, your line will wear out faster. The rough ground causes more friction and breaks down the line quicker. Be prepared to replace the line more often if you’re doing a lot of heavy cutting in tough conditions.
Common Problems and How to Fix Them
Sometimes when people string their trimmer, things don’t go exactly as planned. Let’s look at common issues and what you can do about them.
If your new line keeps breaking, you might be using the wrong size for your trimmer. Check your manual and make sure you have the right diameter. Using line that’s too thin will snap easily. Using line that’s too thick might not feed properly. Getting the right size solves this problem.
If your trimmer head is making noise or vibrating more than usual, the line might be wound unevenly on the spool. Take the head off and rewind the line neater. Even winding makes the head spin smoothly and quietly.
If the line won’t feed out when you bump the head, the spool might be stuck or the line might be jammed. Take the head off and check inside. Make sure nothing is blocking the spool. If the spool is stuck, try turning it by hand to free it up.
If your line looks wound up inside the head and bunched together, you wound it too tight. Take it off and rewind it with less tension. The line should spiral neatly around the spool without crossing over itself.
If your trimmer cuts unevenly or leaves strips of grass, your line might not be cut to the right length. Use your trimmer to trim it shorter with the cutting blade. Make a few passes with the spinning line against the blade until the cut looks even and clean.
Different STIHL Trimmer Models and Their Specifics
STIHL makes many different trimmer models, and while the basic process is the same, some details change. Let’s look at a few popular models so you know what to expect.
The STIHL FS 45 is one of the most popular residential models. This trimmer uses a fixed head design, so you load the line into channels. It typically uses 2.0mm line. The process is straightforward: take off the head, load two sections of line into the slots, cut to length, and put it back on.
The STIHL FS 55 is another favorite. This model also uses a fixed head with channels. It handles 2.4mm line and works basically the same way as the FS 45. The slightly thicker line makes it a bit more durable for tougher grass and weeds.
The STIHL FS 56 uses a bump feed head. This model is great if you want the convenience of automatic line feeding. You wind the line onto the spool inside the head, and it feeds out as you work. The process is a bit more involved, but once you get the line wound right, the trimmer practically takes care of itself during use.
The STIHL FS 70C is a commercial-grade trimmer with a larger bump feed head. It uses thicker 2.7mm line and is built for heavy-duty work. The head is bigger, so you have more line capacity, which means you can cut for longer without reloading.
Check your specific model number in your manual. The manual shows you the exact size line you need and any steps unique to your particular trimmer. Even if your model is different from these examples, the basic principle stays the same.
Practice Makes Perfect
The first time you string your trimmer, it might feel a bit tricky. That’s totally normal. Everyone feels a little uncertain the first time they do something new. But here’s the thing: once you do it once or twice, it becomes second nature.
The more you do it, the faster you get. What takes you twenty minutes the first time might take you five minutes the third time you do it. Your hands get used to working with the line, and you learn the little tricks that make it easier.
Don’t get frustrated if something doesn’t go perfectly on your first try. If you wound the line wrong, just take it off and try again. There’s no penalty for trying multiple times. The line is cheap, and you’ve got nothing to lose by practicing.
Once you feel confident doing this yourself, you’ll save a lot of money. You won’t have to pay a repair shop to string your trimmer, and you can fix it anytime you need to. That independence is one of the best parts of learning to do your own equipment maintenance.
Buying Quality Trimmer Line
When you’re ready to buy replacement line, you have choices. STIHL makes excellent line that works great with their trimmers, and it’s often the best choice. But there are other brands out there too.
Genuine STIHL line is made to work perfectly with STIHL equipment. It’s durable, cuts clean, and lasts a long time. If you buy genuine STIHL line, you know you’re getting a product designed specifically for your trimmer.
Other brands of line work too. Some people prefer certain aftermarket brands because they’re less expensive or they like how the line performs. If you go this route, make sure the line size matches your trimmer. A 2.0mm line for a STIHL trimmer is a 2.0mm line, no matter the brand. The size is what matters most.
Compare prices at different retailers. Hardware stores, online shops, and STIHL dealers all sell trimmer line. Sometimes you’ll find good deals online, and sometimes your local shop has the best price. It’s worth checking a few places.
Buy line in bulk if you use your trimmer a lot. Line spools that come with fifty or a hundred feet of line cost less per foot than tiny spools. If you’re going to be stringing your trimmer several times during the season, buying in bulk makes sense.
Taking Care of Your Entire Trimmer
Stringing your trimmer is one part of keeping it in good shape. Let’s talk about the bigger picture of trimmer maintenance.
Keep your trimmer clean after every use. Brush off grass and dirt from the head, shaft, and motor. Built-up grass makes your trimmer work harder and can cause overheating.
Check the spark plug on gas trimmers. A dirty spark plug can cause hard starting or poor performance. Clean it or replace it if it looks worn.
Keep the air filter clean. A clogged filter restricts airflow and makes your gas trimmer run poorly. Check it regularly and replace it when it gets dirty.
Oil your trimmer if it’s a gas model. Use the right oil ratio that your manual specifies. Too much oil makes smoke, and too little oil can cause engine damage.
For electric trimmers, make sure your extension cord is in good shape. A damaged cord is a safety hazard. Store it carefully and check it before each use.
Store your trimmer properly during off-season. Drain the fuel tank on gas models or use fuel stabilizer to keep the fuel fresh. This prevents clogs in the fuel line when you start using it again.
Regular maintenance keeps your trimmer running smoothly and extends its life by years.
Final Thoughts on Stringing Your STIHL Trimmer
Learning how to string a STIHL trimmer is a valuable skill that saves you time and money. What seems complicated at first becomes routine once you’ve done it a few times.
The process is simple: take off the old head, load new line, cut it to length, and put it back on. Whether you have a fixed head or a bump feed head, the principle is the same.
You don’t need special tools or advanced skills. You just need patience, the right line size, and a bit of attention to detail. Your manual is your friend here. Refer to it whenever you’re unsure about a specific step.
Once you master this task, you’ll feel more confident taking care of your other yard equipment too. DIY maintenance is easier than you think, and it gives you a sense of accomplishment.
Get out there, grab your trimmer, and string it up with confidence. Your yard is waiting for that clean, sharp edge that only a well-maintained trimmer can provide.

Hi, I’m Mary, the founder of GardenCure.com. I’m passionate about creating healthy, beautiful gardens and well-kept lawns. I share practical experience and trusted advice on garden and lawn gear that truly works. With the support of my dedicated research team, our writers produce honest, in-depth reviews using reliable, authentic sources—helping you choose the right tools with confidence for your outdoor space.