How To Propagate Zz Plant
Key Takeaways
- ZZ plants grow well from both water and soil propagation methods.
- Healthy stem cuttings with a few leaves give the fastest results.
- Propagation requires patience because root and bulb development takes time.
- Clean tools and bright, indirect light help prevent rot and disease.
Why Propagating ZZ Plants Is Great for Beginners
Learning how to propagate ZZ plant greenery is a rewarding project for indoor gardeners. The Zamioculcas zamiifolia, commonly called the ZZ plant, is famous for being tough and forgiving. Because of this natural hardiness, its leaves and stems handle the propagation process very well.
In this article
Houseplant owners often want to multiply their collection without spending extra money. Taking cuttings from an existing plant lets you grow new specimens for free. Next, this guide covers the basic approaches and exact steps needed to succeed.
The Two Best Methods to Start ZZ Plant Propagation
Growers typically use two main methods to multiply indoor specimens. Water propagation allows you to watch roots grow day by day. Soil propagation mimics natural growth and reduces the shock of moving plants later. Both options work well when you use healthy plant material.
Each technique has small benefits depending on your personal preference. Beginners often favor water propagation for its visual appeal. On the other hand, soil setups require less handling once you plant the initial cutting.
How to Propagate ZZ Plants in Water
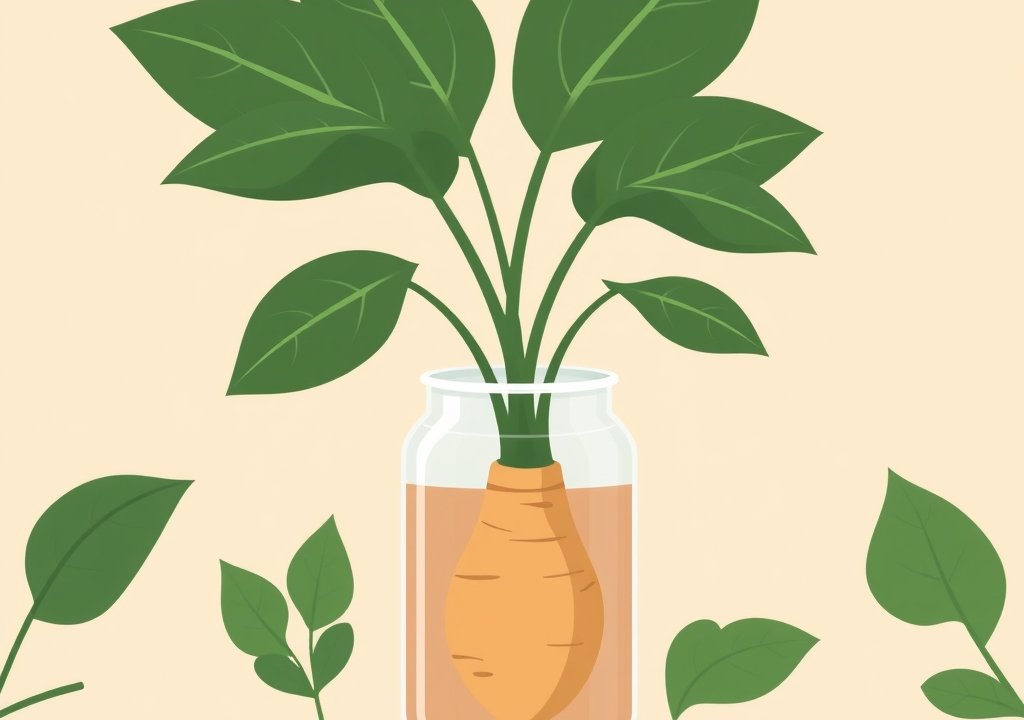
Place your cut stems or leaves into a clean glass of fresh water. Make sure only the bottom portion stays submerged while the leaves remain dry. Put the glass in a warm spot that receives bright, indirect sunlight.
Change the water every week to keep it clean and oxygenated. Over several months, you will notice thick roots and small underground storage organs forming. When these structures grow large enough, you can transfer the cutting into a standard pot.
How to Propagate ZZ Plants in Soil
Plant your prepared cuttings directly into a small pot filled with well-draining potting mix. Moisten the soil slightly, but avoid making it soggy or waterlogged. Cover the top with a clear plastic bag to lock in humidity if your home air is very dry.
Keep the container in a warm area with indirect light. Water the soil sparingly only when the top few inches feel dry to the touch. This method builds strong roots that adapt immediately to growing in earth.
Step-by-Step Guide to Taking ZZ Plant Cuttings
Success depends heavily on starting with the right tools and healthy plant parts. Take your time during the cutting process to avoid injuring the main houseplant. Clean execution prevents bacteria from entering open wounds on both plants.
What You Need Before You Start
Gather a sharp pair of kitchen shears or pruning scissors. Rubbing alcohol helps sterilize the blades so they do not spread plant diseases. Prepare clean glass jars for water setups or small pots with fresh potting soil for dirt methods.
How to Cut Your ZZ Plant Safely
Inspect your main plant to find a healthy, vigorous stem with vibrant green leaves. Wipe your scissors with rubbing alcohol before making any cuts. Slice the stem cleanly near the base of the plant to get a strong cutting that is several inches long.
Preparing Your Cuttings for Success
Trim away the lowest leaves on your cutting so the bare stem can sit easily in water or soil. Allow the cut end to sit out in the open air for a few hours. This step lets a protective callus form over the wound to block out rot.
ZZ Plant Propagation Timeline and What to Expect
Patience is the most important requirement when growing new houseplants from clippings. ZZ specimens are famously slow growers in all stages of life. You might wait several weeks before seeing any visible changes on the underground portions.
Tiny swollen bulbs usually appear before actual roots start branching out. Green shoots above the soil line often emerge much later than the root system below. Do not throw away cuttings just because they take a long time to show top growth.
Troubleshooting Common Propagation Problems
Rot is the most frequent issue that ruins houseplant clippings. If the stem turns mushy, brown, or smells foul, remove it from the container immediately. Cut away the rotting parts and try again with a fresh section of healthy stem.
Leaves might wrinkle or turn yellow if the environment lacks enough warmth or light. Move your container to a brighter spot that avoids harsh direct sunbeams. Keeping the setup in a stable room temperature helps avoid sudden shock.
Frequently Asked Questions
How long does it take for ZZ plant cuttings to root?
Root development usually takes anywhere from six weeks to several months. The exact timeframe depends on indoor temperatures, light levels, and the overall health of the parent plant. Cooler rooms tend to slow down growth even further.
Can I propagate a ZZ plant from a single leaf?
Yes, individual leaves can grow roots and small underground bulbs. However, single-leaf propagation takes significantly longer than using whole stems with multiple leaves attached. You must include a tiny piece of the stem stem petiole for the best chance of fast success.
Why are my ZZ plant cuttings turning yellow?
Yellow foliage usually points to overwatering or poor drainage in your soil mix. It can also happen if the cutting sits in water that is rarely refreshed. Ensure your container has proper airflow and clean water or well-aerated dirt.
When should I transplant rooted cuttings into a pot?
Wait until the roots measure at least a couple of inches long and sturdy storage bulbs have formed. Moving them too early can damage delicate new growth. Once the root system looks robust, gently transition the plant into standard potting soil.
Do I need to use rooting hormone for ZZ plants?
Rooting hormone is not strictly required because these plants generate roots naturally on their own. Still, applying a thin layer of powder to the cut end can speed up the process slightly. Follow the package instructions carefully if you decide to use it.
Conclusion
Multiplying your indoor greenery is a fun and simple project for any plant owner. By using clean tools, providing bright indirect light, and practicing patience, you can successfully grow new houseplants. Keep an eye on moisture levels to avoid rot during the rooting phase. Soon enough, you will have healthy new specimens to enjoy or share with friends.

Hi, I’m Mary, the founder of GardenCure.com. I’m passionate about creating healthy, beautiful gardens and well-kept lawns. I share practical experience and trusted advice on garden and lawn gear that truly works. With the support of my dedicated research team, our writers produce honest, in-depth reviews using reliable, authentic sources—helping you choose the right tools with confidence for your outdoor space.