How to Install Turf?
Installing artificial turf transforms your outdoor space into a lush, green area that stays beautiful year-round. You won’t need to worry about watering, mowing, or fertilizing ever again. This guide walks you through every step of the installation process, from planning to the final touches.
In this article
Why Install Artificial Turf?
Artificial grass has become incredibly popular with homeowners across the country. The reasons are clear. You’ll save thousands of gallons of water each year. Your lawn will look pristine in all seasons. Kids and pets can play on it without creating muddy patches or worn spots.
The initial investment pays for itself over time. You won’t buy lawn mowers, fertilizers, or hire landscaping services. The turf lasts 15 to 25 years with proper care. That’s decades of maintenance-free greenery.
Planning Your Turf Installation Project
Before you start digging, take time to plan everything out. Measure your installation area accurately. Walk around the space and note any obstacles like trees, sprinkler heads, or garden beds.
Calculate how much synthetic grass you need. Add an extra 5-10% to your measurements for cutting and fitting. Nothing feels worse than running short during installation.
Check local regulations about artificial lawn installation. Some homeowners associations have specific rules. Your city might require permits for major landscaping changes.
Gathering Your Tools and Materials
You’ll need specific equipment to install turf properly. Here’s your complete shopping list:
Essential Tools:
- Flat shovel and square spade
- Landscape rake
- Wheelbarrow
- Plate compactor or hand tamper
- Utility knife with extra blades
- Carpet kicker or knee kicker
- Power broom or stiff-bristled push broom
- Measuring tape
- Spray paint for marking
- Level
Materials You’ll Need:
- Artificial turf rolls
- Crushed stone base (Class II road base works great)
- Decomposed granite or sand for leveling
- Landscape fabric (weed barrier)
- Turf adhesive or seaming tape
- 6-inch galvanized nails or turf stakes
- Infill material (silica sand or crumb rubber)
The quality of your materials matters. Cheap turf looks fake and wears out quickly. Invest in good synthetic grass with a realistic appearance and strong backing.
Removing Existing Grass and Vegetation
Start by clearing your installation area. Use spray paint to mark the exact boundaries. This keeps your project organized.
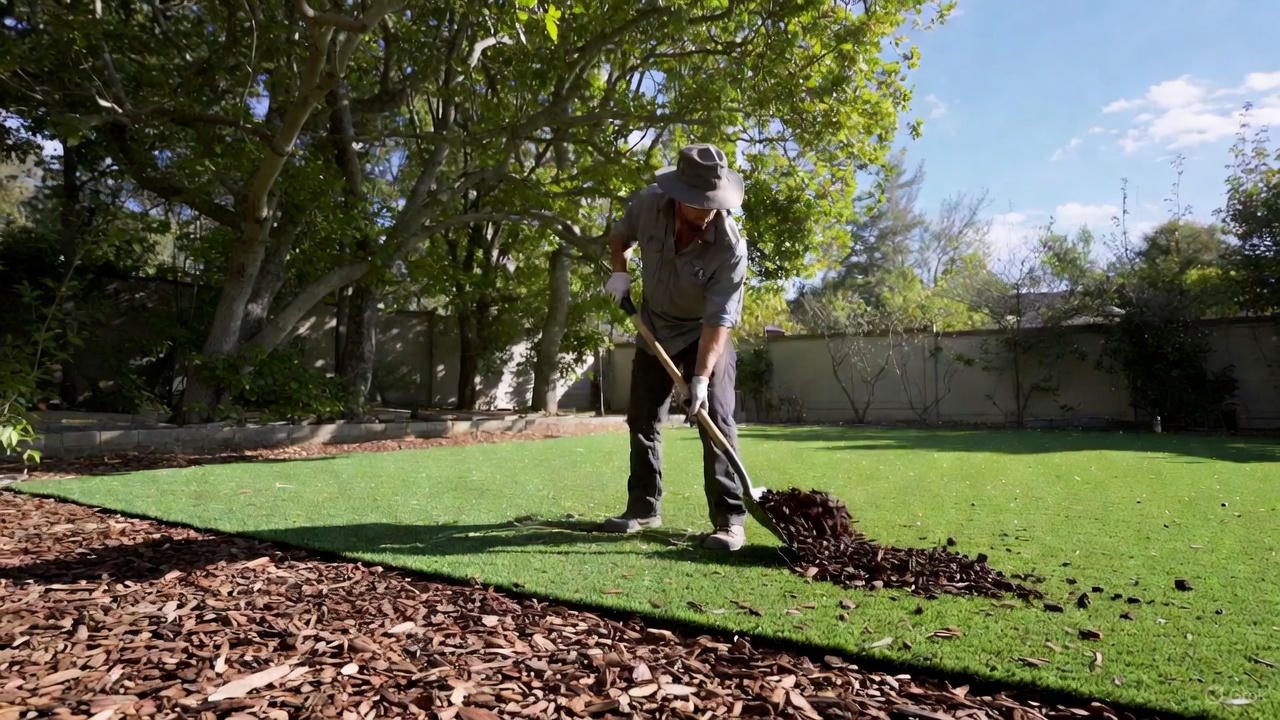
Remove all existing grass, weeds, and plants. Dig down at least 3-4 inches below the surface. You want to create enough depth for your base materials. A flat shovel works best for cutting through sod.
Haul away all organic material. Leaving grass or roots underneath causes problems later. They decompose and create uneven spots in your new lawn.
Check the area for any sprinkler systems. You’ll need to cap or redirect sprinkler heads. Mark their locations so you can avoid them during installation.
Creating a Solid Base Layer
The base determines how well your artificial grass performs. Take your time with this step. A proper foundation prevents sagging, wrinkling, and drainage issues.
Pour crushed stone into your prepared area. Spread it evenly to create a 2-3 inch layer. The stone provides drainage and stability. Water flows through it instead of pooling on your turf surface.
Rake the crushed stone smooth. You want an even surface without high or low spots. Use your level to check different areas. The base should slope slightly away from buildings for proper drainage.
Spray the stone lightly with water. This helps with compaction. Use a plate compactor to compress the stone firmly. Make multiple passes in different directions. The surface should feel hard and stable when you walk on it.
Add a thin layer of decomposed granite or coarse sand on top. This creates a smooth surface for your turf. Rake it level and compact it again. Your base should now be firm, flat, and ready.
Installing Weed Barrier Fabric
Roll out landscape fabric over your compacted base. This layer prevents weeds from pushing through your artificial grass. Overlap the edges by at least 6 inches where pieces meet.
Secure the fabric with landscape staples every few feet. Pull it tight as you work to avoid wrinkles. Cut holes around any permanent fixtures like trees or posts.
Some installers skip this step, but you’ll thank yourself later. Weeds can grow through even the smallest gaps in turf seams. The barrier saves you from future maintenance headaches.
Laying Out Your Artificial Turf
Unroll your synthetic grass and let it relax for a few hours. The material needs to expand and flatten naturally. This step prevents wrinkles after installation.
Position the turf with all blades facing the same direction. Look at the grass from different angles. The pile direction affects how natural it looks. Face the blades toward the main viewing area, like your house or patio.
Trim the edges to fit your space. Use a sharp utility knife and cut from the back of the turf. This protects the grass blades and creates cleaner edges. Leave a little extra material initially. You can always trim more, but you can’t add it back.
For large areas, you’ll need multiple pieces of turf. Plan your seams carefully. Try to place them in low-traffic areas or where they’ll be less visible. Never have seams running the same direction as the grass blades. This makes them much more noticeable.
Joining Turf Seams
Seams require extra attention to look invisible. Pull back the edges of both pieces you’re joining. Make sure the grass blades face the same direction on both sides.
Place seaming tape along the entire length of the joint. The tape should be centered under where the two pieces meet. Some installers prefer turf adhesive spread directly on the base.
If using tape, apply turf glue along its length. Work in sections so the adhesive doesn’t dry out. Press one edge of turf firmly onto the tape. Then press the second edge against it.
Use your carpet kicker to pull the seams tight. This tool eliminates gaps between pieces. The edges should touch without overlapping. Push the grass blades up with your fingers to check the seam. You shouldn’t see any backing material.
Place weights along the seam while the adhesive cures. Heavy boards or sandbags work well. Let it dry completely before walking on it. Most adhesives need 24 hours.
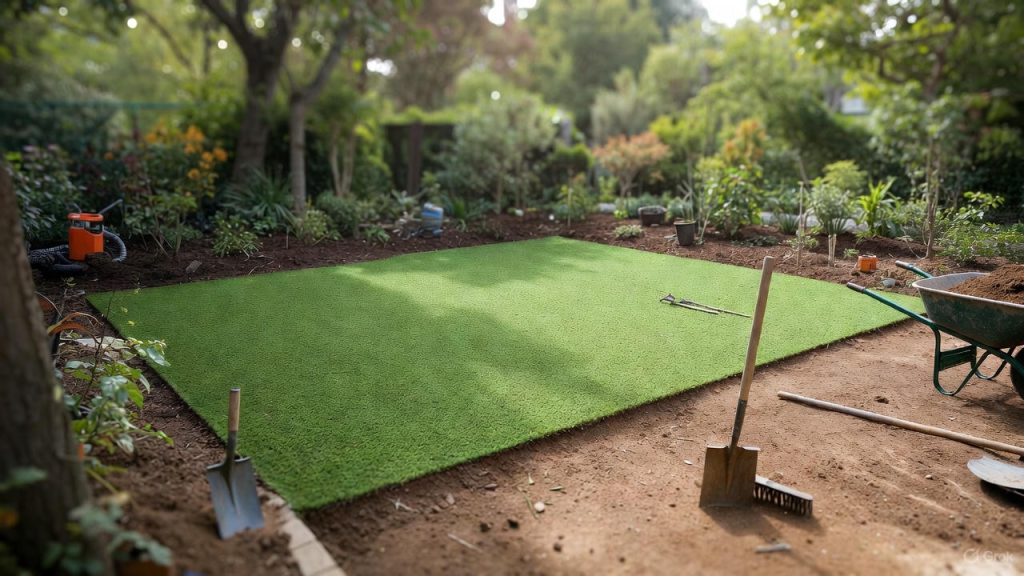
Securing the Perimeter
Your turf needs solid anchoring around all edges. Start at one corner and work your way around. Pull the turf tight as you go to eliminate any slack.
Drive 6-inch galvanized nails or turf stakes through the edge every 4-6 inches. Place them about 1 inch from the edge. Hammer them until the heads are flush with the backing.
Pay special attention to corners and curves. These areas need extra stakes to prevent lifting. Space nails closer together in high-stress spots.
Trim any excess material from the edges. Your cuts should be clean and straight. The turf should fit snugly against any hard surfaces like patios or walkways.
Adding Infill Material
Infill gives your artificial grass weight and stability. It helps blades stand upright and provides cushioning. The type you choose depends on your needs and budget.
Silica sand is the most common infill. It’s affordable and effective. Spread it evenly across your turf using a drop spreader. You’ll need about 1-2 pounds per square foot.
Work in sections to ensure even coverage. Pour the infill and then brush it into the grass with your power broom. The material should settle down between the blades, not sit on top.
For areas with pets, antimicrobial infill works better. It prevents odors and bacteria growth. This costs more but makes maintenance easier.
Some premium turfs use rubber infill for extra cushioning. This works great for play areas or sports applications. It gives the surface more bounce and shock absorption.
Brush the entire area thoroughly after adding infill. This distributes the material evenly and lifts the grass blades. Your lawn should look full and natural.
Brushing and Finishing Touches
Use a power broom to brush your entire turf surface. This fluffs up the grass blades and works in the infill. Brush against the grain first, then with the grain.
Walk around your new lawn and inspect everything. Look for any areas where the turf isn’t lying flat. Check all seams to make sure they’re secure and invisible.
Trim any stray fibers or uneven edges. Your cuts should be precise and clean. The finished surface should look uniform across the entire area.
Water the turf lightly to settle the infill. This also cleans off any dust from installation. Let everything dry completely before heavy use.
Common Installation Mistakes to Avoid
Many DIY installers make preventable errors. Learning from these mistakes saves you time and money.
Don’t skimp on base preparation. A thin or poorly compacted base causes sagging and drainage problems. You can’t fix a bad foundation without tearing out the turf.
Avoid stretching the turf too tight. Artificial grass expands and contracts with temperature changes. Leave a little slack to prevent buckling in hot weather.
Never install turf over dirt alone. You need a proper base for drainage and stability. Grass installed on dirt becomes lumpy and uneven quickly.
Don’t use regular carpet seaming tape. It breaks down outdoors. Only use products designed specifically for artificial turf installation.
Rushing through the project causes problems. Take your time with each step. Proper installation takes several days, not a weekend.
Caring for Your New Artificial Lawn
Your synthetic grass needs minimal maintenance, but some care keeps it looking great. Brush high-traffic areas weekly to keep blades upright. Remove leaves and debris regularly with a leaf blower or rake.
Rinse the turf occasionally to remove dust and pollen. A garden hose works fine for most cleaning. For pet areas, use a mixture of water and vinegar to neutralize odors.
Watch for any edges that start lifting. Re-stake them immediately before the problem spreads. Check seams periodically to ensure they’re still secure.
Add more infill if needed. High-traffic areas lose infill over time. Keep your lawn looking full by topping it off annually.
Cost Considerations
Professional installation typically runs $5-$20 per square foot. That includes materials and labor. DIY installation cuts costs significantly, usually $3-$8 per square foot for materials only.
Quality turf costs more upfront but lasts longer and looks better. Cheap products fade quickly and feel obviously fake. Budget turfs might save money initially but need replacement sooner.
Calculate your long-term savings. Most homeowners save $1,500-$3,000 annually on water, maintenance, and lawn care services. Your investment pays for itself within a few years.
Timeline for Installation
A typical residential lawn installation takes 2-5 days depending on size and complexity. Here’s a realistic breakdown:
Day 1: Remove existing grass and vegetation, prepare the area Day 2: Install base materials, compact, and level Day 3: Lay weed barrier and position turf Day 4: Cut, seam, and secure the turf Day 5: Add infill and finish
Larger properties or complex layouts need more time. Don’t rush the process. Each step needs to be done correctly for lasting results.
When to Hire Professionals
Some projects make sense to tackle yourself. Small areas with simple layouts work well for DIY installation. You have direct control over quality and save on labor costs.
Large properties benefit from professional installation. Pros have specialized equipment that makes base preparation faster and more accurate. They complete jobs quickly with guaranteed results.
Complex landscapes with lots of curves, slopes, or obstacles challenge DIY installers. Professionals handle tricky situations easily. They know how to work around trees, pools, and other features.
If you lack time or physical ability, hiring installers makes sense. The work requires heavy lifting and repetitive tasks. Professional crews handle everything efficiently.
Your New Lawn Awaits
Installing artificial turf creates an outdoor space you’ll enjoy for decades. The process requires effort and attention to detail, but the results are worth it. You get a consistently beautiful lawn without the endless maintenance of natural grass.
Follow these steps carefully and don’t cut corners. A proper installation looks amazing and performs flawlessly for years. Your neighbors will ask how you keep your lawn so perfect.
Start planning your project today. Measure your space, price materials, and set aside time for installation. Soon you’ll be relaxing on your new maintenance-free lawn while everyone else is still mowing theirs.

Hi, I’m Mary, the founder of GardenCure.com. I’m passionate about creating healthy, beautiful gardens and well-kept lawns. I share practical experience and trusted advice on garden and lawn gear that truly works. With the support of my dedicated research team, our writers produce honest, in-depth reviews using reliable, authentic sources—helping you choose the right tools with confidence for your outdoor space.