How to Apply Weed and Feed?
If your lawn has patchy grass, stubborn dandelions, or creeping clover taking over, weed and feed can turn things around fast. This product does two jobs at once. It kills weeds and it feeds your grass at the same time. That makes it one of the easiest ways to get a thick, green lawn without doing two separate treatments.
In this article
This guide walks you through every step, from picking the right product to spreading it the right way. It uses plain, easy words so even a first-time homeowner can follow along without any confusion.
What Is Weed and Feed, Really?
Weed and feed is a lawn care product that combines herbicide with fertilizer. The herbicide part targets broadleaf weeds like dandelions, clover, and thistle. The fertilizer part gives your grass the nutrients it needs, usually nitrogen, phosphorus, and potassium, often shown as N-P-K on the bag.
The idea is simple. As the fertilizer helps your turf grow thick and strong, the herbicide clears out the weeds that compete for space, water, and sunlight. Once the weeds are gone and the grass fills in, your lawn naturally chokes out future weed growth on its own.
There are two main forms you’ll find at any garden store: granular and liquid. Both get the job done, but they work a little differently.
Granular Weed and Feed
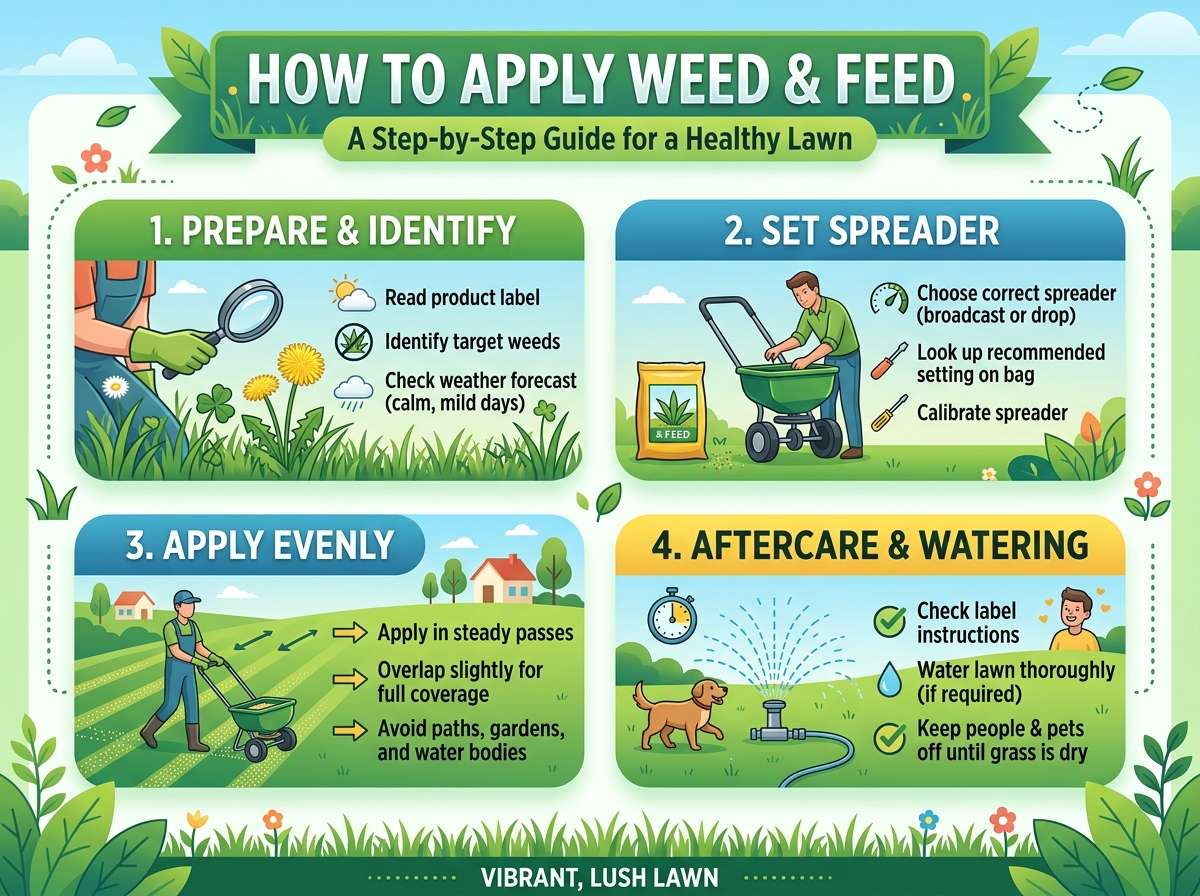
This type looks like small pellets. You spread it with a broadcast spreader or a drop spreader, and it needs to stick to wet leaves so the weed killer part can work. That’s why most labels tell you to apply it right after mowing, onto damp grass, in the early morning when dew is still on the leaves.
Liquid Weed and Feed
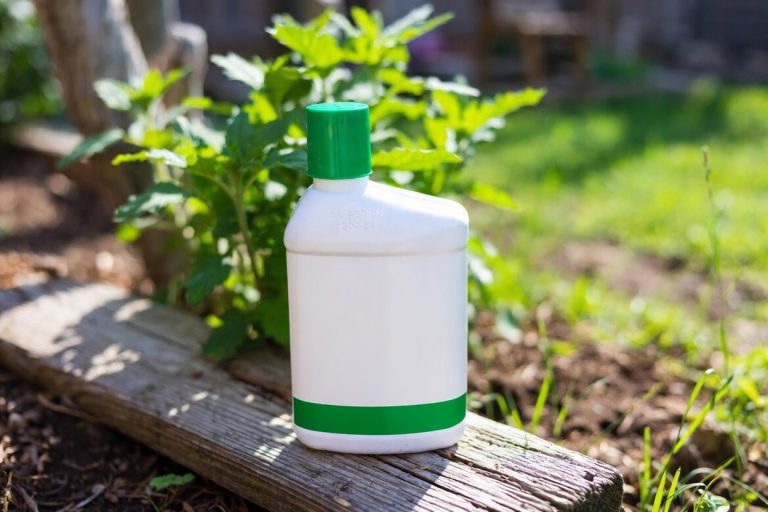
This type comes in a bottle or a hose-end sprayer. It’s absorbed faster by weeds since it’s already in liquid form, so it often shows results sooner. It’s a good pick for smaller yards or for spot-treating problem areas instead of covering the entire lawn.
Neither one is better across the board. It really comes down to the size of your lawn, how much time you want to spend, and how bad your weed problem is.
Before You Start: What You’ll Need
Getting your tools ready ahead of time makes the whole process smoother. Here’s a short list of what to gather:
- A bag or bottle of weed and feed suited to your grass type
- A broadcast spreader or drop spreader (for granular products)
- A garden hose or sprayer (for liquid products)
- Gloves to protect your hands
- A lawn mower
- A garden hose for watering afterward
- A tape measure or a rough idea of your lawn’s square footage
Knowing your lawn’s size matters a lot here. Too little product and the weeds won’t die. Too much and you risk burning your grass or wasting money. Most bags list coverage in square feet, so measure your yard first or use an online lawn size calculator with your address.
Step 1: Check Your Grass Type
Not every lawn reacts the same way to every weed and feed formula. Warm-season grasses like Bermuda, zoysia, and St. Augustine need different products than cool-season grasses like Kentucky bluegrass, fescue, or ryegrass. Some weed and feed formulas are labeled specifically for one group, and using the wrong one can stress or even kill your grass.
Read the bag label closely. It will usually list which grass types the product is safe for. If you’re not sure what kind of grass you have, take a close-up photo of a few blades and compare it with pictures online, or ask at a local garden center.
Step 2: Time It Right
Timing plays a huge role in how well weed and feed works. Apply it too early and the weeds might not be actively growing yet, so the herbicide won’t stick. Apply it too late and the weeds may have already gone to seed, spreading even more of a problem across your yard.
The best window is when weeds are young and actively growing, and when your grass is also coming out of dormancy and putting out new green blades. This is usually during the early part of the growing season, once night temperatures stay consistently mild and the ground has warmed up a bit.
Avoid putting it down during a drought, right before heavy rain, or during extreme heat. Heat stress combined with herbicide can scorch your lawn, and rain right after application can wash the product away before it has time to work.
Step 3: Mow Your Lawn First
Most weed and feed labels recommend mowing a day or two before you apply the product, then not mowing again for a few days after. Cutting the grass first exposes more of the weed leaves, giving the herbicide better contact. It also removes any tall growth that could block granules from reaching the soil.
Set your mower blade a bit higher than usual instead of scalping the lawn. Grass that’s cut too short is more stressed, and stressed grass doesn’t respond well to any kind of chemical treatment.
Step 4: Water the Lawn (For Granular Types)
For granular products, a light watering the day before you apply helps the leaves stay slightly damp, which helps the granules stick. Don’t drench the lawn, just enough moisture so the leaf surface isn’t bone dry.
For liquid weed and feed, you generally want dry leaves so the spray isn’t diluted or washed off before it can be absorbed. Always check the specific product label since instructions can vary by brand.
Step 5: Calibrate Your Spreader
This step gets skipped a lot, but it’s one of the most important. Every spreader is a little different, and every product has its own recommended setting printed on the bag. Setting your spreader too high wastes product and risks burning your lawn with too much fertilizer. Setting it too low means the weeds won’t get enough herbicide to actually die.
Look at the settings chart on the back of the weed and feed bag. It usually lists a number that matches your spreader brand. Set the dial to that number before you start walking your lawn.
Step 6: Apply It Evenly
Now comes the actual spreading. Walk at a steady, even pace, the same way you would if you were mowing in straight lines. Overlap your passes just slightly at the edges so you don’t leave thin strips of untreated grass, but avoid overlapping too much or you’ll double up the dose in that spot.
A smart trick many lawn pros use is to divide the bag in half. Walk the lawn once in one direction using half the product, then walk it again in the opposite direction using the other half. This crisscross pattern gives you far more even coverage than a single pass.
Pay close attention near flower beds, vegetable gardens, and trees. Most weed and feed products are made for turf grass only and can damage or kill other plants. Keep a buffer zone of a few feet, or use a hand-held spreader with a shield around those areas.
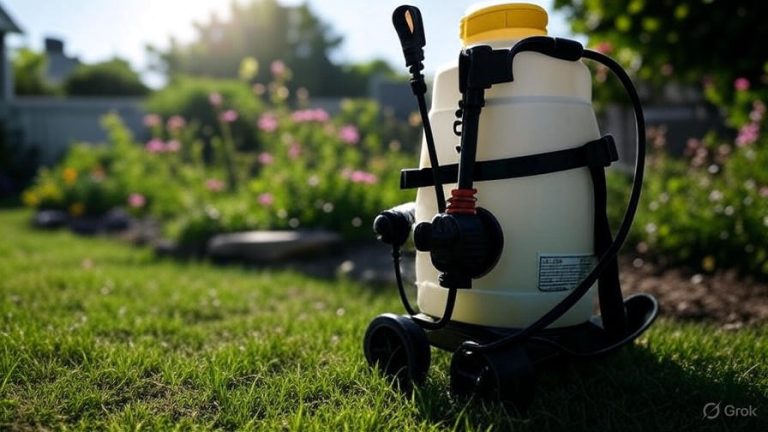
For liquid weed and feed, use a sprayer set to a fine, even mist and walk in the same crisscross pattern. Try to keep a consistent walking speed so you’re not spraying more in one spot than another.
Step 7: Water Correctly After Application
This part trips a lot of beginners up because the instructions can seem to contradict each other. Here’s the simple rule: granular weed and feed usually needs to sit dry on the lawn for at least a day or two before you water again, giving the herbicide time to absorb into the weed leaves. Watering too soon can wash it off before it works.
After that waiting period, a light watering helps push the fertilizer part down into the soil so the roots can use it.
Liquid weed and feed also needs dry time, often a few hours up to a full day, so rain or sprinklers don’t wash away the spray before the weeds absorb it. Always check the product label for the exact number of hours since formulas differ.
Step 8: Keep Kids and Pets Off the Lawn
Weed and feed contains herbicide, so it’s smart to keep children and pets off the treated area until it’s fully dry and, ideally, until after the first watering. Most labels give a specific number of hours to stay off the grass, usually somewhere between a few hours and a full day. Check your specific product for the exact time frame and follow it closely for safety.
Step 9: Don’t Mow Too Soon
After applying weed and feed, hold off on mowing for a few days. This gives the herbicide time to move through the weed’s leaves and down into its root system. Cutting the grass too soon removes leaf surface the weed needs to absorb the chemical, which can leave the weed alive and just slightly trimmed instead of actually dead.
Once you do mow again, it’s smart to bag the clippings for the first cut or two instead of leaving them on the lawn, especially if you’re worried about spreading any leftover herbicide residue onto garden beds nearby.
Common Mistakes to Avoid
A few small errors can undo all your hard work. Here are the ones to really watch out for:
- Applying on a windy day, which can blow granules or spray onto flower beds, gardens, or a neighbor’s yard
- Using it on a brand-new lawn or freshly seeded grass, since the herbicide can kill young grass seedlings along with the weeds
- Skipping the spreader calibration step and just guessing at the setting
- Applying right before a heavy rain, which washes the product away
- Treating a lawn that’s already stressed from drought or extreme heat
- Mixing weed and feed with other lawn chemicals unless the label specifically says it’s safe to combine
- Forgetting to sweep stray granules off sidewalks and driveways, where they can wash into storm drains
Tips for Better Results
A few extra habits can make your weed and feed treatment go a lot further:
Keep your mower blade sharp. A clean cut is less stressful for grass than a ragged, torn cut from a dull blade, and healthier grass responds better to fertilizer.
Test your soil once in a while. A basic soil test tells you if your lawn is missing specific nutrients, so you’re not just guessing at what fertilizer blend to buy.
Spot-treat instead of blanket-treating if you only have a few weed patches. This saves product, saves money, and puts less herbicide into your yard overall.
Give your lawn consistent watering in the weeks after treatment, deep and infrequent rather than a light sprinkle every day. Deep watering encourages roots to grow downward, which builds a stronger, more drought-resistant lawn over time.
Overseed thin patches once the weeds are cleared out. Bare soil is an open invitation for new weeds to move in, so filling those gaps with fresh grass seed helps crowd out future problems before they start.
Frequently Asked Questions
How long does it take to see results? Most broadleaf weeds start wilting within a few days, though it can take one to two weeks for them to fully die and disappear. The fertilizer side usually shows greener grass within a week or two as well.
Can I use weed and feed on a new lawn? It’s best to wait. New grass seedlings are sensitive to herbicide, so most labels recommend waiting until you’ve mowed the new lawn at least three or four times before applying any weed and feed.
Is one application enough for the whole growing season? Usually not. Most lawns benefit from a treatment during the early growing season and a follow-up later on, especially if weeds keep popping back up. Always check your specific product’s label for its recommended schedule.
Will it hurt my flowers or vegetable garden? Yes, it can. The herbicide in weed and feed isn’t picky about which broadleaf plants it kills, so it can damage flowers, shrubs, and vegetable plants if it drifts or gets applied too close to garden beds.
Can I apply it by hand instead of using a spreader? It’s not recommended. Hand tossing leads to uneven coverage, with some spots getting too much product and others getting none at all. A spreader gives you a much more even, predictable result.
Final Thoughts
Weed and feed is one of the simplest tools for turning a weedy, patchy yard into a lawn you’re actually proud of. The process comes down to a few core steps: pick the right product for your grass type, time it around active weed growth, calibrate your spreader, spread it evenly, and follow the watering and mowing instructions closely afterward.
Skip the shortcuts, especially calibration and timing, since those two steps have the biggest impact on whether the treatment actually works. With a little patience and the right routine, you’ll start seeing fewer weeds and thicker, greener grass within just a couple of weeks. Over the following months, sticking with a regular lawn care routine keeps that progress going and helps prevent new weeds from taking hold again.

Hi, I’m Mary, the founder of GardenCure.com. I’m passionate about creating healthy, beautiful gardens and well-kept lawns. I share practical experience and trusted advice on garden and lawn gear that truly works. With the support of my dedicated research team, our writers produce honest, in-depth reviews using reliable, authentic sources—helping you choose the right tools with confidence for your outdoor space.