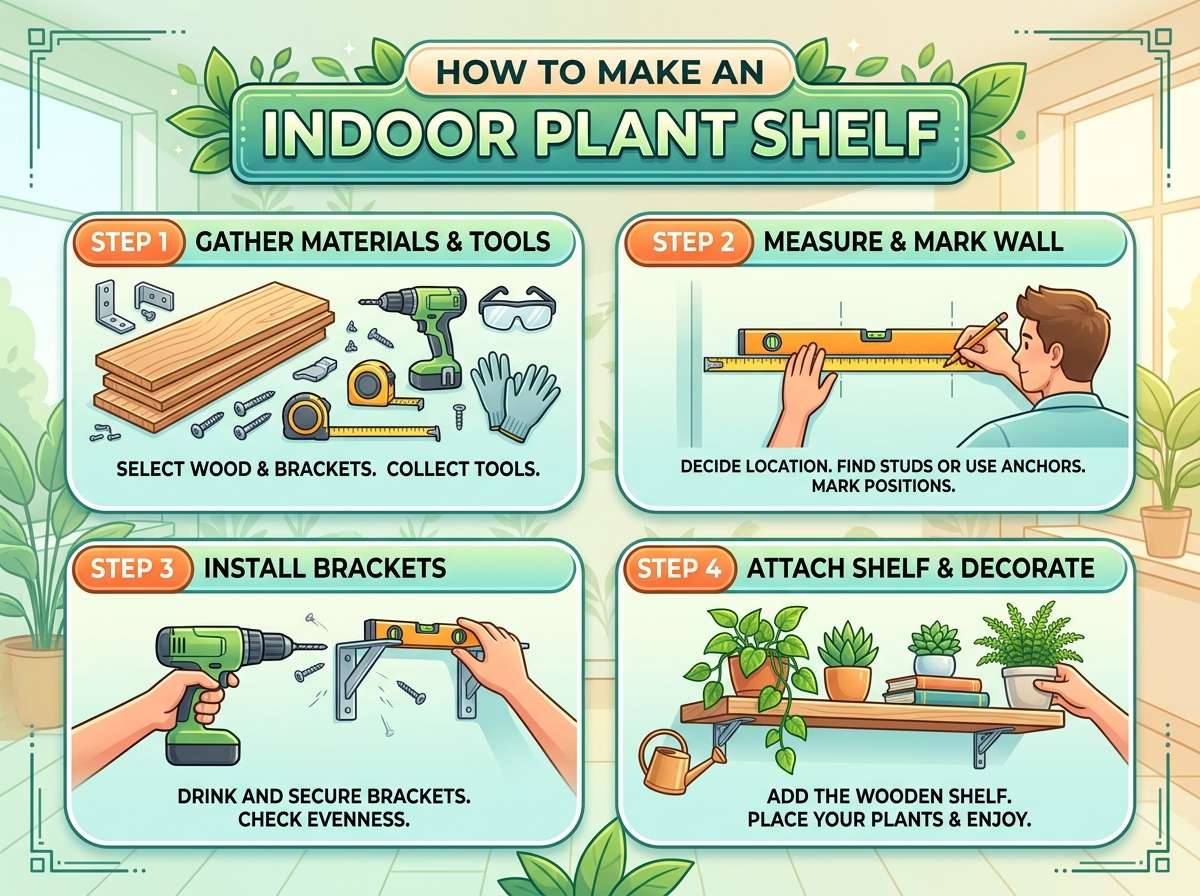
How to Make a Plant Shelf Indoor?
If your home is full of plants but you keep running out of space for them, a plant shelf is the answer. An indoor plant shelf gives your green friends a proper home, keeps your floor clear, and makes your room look like it belongs in a design magazine. The best part is that you don’t need to be a carpenter or spend a lot of cash to build one. With a few tools, some basic materials, and a bit of patience, you can build a sturdy plant shelf that fits your space and your style.
In this article
This guide walks you through every step, from planning the layout to picking the wood, building the frame, and adding the final touches. By the end, you’ll have a clear plan for your own indoor plant shelf, plus tips on placement, care, and design that make your plants thrive.
Why You Need a Plant Shelf at Home
Before we jump into the how-to part, let’s talk about why a plant shelf is worth the effort.
A plant shelf does more than hold your pots. It creates a focal point in a room, adds texture through greenery, and helps you group plants by their light and water needs. Instead of scattered pots on windowsills, tables, and floors, a shelf brings order and turns your plant collection into a real display.
It also helps with airflow. Plants packed too close together on a flat surface can trap moisture and invite pests like fungus gnats. A tiered shelf spaces them out, giving each pot better air circulation and reducing the risk of mold or root rot.
There’s also a functional side. If you live in a small apartment, floor space is precious. A vertical shelf uses wall space instead of floor space, so you can keep a jungle of plants without losing walking room.
Planning Your Plant Shelf Before You Build
Every good project starts with a plan, and a plant shelf is no exception. Skipping this step often leads to wasted wood, wrong measurements, or a shelf that doesn’t fit your plants.
Measure Your Space
Start by measuring the wall or corner where you want to place the shelf. Note the height, width, and depth available. Keep in mind that tall plants like fiddle leaf figs need more vertical room, while trailing plants like pothos or string of hearts need shelves with open space below so their vines can hang freely.
Think About Light
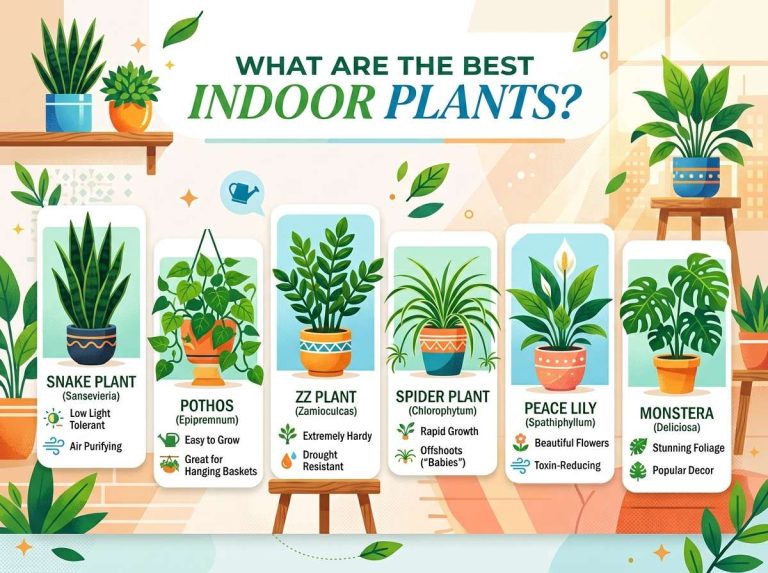
Plants near a sunny window need different shelf placement than plants that prefer shade. South-facing windows get the most light, so plants like succulents, cacti, and snake plants do well there. If your shelf will sit away from windows, stick with low-light lovers such as pothos, ZZ plants, or peace lilies.
Decide on the Number of Tiers
A small collection of five to seven plants works fine on a three-tier shelf. A bigger plant family might need four or five tiers, or even a ladder-style shelf that leans against the wall. Sketch a rough drawing of your shelf with the number of levels you want, and mark where each plant type will sit based on its size and light needs.
Pick a Style That Matches Your Room
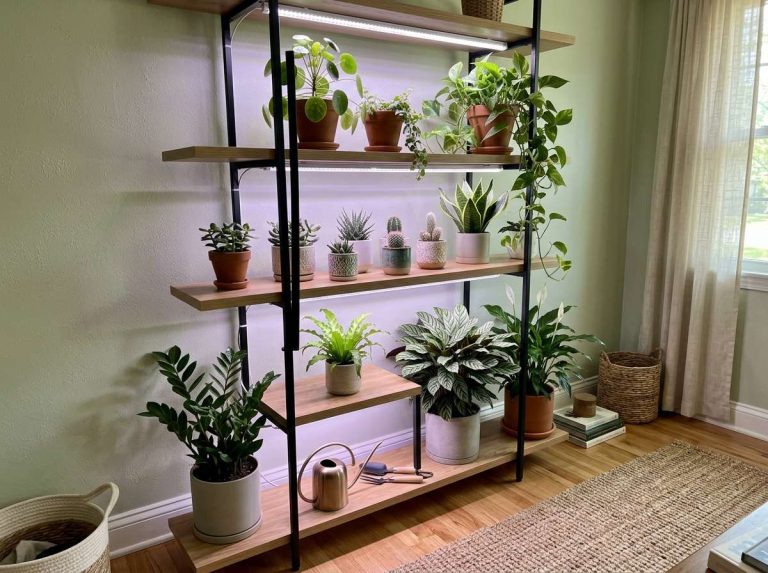
A plant shelf can be rustic, modern, minimal, or bohemian. Wood with a natural finish suits a cozy or earthy room. Painted white or black shelves fit a modern, clean look. Metal-frame shelves with wood tops give an industrial vibe. Your shelf should blend with your furniture and wall color, not fight against it.
Materials and Tools You’ll Need
Here is a basic list for building a wooden ladder-style plant shelf, one of the easiest designs for beginners.
Materials:
- Wooden boards (pine or plywood work well and are budget-friendly)
- Wood screws
- Wood glue
- Sandpaper (medium and fine grit)
- Wood stain or paint
- Clear sealant or varnish
- L-brackets (optional, for extra support)
Tools:
- Measuring tape
- Pencil
- Saw (a hand saw or circular saw)
- Drill with screwdriver bits
- Level
- Clamps
- Safety glasses and gloves
If woodworking feels like too much for now, you can also repurpose an old bookshelf, ladder, or crate set. Thrift stores and yard sales often have wooden ladders or shelving units that just need a coat of paint and a little sanding to turn into the perfect plant stand.
Step-by-Step: How to Build a Simple Wooden Plant Shelf
Let’s get into the actual building process. This design uses a ladder-style frame with horizontal shelves, which is sturdy, easy to build, and looks great with all kinds of plants.
Step 1: Cut Your Wood to Size
Decide how tall you want your shelf and how wide each tier should be. A common size is about 60 inches tall, 24 inches wide, and 12 inches deep per shelf. Cut two long side pieces for the frame and several shorter boards for each shelf level. If cutting wood feels tricky, most hardware stores will cut boards to your exact measurements for free or a small fee.
Step 2: Sand Every Piece
Run sandpaper over each cut board to remove rough edges and splinters. Start with medium grit sandpaper, then switch to fine grit for a smoother finish. This step matters a lot because a smooth surface takes stain or paint much better and feels nicer to touch.
Step 3: Mark the Shelf Positions
Lay your two long side pieces flat and use a measuring tape to mark where each shelf will attach. Keep even spacing between tiers, usually 12 to 16 inches apart, depending on your plant sizes. Use a pencil to mark these spots clearly so you don’t lose track while drilling.
Step 4: Attach the Shelves
Apply a thin line of wood glue along the marked spots, then place your shelf boards on top. Use clamps to hold everything steady while you drill screws through the side frame into each shelf board. Adding both glue and screws makes the joint much stronger and prevents wobbling later.
If you want extra support, especially for lower shelves that hold heavier pots, add L-brackets underneath each shelf. This step is optional but recommended if you plan to display large ceramic pots or big plants like a monstera or rubber plant.
Step 5: Check for Level and Stability
Once all shelves are attached, stand the frame up and use a level tool to make sure it sits straight. Give it a gentle shake to test stability. If it wobbles, tighten any loose screws or add a diagonal support brace across the back for extra strength.
Step 6: Sand Again and Clean Up
After assembly, go over the whole shelf one more time with fine sandpaper to smooth any rough spots from drilling or glue drips. Wipe away all dust with a slightly damp cloth before moving to the finishing step.
Step 7: Stain, Paint, or Seal
Now comes the fun part: giving your shelf its final look. Apply wood stain if you want to keep the natural wood grain visible, or use paint for a bold color statement. Let it dry fully, then apply a clear sealant or varnish to protect the wood from water damage, since plant pots often drip during watering.
Let the shelf cure for at least 24 hours before placing any plants on it, giving the finish time to fully harden.
Alternative Plant Shelf Ideas for Beginners
If building from scratch feels like a big commitment, here are some easier alternatives that still give you a beautiful indoor plant display.
Floating Wall Shelves
Floating shelves attach directly to the wall with hidden brackets, giving a clean, minimal look. These work great for small plants like pothos, succulents, or air plants. Just make sure to anchor them into a wall stud for safety, since a loaded shelf with wet soil can get heavy fast.
Ladder Shelf
An old wooden ladder, leaned against a wall, makes an instant plant shelf. Just lay flat boards across the rungs to create small platforms for pots. This style has a relaxed, farmhouse charm and needs almost no building skills.
Corner Shelf Unit
A corner shelf makes use of dead space that usually goes to waste. This is a smart choice for small apartments or rooms where floor space is tight. Build it with triangular shelf boards that fit snugly into the corner angle of your room.
Repurposed Bookshelf
An old bookshelf, cleaned up and given a fresh coat of paint, works just as well as a custom-built plant shelf. Remove any glass doors, sand the surface lightly, and add a waterproof tray on each level to protect the wood from spills.
Tips for Arranging Plants on Your New Shelf
Once your shelf is built and ready, the way you arrange your plants matters just as much as the shelf itself.
Put taller plants like a snake plant or dracaena on the top level, where they get the most light and won’t block smaller plants below. Trailing plants like pothos, string of pearls, or ivy look stunning cascading down from the middle or bottom tiers.
Group plants with similar water needs together. This makes watering day much easier since you won’t accidentally overwater a succulent sitting next to a thirsty fern.
Leave a little breathing room between pots instead of cramming them edge to edge. Crowded plants compete for light and airflow, which can slow their growth or invite pests.
Rotate your plants every few weeks so all sides get even sunlight. This keeps them growing straight instead of leaning toward the light source.
Caring for Plants on a Shelf
A shelf changes a few things about plant care, so keep these points in mind.
Water carefully to avoid drips running down onto lower shelves. Use saucers or trays under each pot to catch excess water and protect your wood finish.
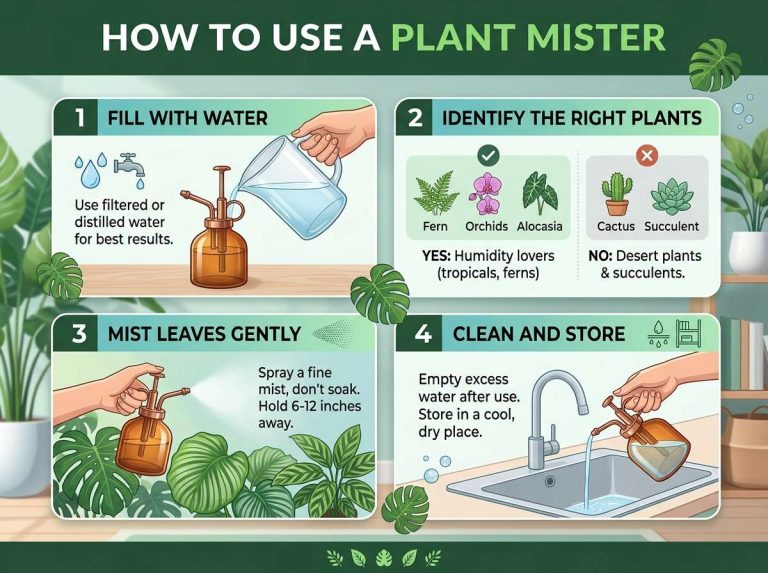
Check humidity levels, especially if your shelf sits far from a window in a dry room. Plants like ferns and calatheas love extra humidity, so a small humidifier nearby can help them thrive.
Dust the leaves occasionally with a soft cloth. Dust buildup blocks sunlight from reaching the leaf surface, which can slow down photosynthesis over time.
Keep an eye on shelf weight, especially for tall or heavy pots. If a shelf starts to sag or creak, add extra support before it becomes a bigger problem.
Common Mistakes to Avoid
Even simple projects can go wrong if you skip a few key details. Here are common mistakes people make with indoor plant shelves.
Building shelves too close together often means taller plants get squeezed or bent. Always measure your tallest plant before setting shelf spacing.
Skipping a sealant on the wood can lead to water stains, warping, or mold growth over time. A good coat of varnish or polyurethane protects your shelf for years.
Placing a shelf directly in a sunny window without checking each plant’s light needs can lead to sunburned leaves on shade-loving plants. Always match plant type to light level.
Ignoring wall support for heavier shelving units is a safety risk. Loaded pots with wet soil weigh more than most people expect, so anchor into studs whenever possible.
Overcrowding shelves with too many plants at once blocks airflow and makes maintenance harder. Start with fewer plants and add more as your shelf proves it can handle the weight and space.
Final Thoughts
Building an indoor plant shelf is one of the most rewarding small projects you can take on at home. It doesn’t just organize your plants, it turns them into a living piece of art that brings warmth, texture, and fresh air into any room. With basic tools, a bit of wood, and some patience, you can build a shelf that fits your space perfectly and shows off your plant collection in style.
Start small if you’re new to building. A simple three-tier shelf is a great first project, and you can always expand later once you get comfortable with the process. Take your time with measuring, sanding, and finishing, since these small steps make a huge difference in how sturdy and polished your final shelf looks.
Once it’s built, arranging your plants thoughtfully and caring for them properly will keep your indoor garden thriving for a long time. A well-planned plant shelf isn’t just furniture, it’s a home for your plants and a boost of life for your living space.

Hi, I’m Mary, the founder of GardenCure.com. I’m passionate about creating healthy, beautiful gardens and well-kept lawns. I share practical experience and trusted advice on garden and lawn gear that truly works. With the support of my dedicated research team, our writers produce honest, in-depth reviews using reliable, authentic sources—helping you choose the right tools with confidence for your outdoor space.