How to Make Organic Fertilizer at Home?
Your plants are hungry. Not for water alone, but for nutrients that help them grow strong, healthy, and beautiful. The thing is, you don’t need to spend tons of money on fancy commercial fertilizers. You can make your own organic fertilizer right in your backyard using stuff you probably already have lying around. In this guide, we’ll walk through everything you need to know about homemade fertilizer production.
In this article
Why You Should Make Your Own Organic Fertilizer
Let’s talk about why this matters. When you buy bags of chemical fertilizer from the store, you’re paying premium prices for something you can make yourself. Homemade organic fertilizer costs almost nothing and works just as well as expensive store-bought options.
Beyond saving money, there’s something satisfying about creating your own nutrient-rich soil amendment. You know exactly what’s going into your garden. No mystery chemicals, no synthetic additives, just pure plant food made from natural materials. Your garden stays clean. The environment stays clean. Your wallet stays fuller.
Plants grown with organic, homemade fertilizers actually taste better. Vegetables grown in soil fed with compost and natural nutrients pack more flavor than those doused with synthetic chemicals. Herbs become more aromatic. Flowers bloom with richer colors. This is the real advantage of going the organic route.
Another big benefit? Organic fertilizer feeds your soil, not just your plants. It helps your dirt become alive with beneficial microorganisms, earthworms, and helpful bugs that keep everything in balance. Chemical fertilizers only feed the plant directly. They don’t build healthy soil structure. Over time, synthetic fertilizers actually damage your soil. Homemade organic options do the opposite—they improve your dirt year after year.
Understanding Soil Nutrients Your Plants Need
Before you start making fertilizer, you need to grasp what plants actually eat. Three main nutrients keep plants thriving: nitrogen, phosphorus, and potassium. You’ll see these listed on fertilizer bags as N-P-K. Nitrogen makes leaves green and helps plants grow fast. Phosphorus helps flowers bloom and roots develop strong. Potassium makes plants tough and disease-resistant.
Beyond these big three, plants also need calcium, magnesium, sulfur, and tons of trace minerals. You’ll find all these nutrients in the organic materials we’ll discuss. That’s the beauty of making fertilizer from natural stuff—you get a complete nutrient package instead of a one-dimensional synthetic solution.
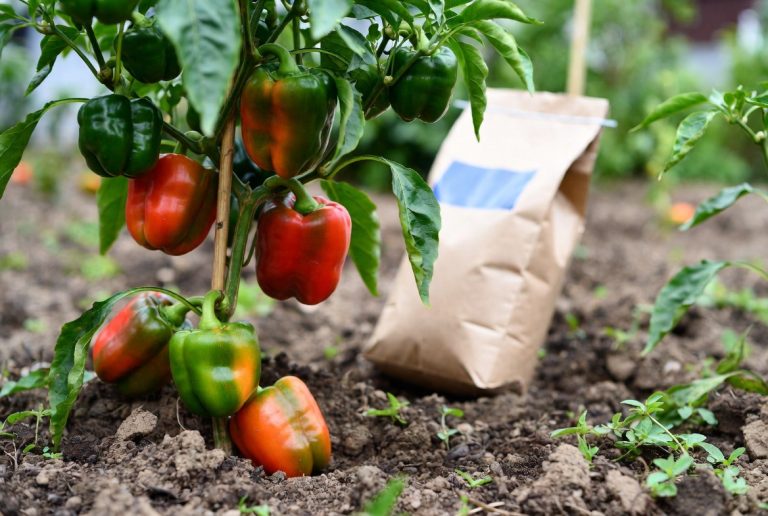
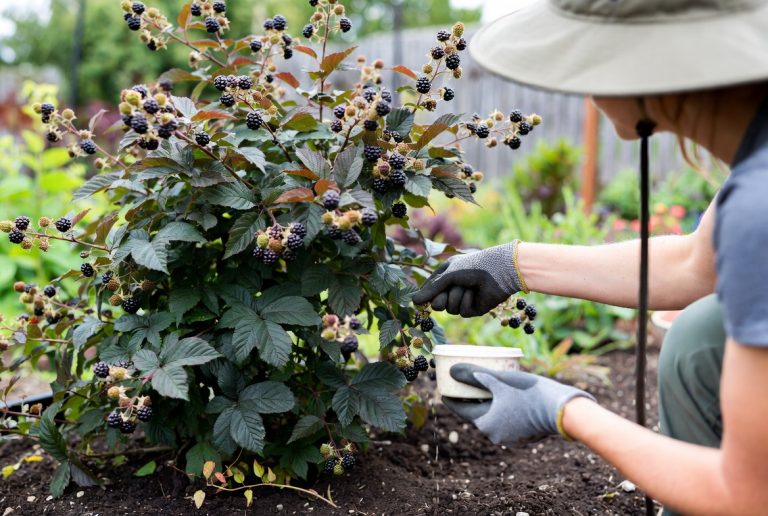
Different plants need different nutrient ratios. Leafy greens love nitrogen. Tomatoes and peppers want more phosphorus and potassium. Grass needs lots of nitrogen. Berries enjoy potassium-rich food. When you make your own organic fertilizer, you can mix recipes to match what your plants crave.
Making Compost: Your First Homemade Fertilizer
Compost is the king of all organic fertilizers. It’s basically decomposed plant and food scraps that turned into dark, crumbly, earthy-smelling gold. Making compost is the easiest way to start producing your own fertilizer, and you probably have all the materials already sitting in your trash.
Starting Your Compost Pile
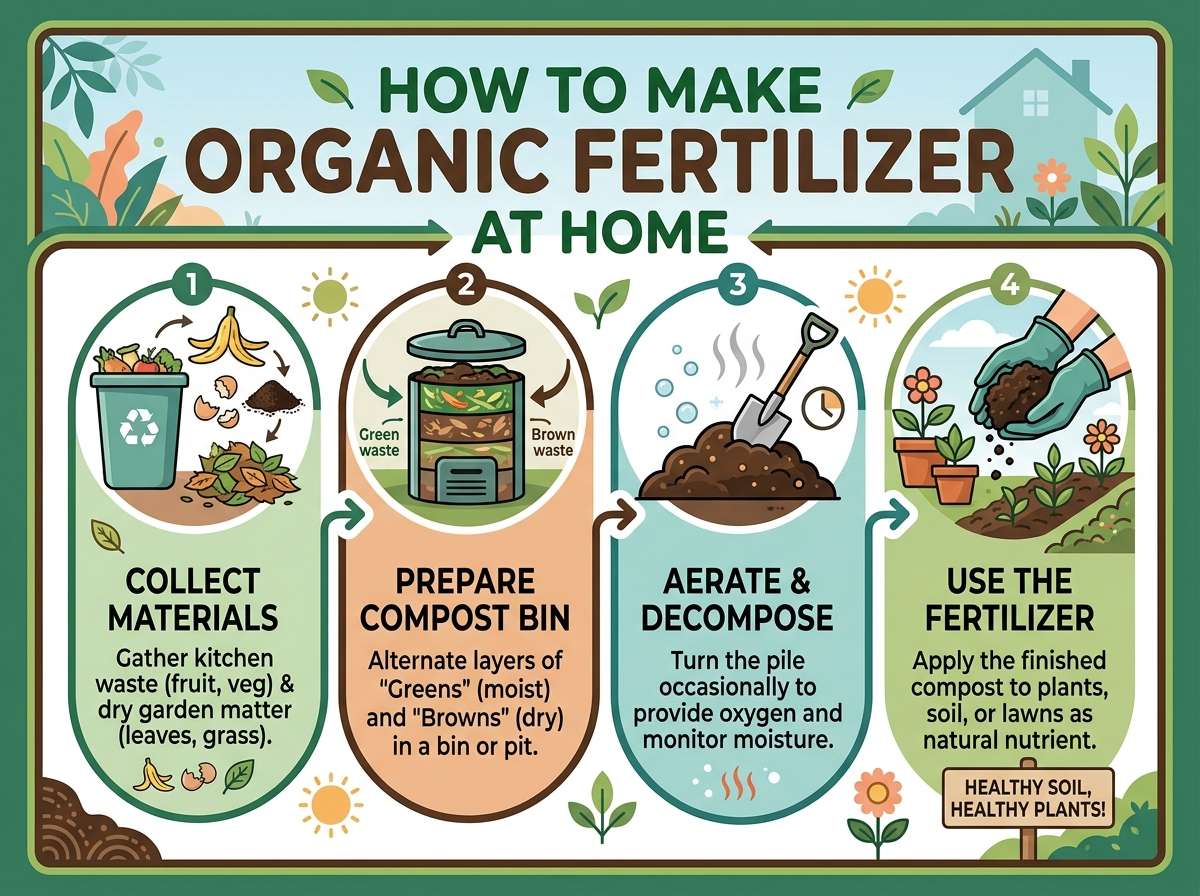
You need two types of materials: “greens” and “browns.” Greens are nitrogen-rich materials like grass clippings, vegetable scraps, coffee grounds, and plant trimmings. Browns are carbon-rich materials like dried leaves, straw, cardboard, and wood chips. The magic ratio is roughly three parts brown to one part green, though you don’t need to be exact.
Pick a spot in your yard for your compost pile or bin. It doesn’t need to be fancy—just a corner that gets some sun but isn’t right next to your house. Start layering materials alternately: brown, then green, then brown again. As you add stuff, sprinkle water to keep everything moist like a wrung-out sponge.
What to Compost and What to Skip
Toss in your vegetable scraps, fruit peels, coffee grounds, tea bags, grass clippings, fallen leaves, and wood chips. These all break down beautifully. You can even add shredded newspaper and cardboard. These materials decompose and add carbon to your pile.
Never add meat, fish, dairy, oil, or fats to your compost. These attract rats and create gross smells. Skip diseased plant material and weeds that have gone to seed. Don’t add glossy paper or colored cardboard either—stick to brown kraft paper and natural cardboard. Animal poop works, but only from herbivores like horses, cows, chickens, and rabbits. Dog and cat waste belong in the trash.
Speeding Up the Composting Process
Your compost pile will naturally break down on its own in six to twelve months. Want it faster? Turn the pile with a shovel every week or two. This adds oxygen and speeds decomposition. Chop materials into smaller pieces before adding them—smaller pieces decompose quicker than big chunks.
Keep your pile moist but not waterlogged. If it smells like ammonia, it’s too wet. Add more brown materials. If it’s not heating up or breaking down, it’s probably too dry. Water it until it feels damp throughout. A hot compost pile can produce finished compost in just six weeks if you manage it right.
When your compost looks dark, crumbly, and smells like forest soil, it’s ready to use. Spread it on your garden beds, mix it with potting soil, or add it to the base of plants. Your garden will love it.
Creating Liquid Fertilizer from Kitchen Scraps
Liquid fertilizers work fast because plants absorb them quickly. You can make powerful liquid plant food from kitchen scraps without any complicated equipment.
Vegetable Scrap Tea
Save your vegetable scraps in a container. When you’ve got a good pile, stuff them into a bucket of water and let them soak for three to seven days. The water pulls nutrients from the scraps and becomes liquid fertilizer. Strain out the solids and pour the liquid right on your plants. The solids go into your https://gardencure.com/best-backyard-compost-bins/.
This works great with broccoli stems, carrot tops, lettuce leaves, and other vegetable trimmings. Avoid onions and garlic as they can repel some helpful bugs.
Coffee Ground Fertilizer
Coffee grounds are nitrogen bombs. Save your used grounds from your coffee maker, tea bags from your tea, and you’ve got free fertilizer. Sprinkle grounds directly on your soil around plants. They’ll break down and feed your dirt. Coffee grounds also help with soil drainage and attract earthworms.
Make a liquid version by steeping used grounds in water for a few hours. Pour the brown water on your plants. They’ll drink up the nitrogen and thrive.
Eggshell Calcium Booster
Crushed eggshells provide calcium, which prevents blossom end rot in tomatoes and peppers. Rinse your eggshells, let them dry, then crush them into powder. Mix this powder into your soil or sprinkle it around plants. You can also boil eggshells to make a calcium-rich liquid.
Making Nutrient-Rich Compost Tea
Compost tea is like a vitamin shot for your plants. It’s liquid compost that you can spray on leaves or pour on roots. Plants absorb it quickly and respond within days.
Basic Compost Tea Recipe
Fill a bucket halfway with finished compost. Pour water until the bucket is full. Stir it well and let it sit for twenty-four hours, stirring every few hours if you can. The water pulls nutrients from the compost. Strain it through a cloth to remove solids. You now have liquid gold for your garden.
Use this compost tea within a few hours of making it. Spray it on leaves in early morning or late evening when the sun won’t scorch wet foliage. Pour it around plant roots. Your plants will start looking noticeably healthier within a week.
Aerated Compost Tea for Extra Power
Want to make compost tea even stronger? Use an aquarium air pump. Fill your bucket with water and compost, then run the air pump through it for twelve to twenty-four hours. The oxygen wakes up beneficial microorganisms in the compost. They multiply like crazy in the aerated water, creating an even more powerful fertilizer.
This takes more effort, but the results are amazing. Plants seem to almost glow with health after a few applications of aerated compost tea.
Kitchen Waste Fertilizers You Can Use Immediately
Some fertilizers don’t require decomposition time. You can use them right away.
Banana Peel Solution
Banana peels contain tons of potassium, which flowers and fruiting plants crave. Save your peels and soak them in water for a few hours or overnight. The water turns yellow and becomes potassium-rich plant food. Pour it around flowering plants, fruit trees, and vegetable plants that produce. Your bananas peels go in the compost after soaking.
Grass Clipping Mulch
Fresh grass clippings work as both a mulch and a fertilizer. Spread them around plants in a thin layer. As they break down, they release nitrogen into your soil. They also help retain moisture and suppress weeds. Fresh clippings work best—they break down quickly and add nutrients fast.
Leaf Mold for Slow-Release Fertility
Collect fallen leaves in bags or a bin. Shred them with a mower if you can. Over time, they break down into a dark, crumbly material called leaf mold. This stuff is slower-acting than compost but amazing for improving soil structure. Mix it into garden beds or use it as a mulch around plants.
Leaf mold takes longer to decompose than compost but needs way less effort. Just bag the leaves and forget about them for a year. Nature does all the work.
Homemade Organic Fertilizer Recipes
Once you understand the basics, you can mix custom fertilizer blends for different plants.
All-Purpose Garden Fertilizer
Mix together: four parts finished compost, one part bone meal, one part blood meal, and one part wood ash. Bone meal gives phosphorus for roots and flowers. Blood meal provides nitrogen for leaf growth. Wood ash supplies potassium and trace minerals. This blend works for most garden plants.
Spread a two-inch layer around your garden bed or mix it into the top three inches of soil before planting.
Nitrogen Boost for Leafy Greens
Combine finished compost with an extra helping of grass clippings or coffee grounds. This creates a nitrogen-rich blend perfect for lettuce, spinach, kale, and other leafy vegetables. Add it as a side dressing around plants when you notice leaves getting pale.
Phosphorus-Rich Flower Food
Mix compost with crushed bone meal and rock phosphate. Both are excellent phosphorus sources. Roses, tulips, marigolds, and other flowering plants love this blend. Apply it at planting time and again when flower buds start forming.
Potassium-Powered Fruit and Vegetable Blend
Combine finished compost, banana peel tea, wood ash, and crushed seaweed. All these ingredients pack potassium, which helps fruits ripen and vegetables taste better. Use this on tomatoes, peppers, squash, berries, and fruit trees.
Making Manure-Based Fertilizer
Animal manure is powerful stuff. It’s rich in nitrogen and beneficial microorganisms. The key is aging it properly so it won’t burn your plants.
Composted Manure
Fresh manure is too strong and can harm plants. Collect manure from horses, cows, chickens, or rabbits and age it in a pile for at least three months. It will heat up during decomposition, killing pathogens and weed seeds. When it turns dark and crumbly, it’s safe to use.
Spread aged manure directly on garden beds or mix it into soil. A two-inch layer worked into the top six inches of soil does wonders for plant growth.
Manure Tea
Aged manure steeped in water becomes a powerful liquid fertilizer. Fill a bucket with water, add a few shovels of aged manure, and let it soak for a week. Strain and dilute with more water until it looks like weak tea. Pour it around plants every few weeks for consistent nutrition.
Making Mineral-Rich Fertilizers
Beyond compost and manure, you can extract nutrients from natural mineral sources.
Rock Dust Application
Crushed rock dust contains trace minerals and rocks that slowly release nutrients. Sprinkle it around plants or mix it into your soil. It takes months to become available, but it builds soil fertility long-term. Granite dust works particularly well.
Seaweed and Kelp
Dried seaweed and kelp contain iodine, potassium, and dozens of trace minerals. You can purchase these, but if you live near the ocean, collect your own. Rinse off salt, dry it, then crush it. Mix into your compost or sprinkle around plants.
Make kelp tea by soaking dried seaweed in water overnight. The water pulls out nutrients. Use this liquid on plants that seem stressed or weak.
Applying Your Homemade Fertilizer
Making great fertilizer means nothing if you apply it wrong. Timing and technique matter.
Best Times to Fertilize
Apply fertilizer when plants are actively growing—usually spring and summer. Feed most plants every four to six weeks during growing season. Stop fertilizing in fall and winter when growth slows. Slow-release fertilizers like compost can go on anytime since they feed gradually.
New transplants need less fertilizer than established plants. Wait a few weeks after planting before feeding. Young seedlings prefer light feeding every two weeks rather than heavy feeding once a month.
Application Methods
Spread solid fertilizers like compost and aged manure around the base of plants, keeping them a few inches away from stems. Water well so nutrients soak into the soil. For dry fertilizer blends, sprinkle around plants and mix into the top inch or two of soil.
Pour liquid fertilizers right on the soil around plants. You can also spray them on leaves early morning or late evening. Leaves absorb nutrients through their pores. Avoid spraying in hot sun—wet leaves can get scorched.
Side dress established plants mid-season by adding fresh compost or fertilizer around them. This feeds them again without disturbing their roots.
Watching for Signs of Nutrient Deficiency
Plants tell you when they’re hungry. Pale, yellow leaves usually mean nitrogen deficiency. Add coffee grounds or grass clippings. Weak flowering or root development signals phosphorus need—apply bone meal. Weak, spindly growth with pale edges suggests potassium deficiency—give them potassium-rich fertilizer.
Catching problems early means your plants stay beautiful and productive. Keep watching and adjusting.
Storage and Shelf Life of Homemade Fertilizers
Solid fertilizers like compost and aged manure last a long time stored correctly. Keep them in covered bins to prevent nutrient loss and pest problems. Compost stays good for years.
Liquid fertilizers don’t keep long. Use compost tea within hours of making it. Vegetable scrap tea lasts a few days in the fridge. These liquids are perishable because beneficial microorganisms break down quickly.
Make small batches of liquid fertilizer as you need them rather than storing large quantities.
Common Mistakes to Avoid
Don’t over-fertilize. Too much of anything causes problems. Excess nitrogen makes plants grow leafy but produce few flowers or fruits. It also makes them weak and bug-prone. Start light and increase gradually.
Don’t use diseased plant material in your compost. Diseases survive the decomposition process and infect your garden next season. Burn diseased plants or throw them in the trash.
Don’t forget to water after applying dry fertilizer. Nutrients need moisture to dissolve and become available to plant roots. Water thoroughly after fertilizing.
Don’t mix fresh manure into your soil right before planting. It will burn seeds and seedlings. Always age manure for at least three months first. Fresh manure works for beds planted next season.
Benefits of Sticking with Homemade Organic Fertilizer
Making your own fertilizer saves serious money long-term. You’re not paying shipping, packaging, and retail markup. Over a season, your savings add up to hundreds of dollars.
Your soil gets better every single year. Organic matter from homemade fertilizers improves drainage, water retention, and beneficial microorganism populations. Chemical fertilizers do the opposite—they gradually destroy soil structure.
Your plants become more resilient. Organically-fed plants handle pests, diseases, and stress better than chemically-fed ones. They develop stronger immune systems naturally.
Your food tastes better. Vegetables, herbs, and fruits grown in well-fed organic soil have richer flavor and higher nutritional content. This is measurable in taste tests.
The environment benefits too. You’re not contributing to runoff pollution or supporting industrial chemical production. Your garden becomes a mini-ecosystem that supports birds, butterflies, bees, and beneficial insects.
Getting Started Today
You don’t need expensive equipment or tons of knowledge to make your own organic fertilizer. Start simple. Begin your first compost pile this week. Save your vegetable scraps. Collect your coffee grounds. Let them break down naturally.
In just a few months, you’ll have finished compost. In a year, you’ll be making multiple batches and barely buying any commercial fertilizer. Your garden will thrive, your wallet will thank you, and you’ll feel good knowing exactly what’s feeding your plants.
The best time to start was yesterday. The second-best time is today. Your plants are waiting for the nutrients that only homemade organic fertilizer can give them. Get started now.
Final Thoughts
Making organic fertilizer at home is one of the smartest gardening decisions you can make. It costs almost nothing, works amazingly well, and builds better soil year after year. You’ll save money, grow healthier plants, and know you’re doing right by the environment.
Start with compost. Add some liquid fertilizers. Experiment with different recipes. Your garden will respond with lush growth, beautiful flowers, and delicious vegetables. Once you start making your own fertilizer, you’ll never go back to buying commercial products again.
Your plants are ready. Your soil is ready. Now you’re ready too. Happy gardening.

Hi, I’m Mary, the founder of GardenCure.com. I’m passionate about creating healthy, beautiful gardens and well-kept lawns. I share practical experience and trusted advice on garden and lawn gear that truly works. With the support of my dedicated research team, our writers produce honest, in-depth reviews using reliable, authentic sources—helping you choose the right tools with confidence for your outdoor space.